Is This Popular Watercolour Kit Worth the Money?! Splatter & Bloom watercolor painting kit review7/9/2024
0 Comments
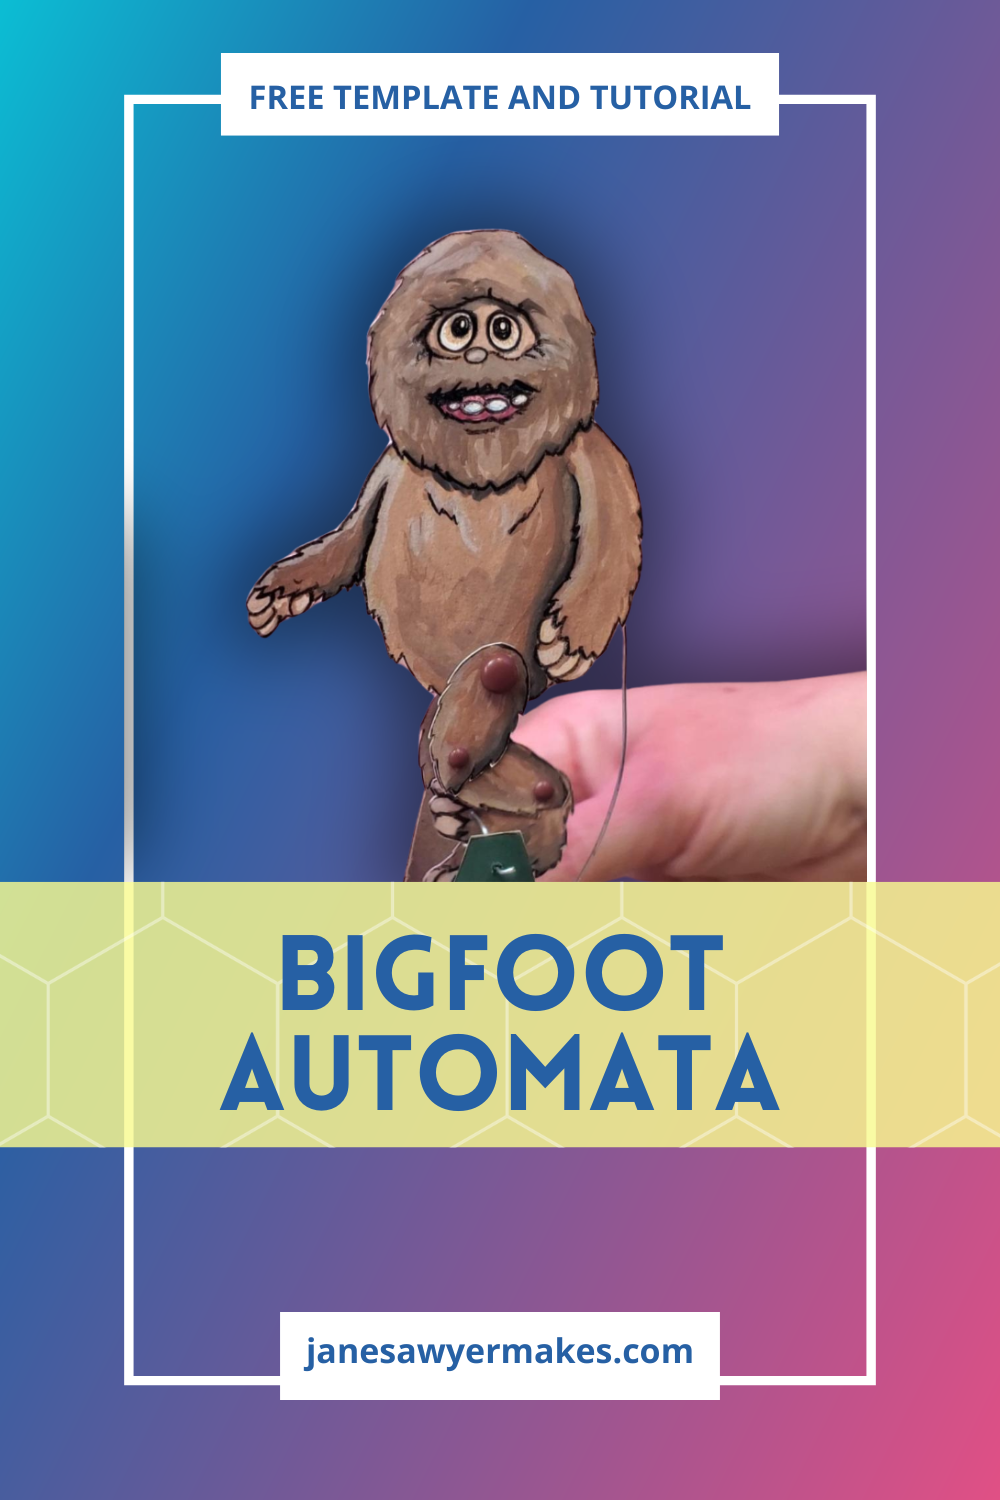
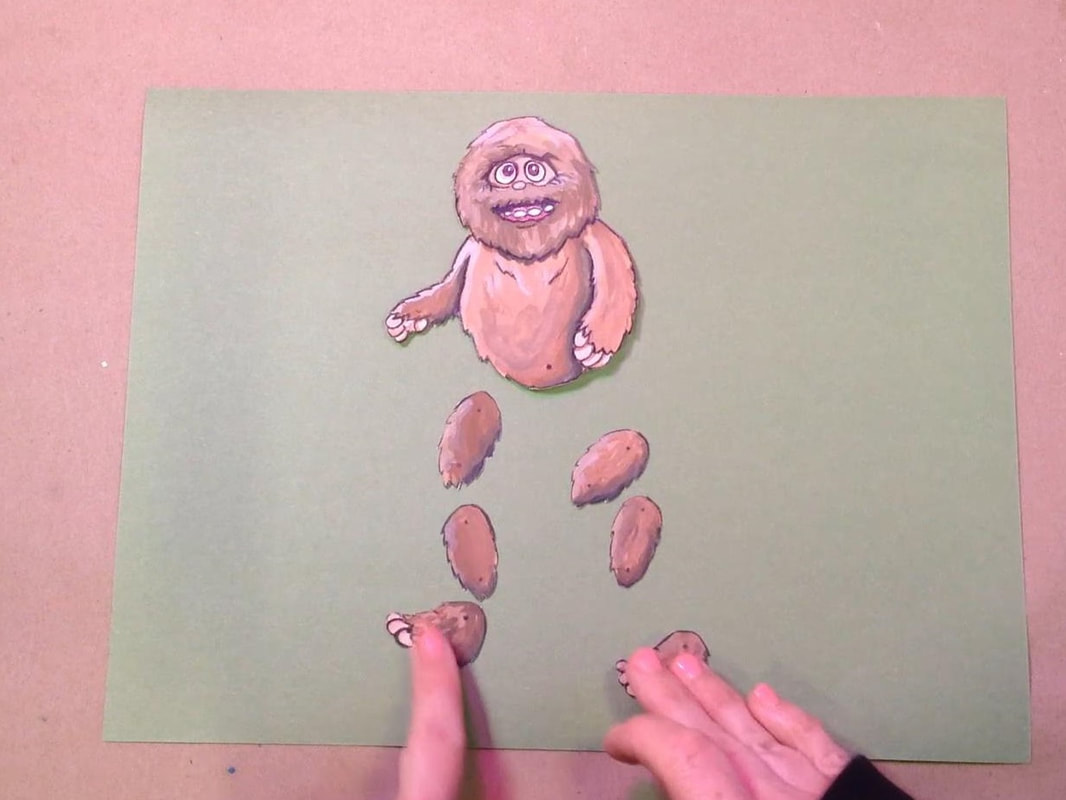
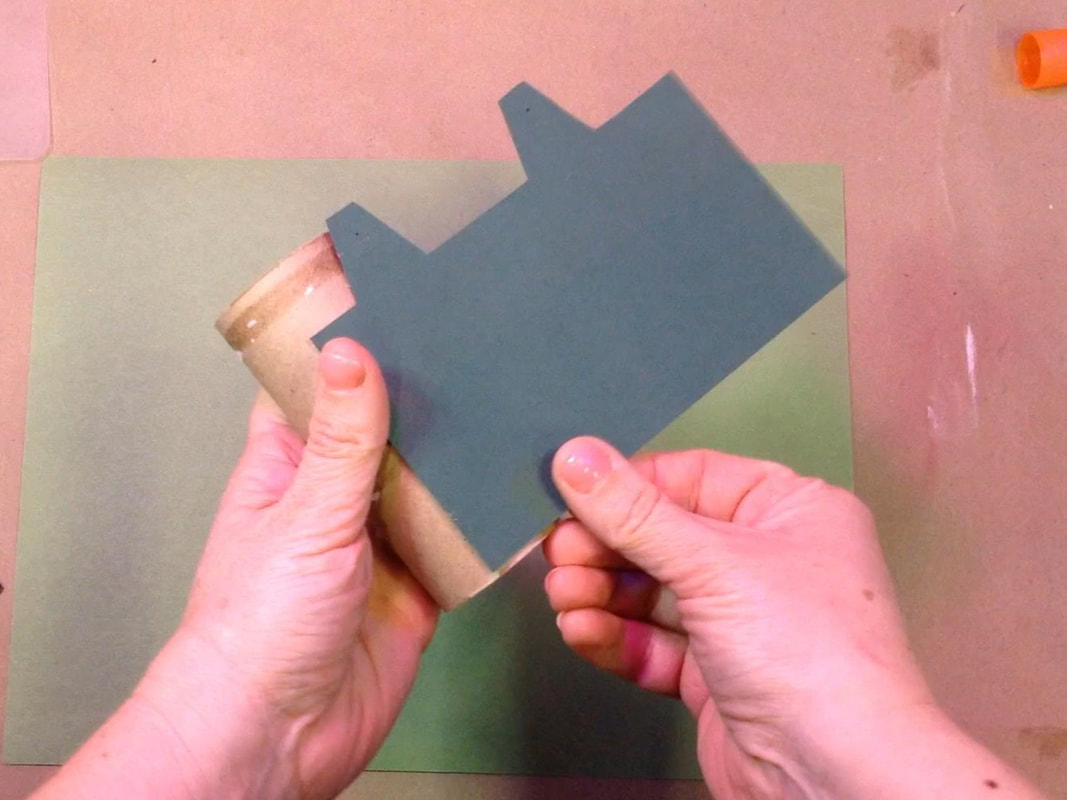
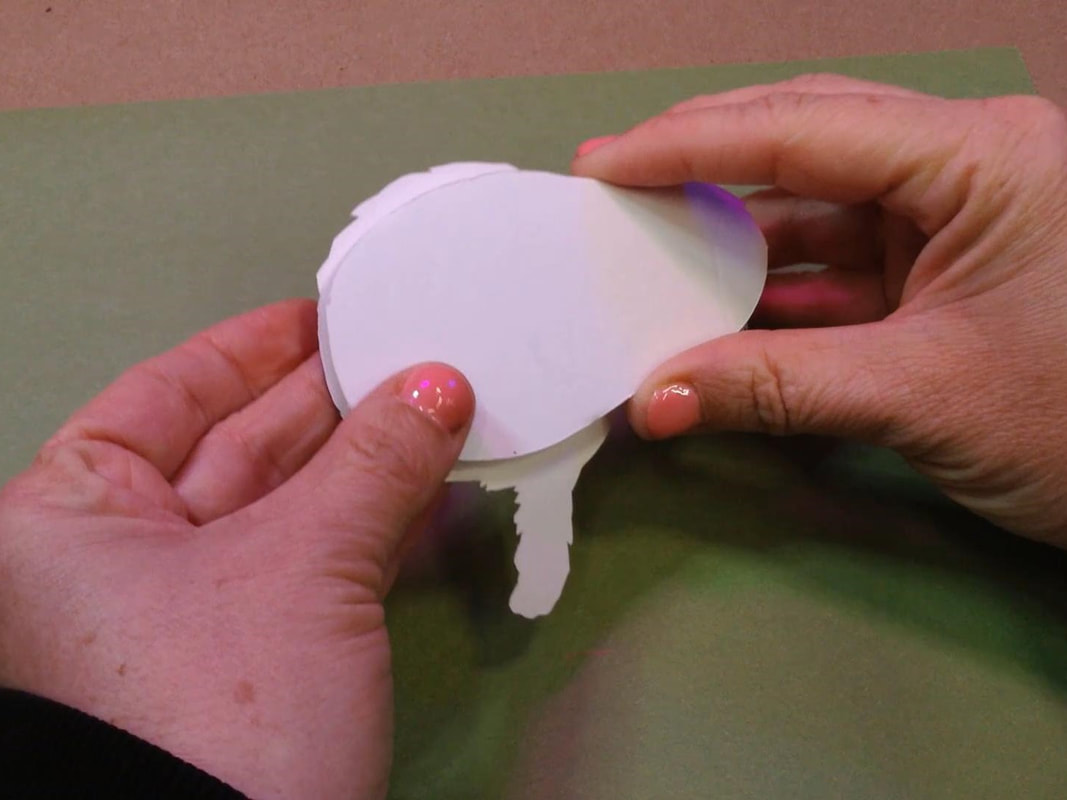
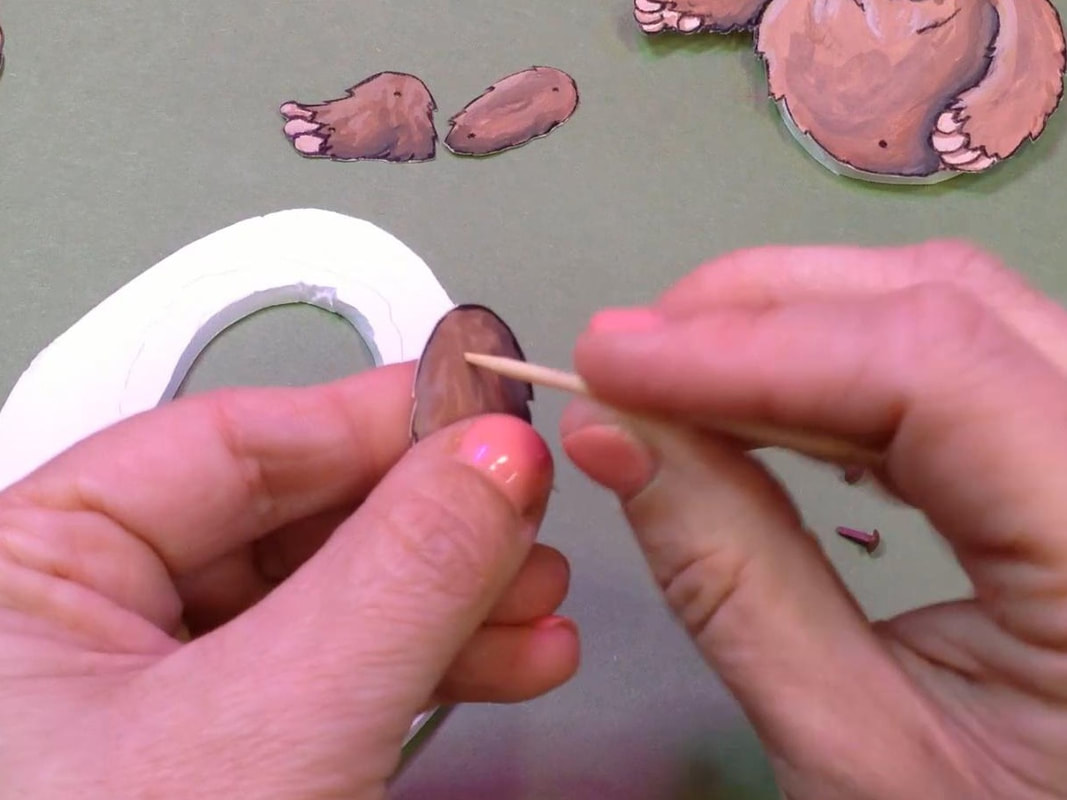
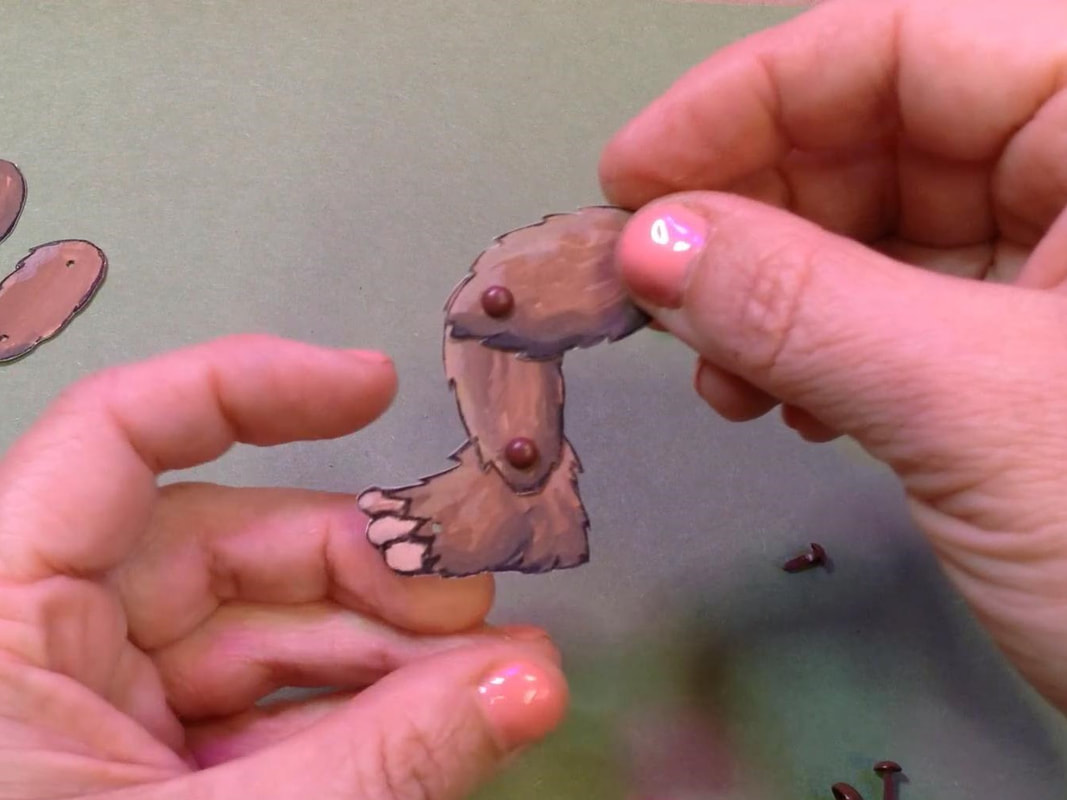
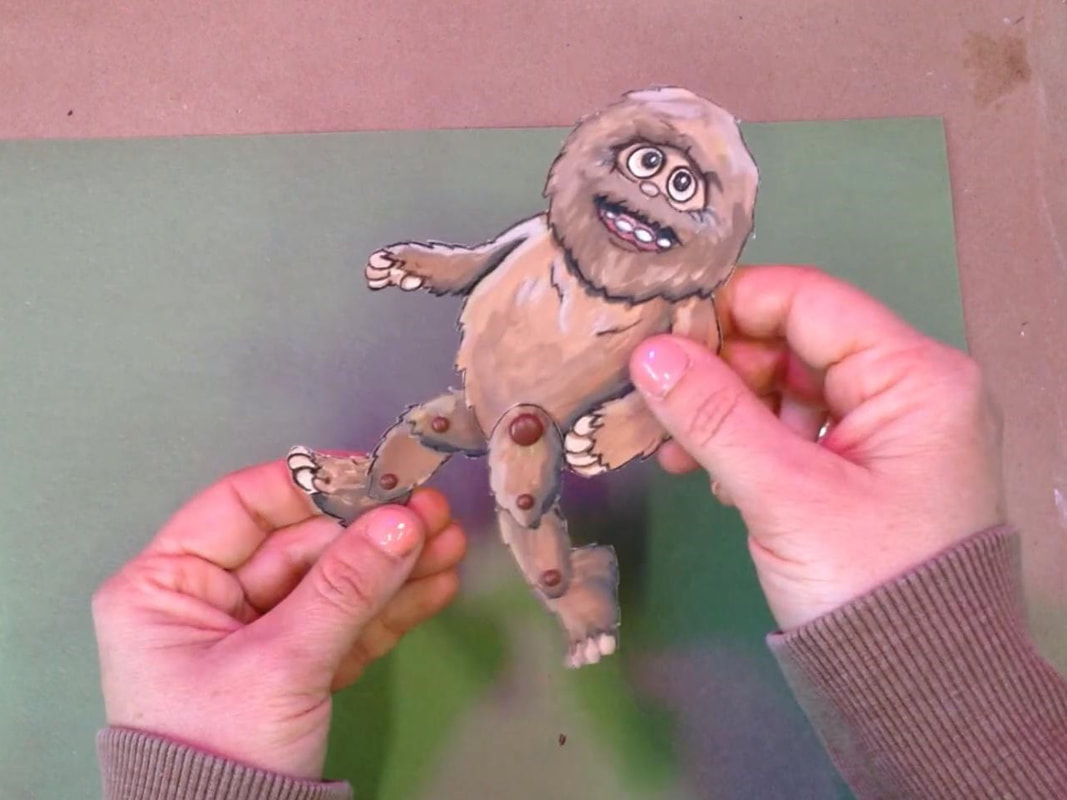
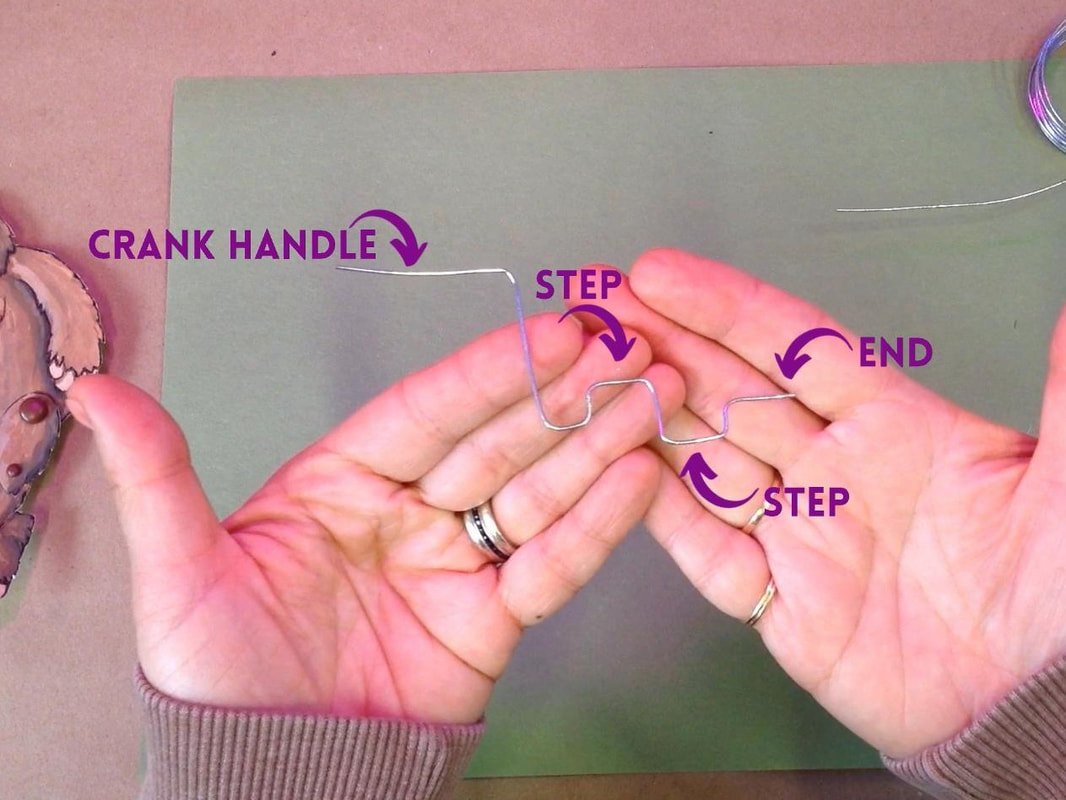
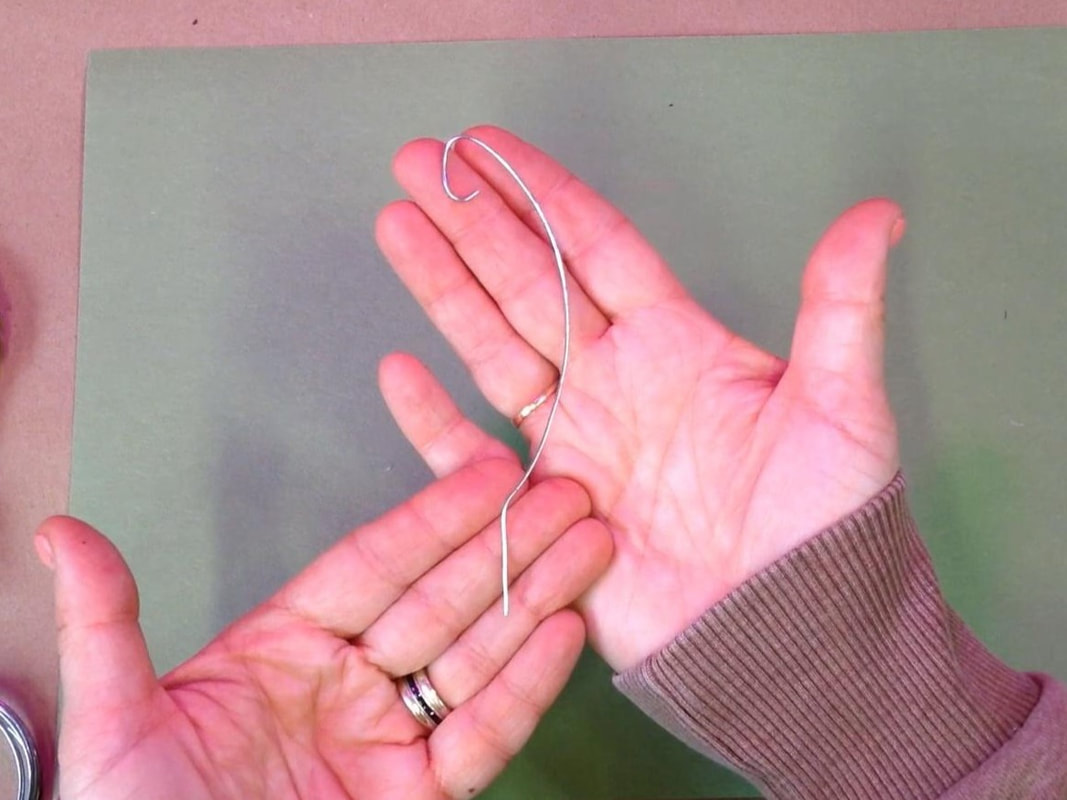
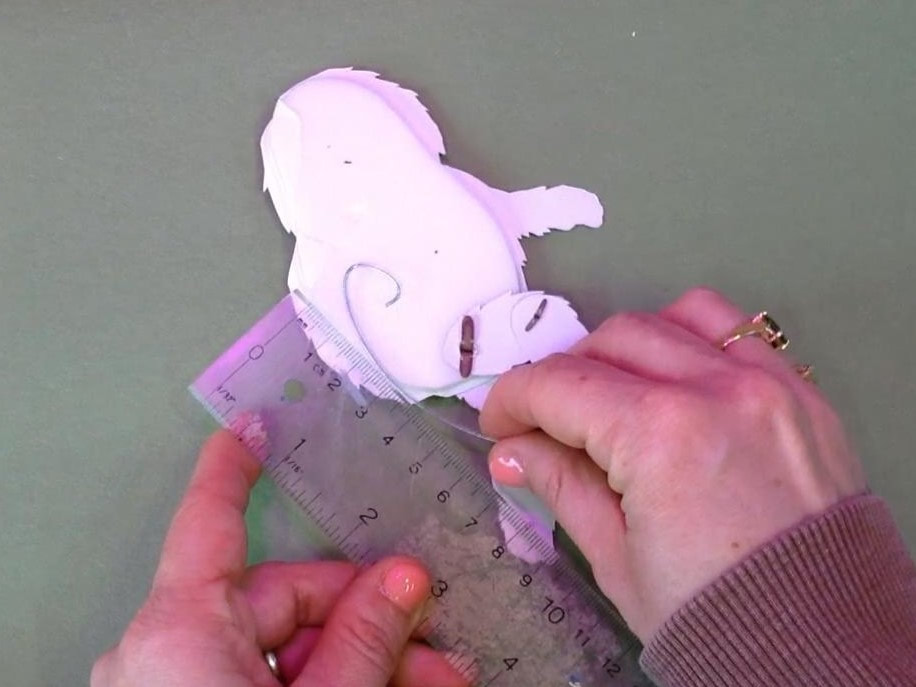
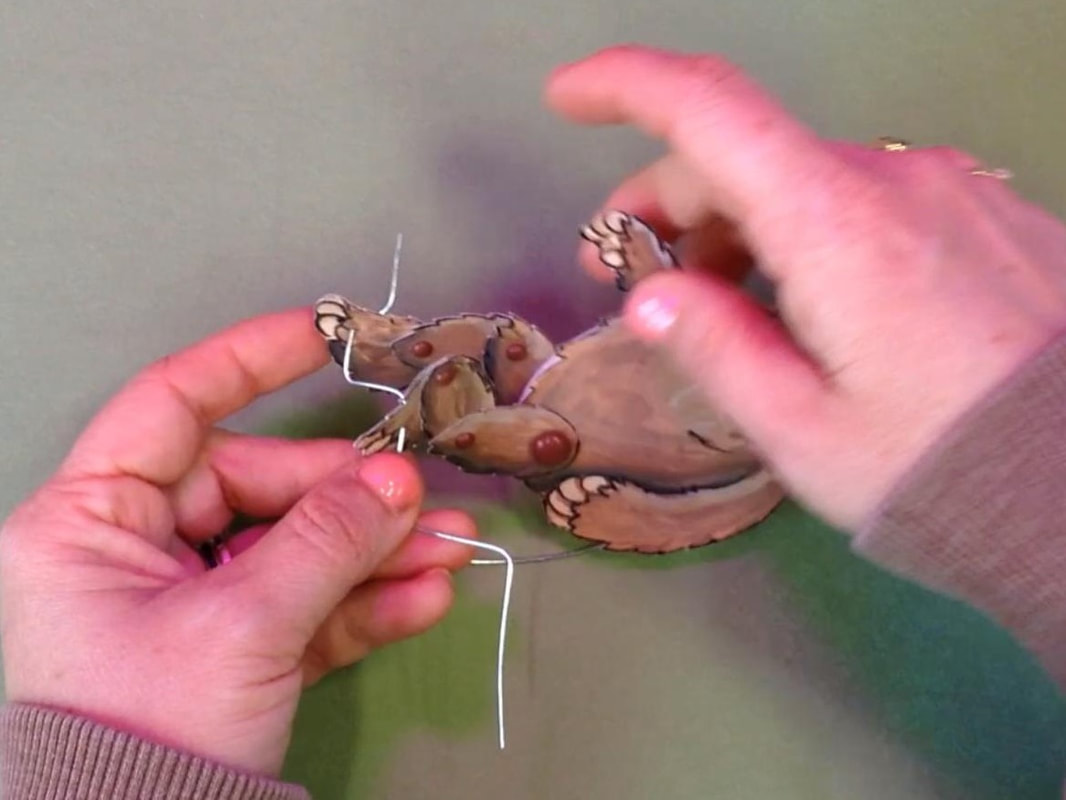
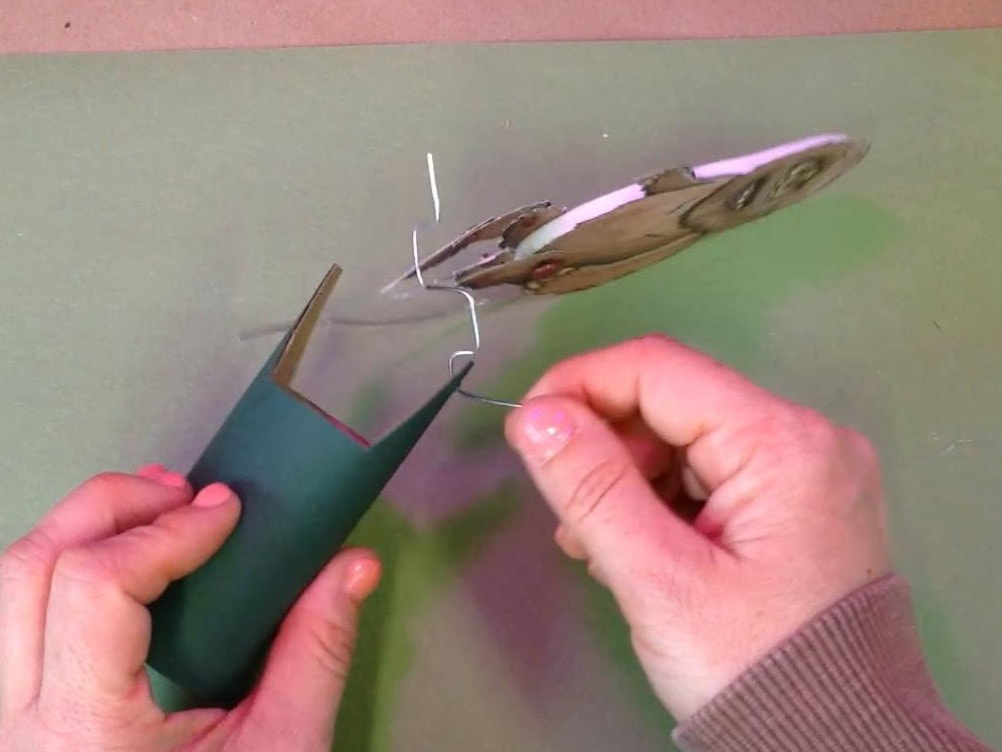
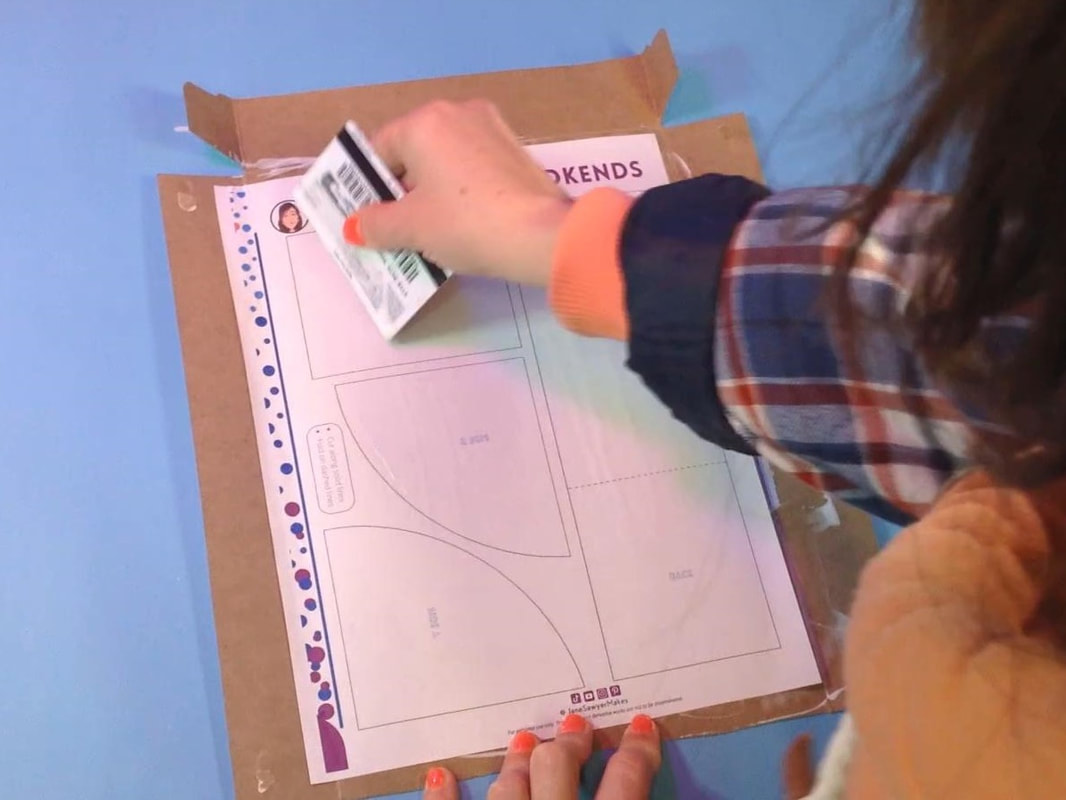
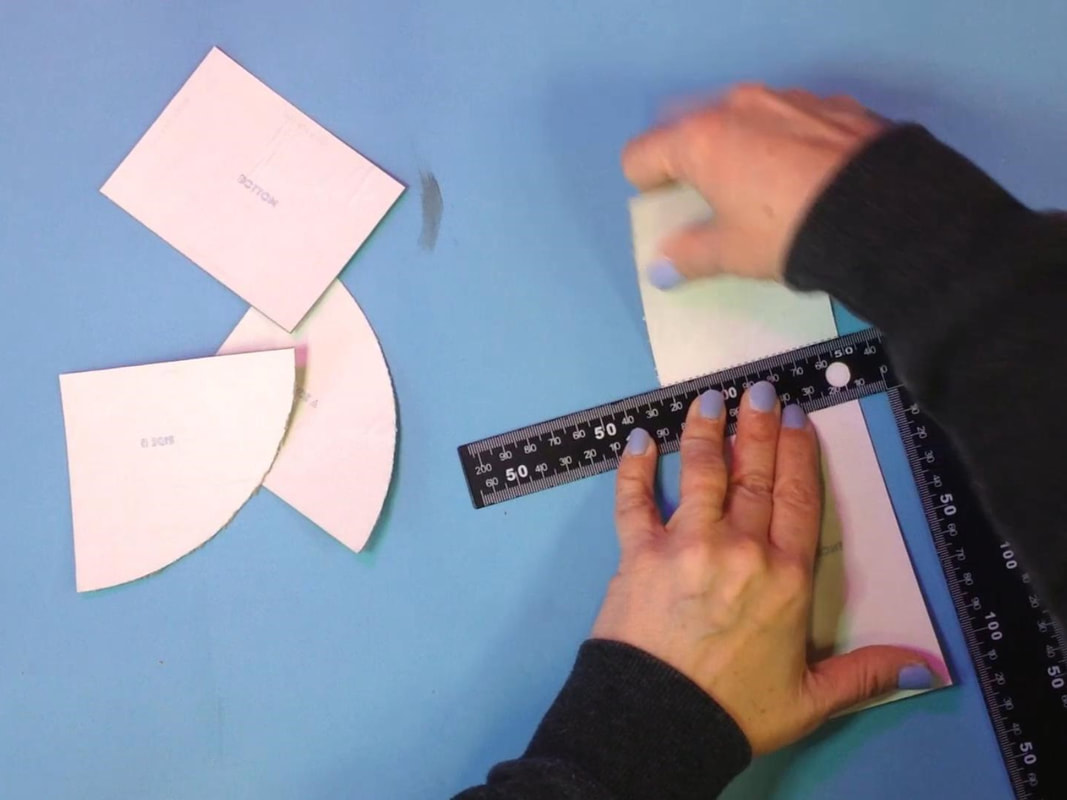
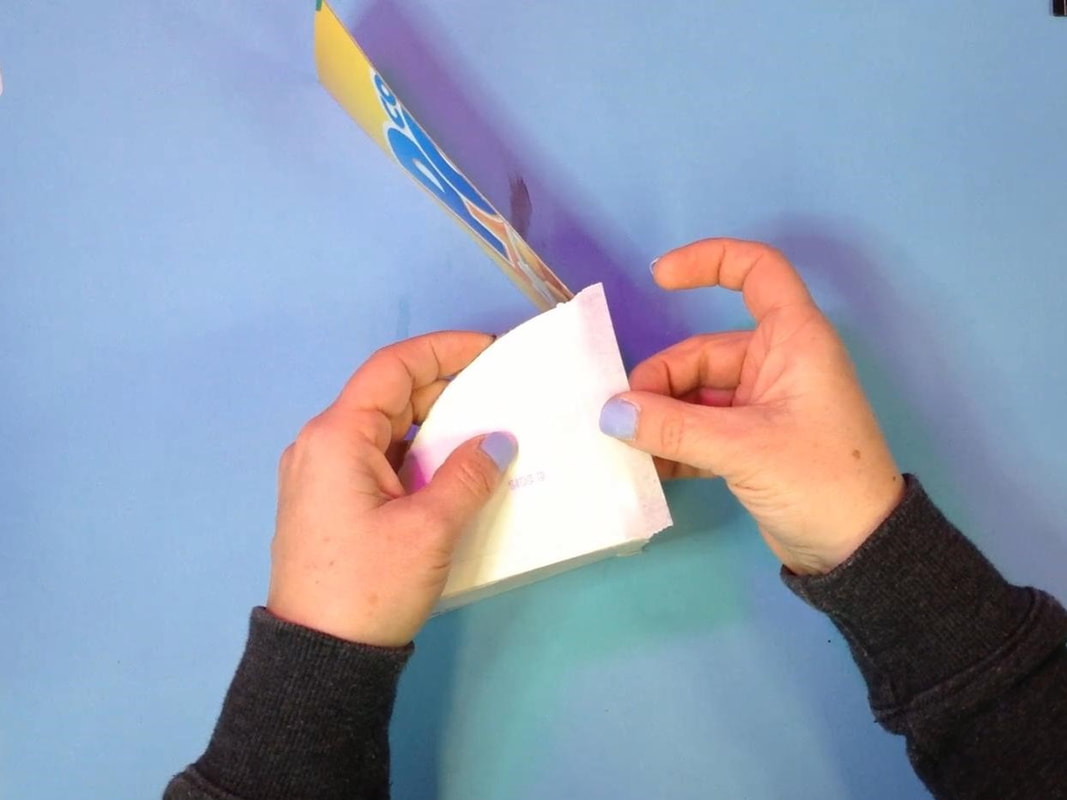
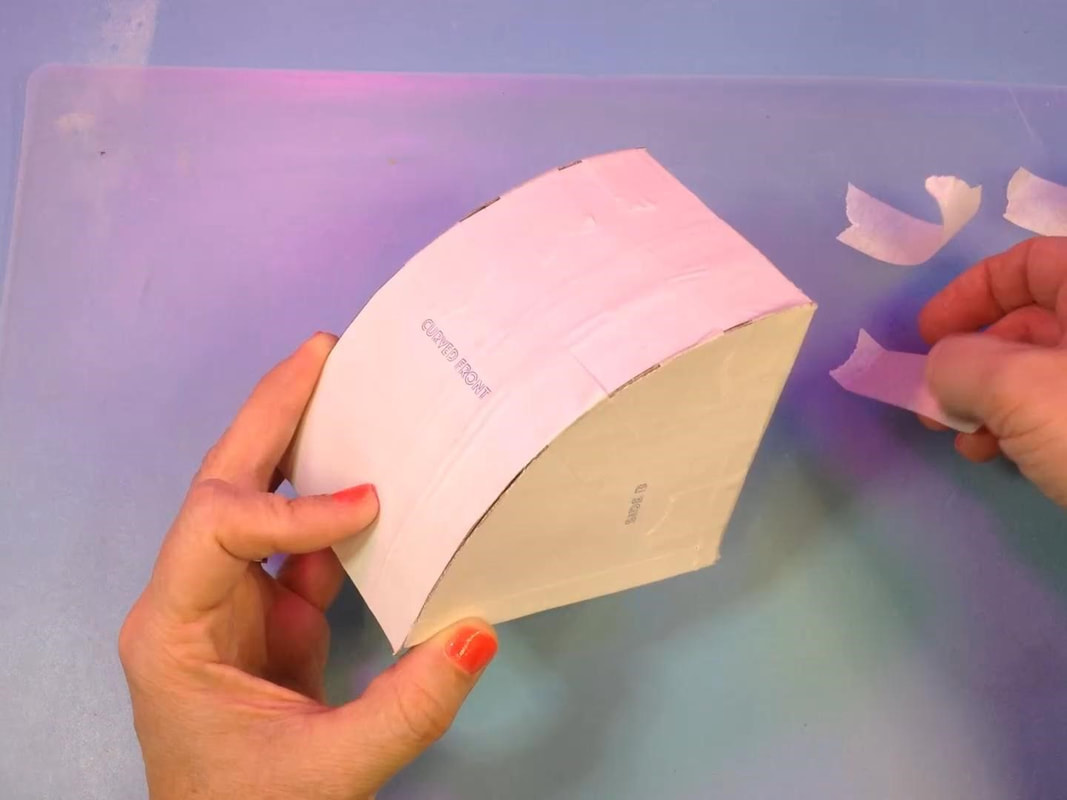
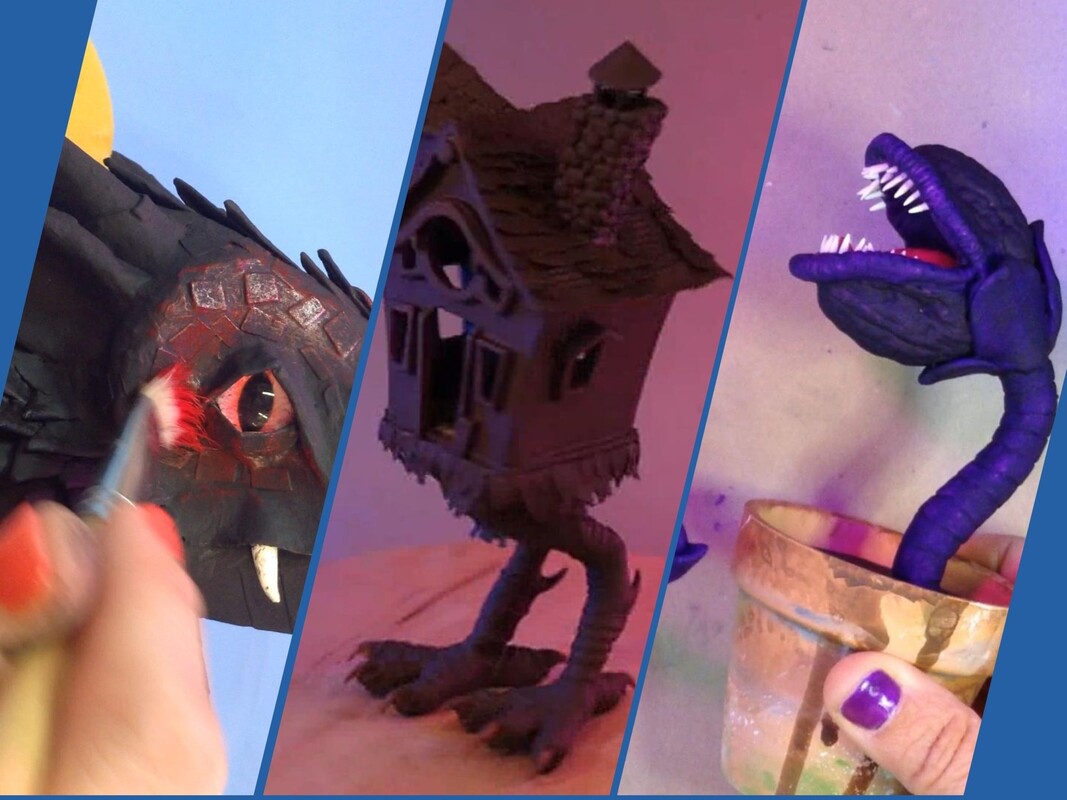
And now you have an animated kinetic bird automaton made from a Pringles can! You can check out the tutorial video below or find lots of other budget-friendly art projects on my YouTube Channel. If you give this project a try, it would make my day if you’d share it with me. I’m @JaneSawyerMakes on TikTok, Instagram, Pinterest, Reddit, Threads, and Twitter (X). Please share and pin this article! Watch the BUILD VIDEO for this and more Pringles Can Craft Ideas HERE!
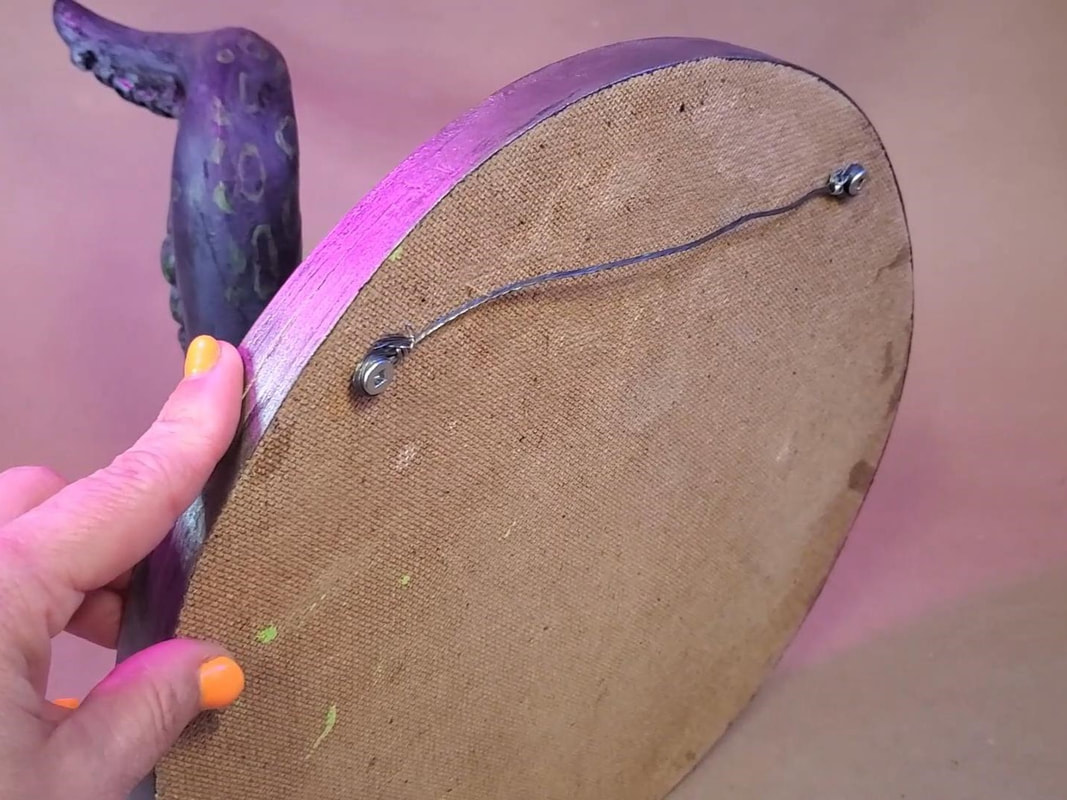
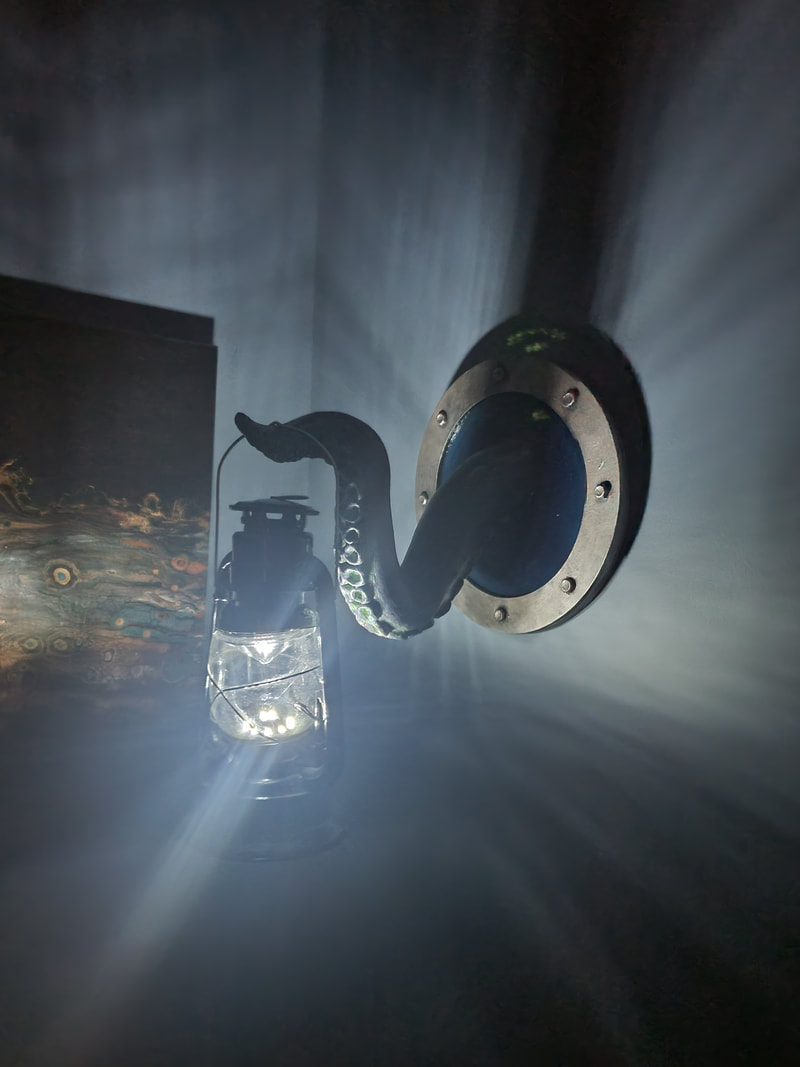
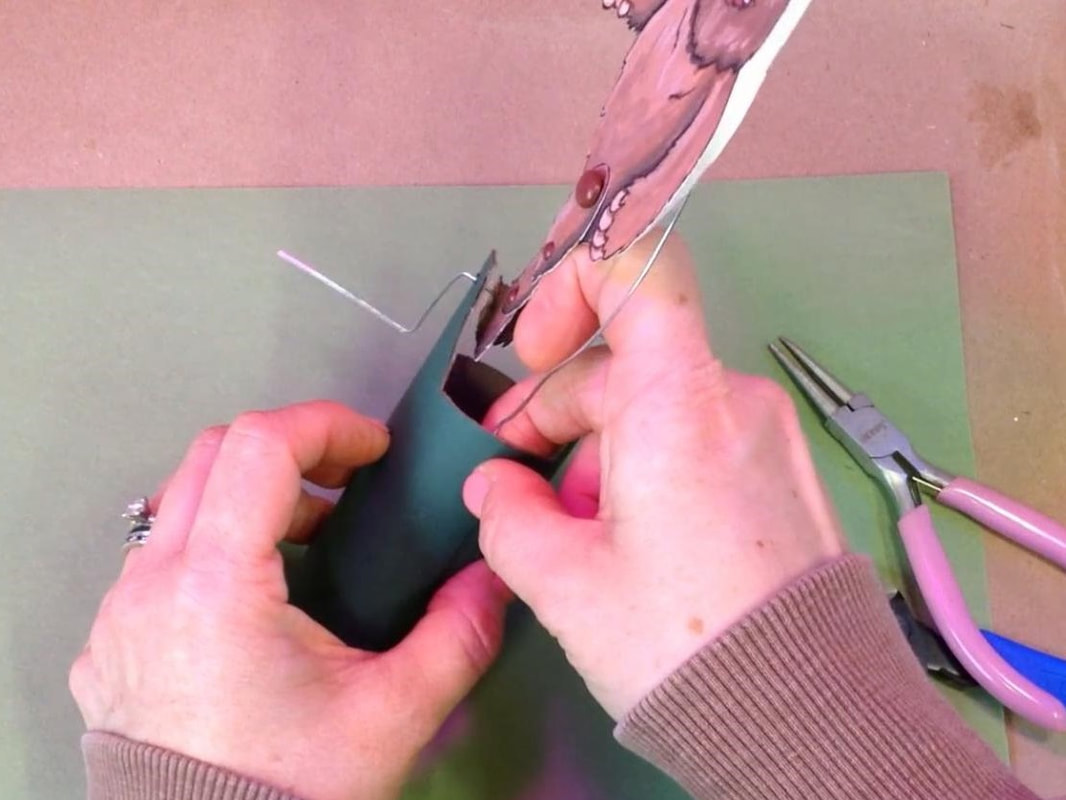
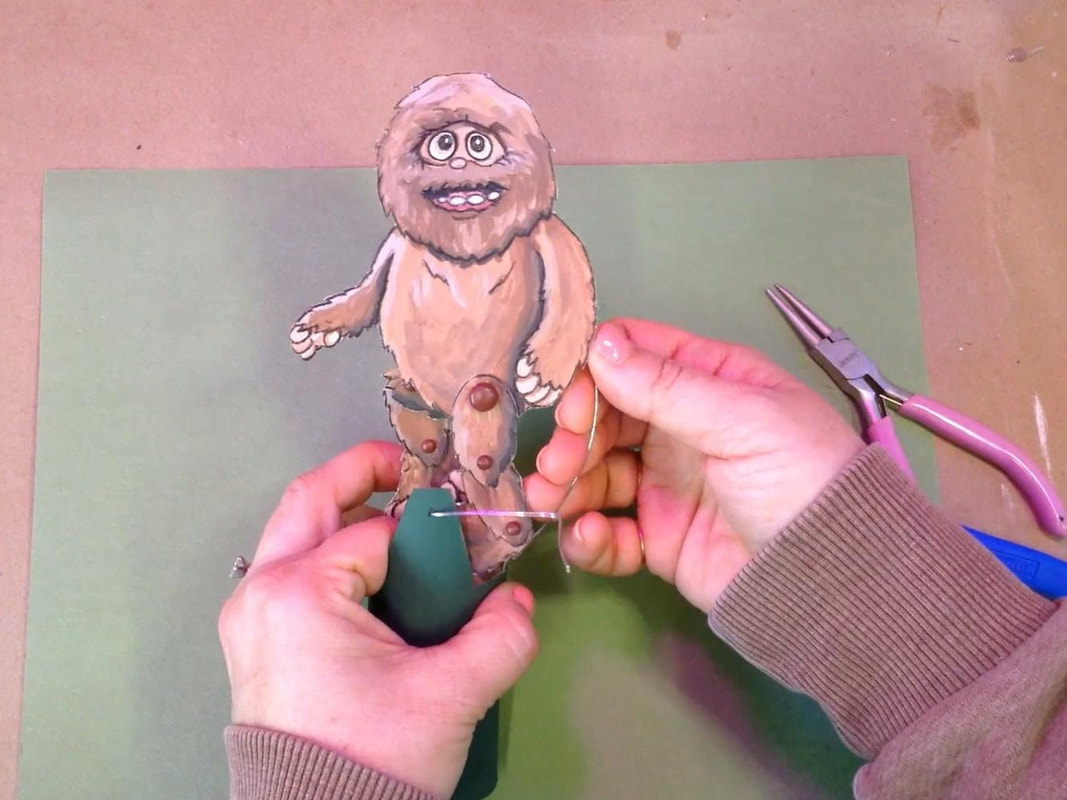
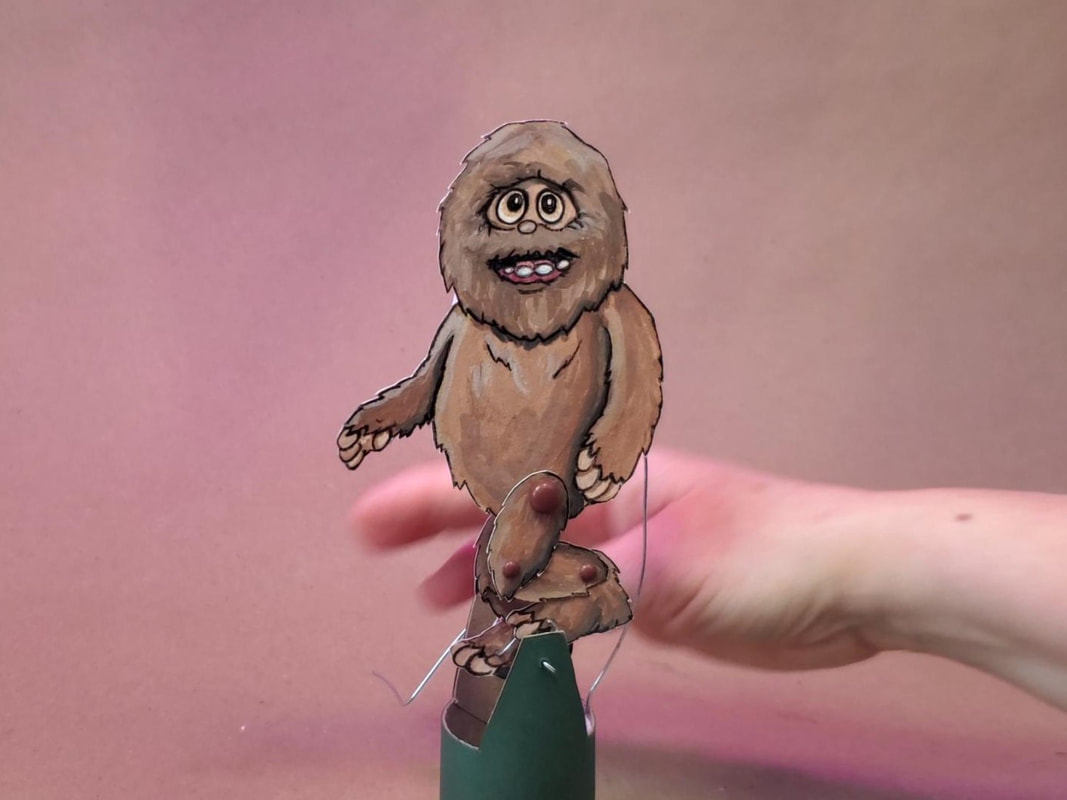
And now you have a haunted tree spirit crafted out of a Pringles can! You can check out the tutorial video below or find lots of other budget-friendly art projects on my YouTube Channel. If you give this project a try, it would make my day if you’d share it with me. I’m @JaneSawyerMakes on TikTok, Instagram, Pinterest, Reddit, Threads, and Twitter (X). Please share and pin this article!
And now you have a trio of kick-ass fake cakes make out of a Pringles can! You can check out the tutorial video below or find lots of other budget-friendly art projects on my YouTube Channel. If you give this project a try, it would make my day if you’d share it with me. I’m @JaneSawyerMakes on TikTok, Instagram, Pinterest, Reddit, Threads, and Twitter (X). Please share and pin this article!
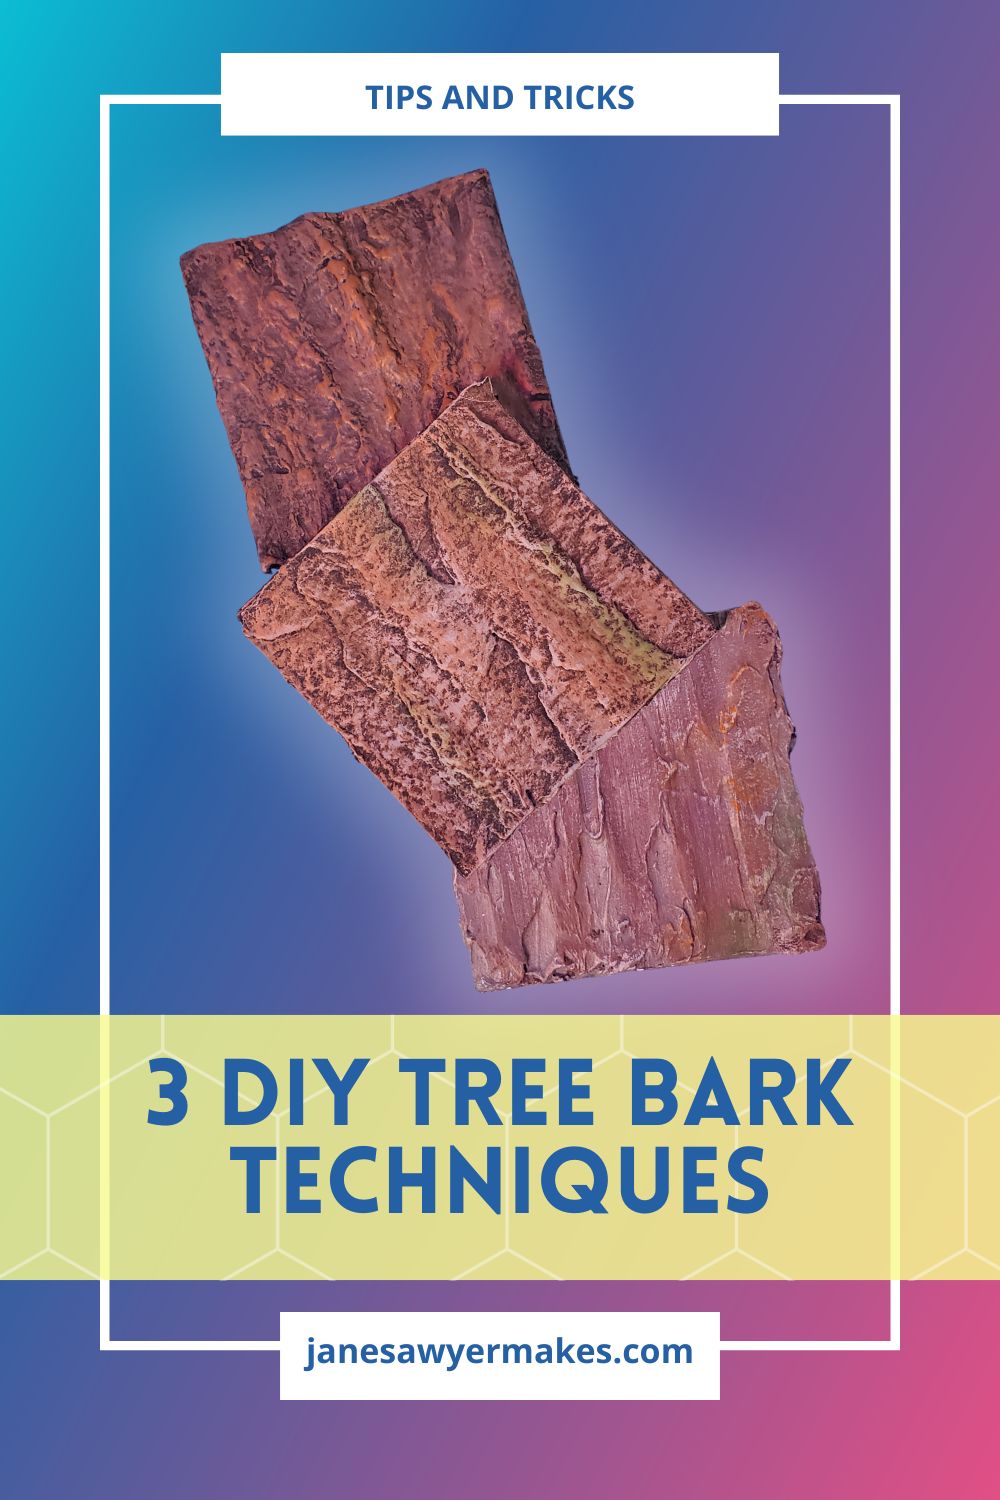
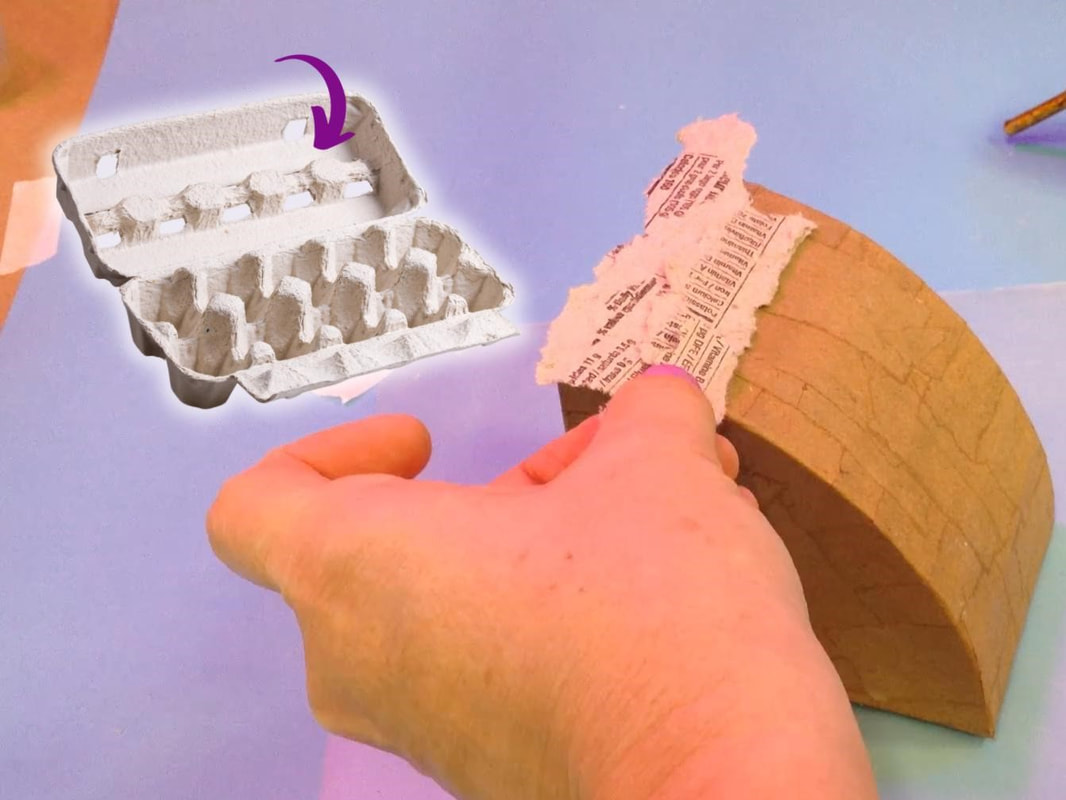
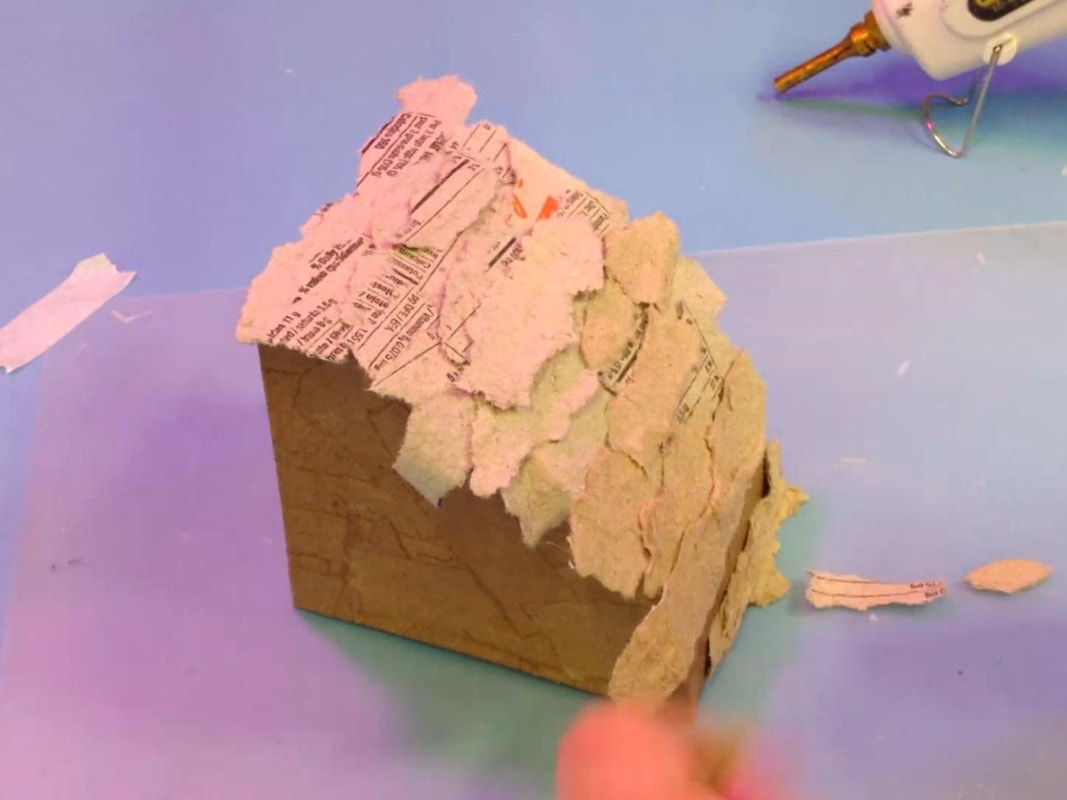
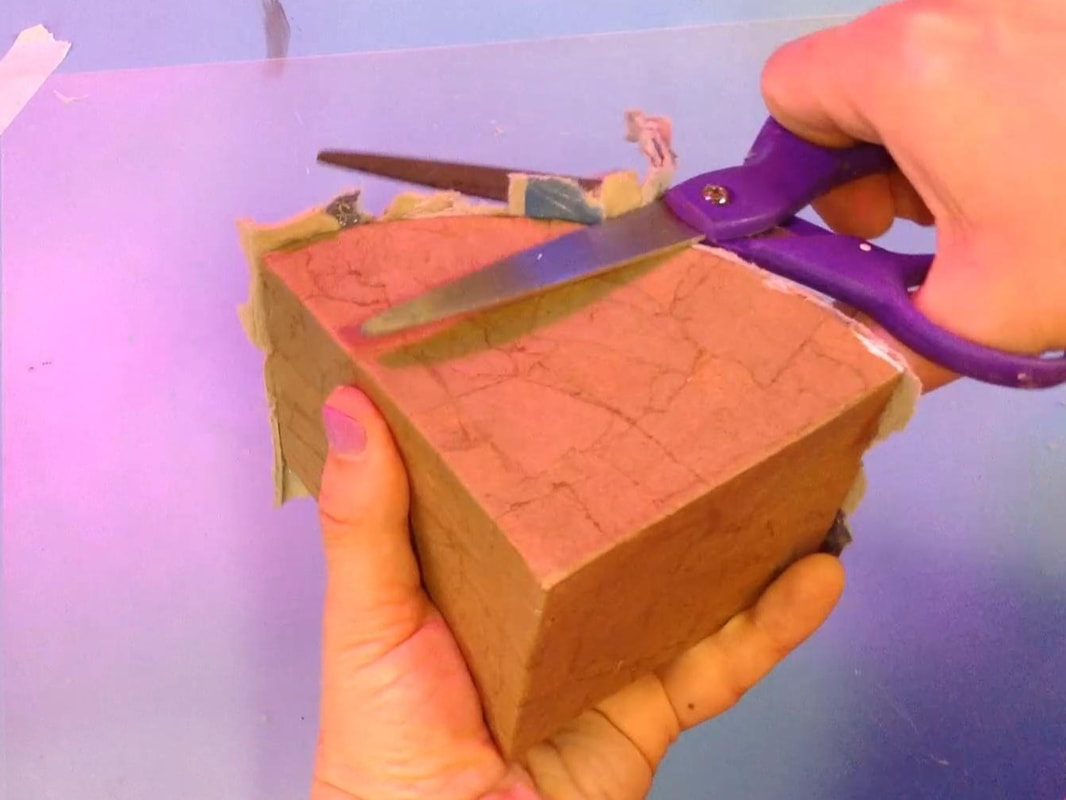
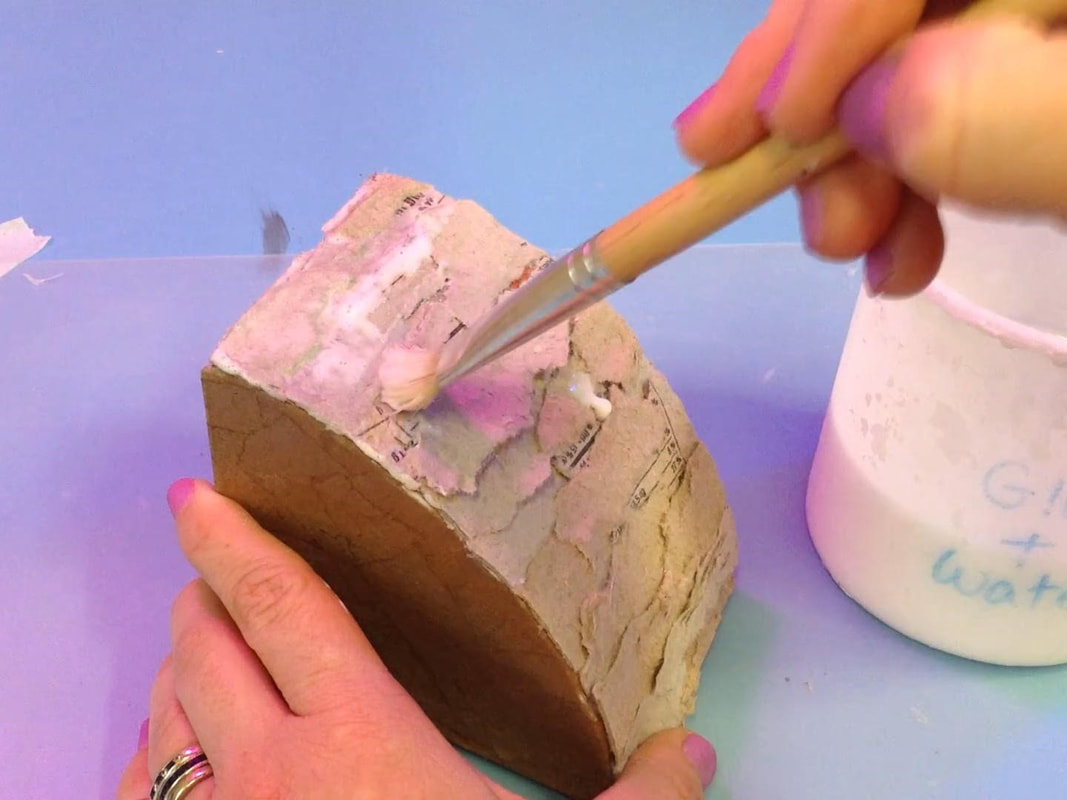
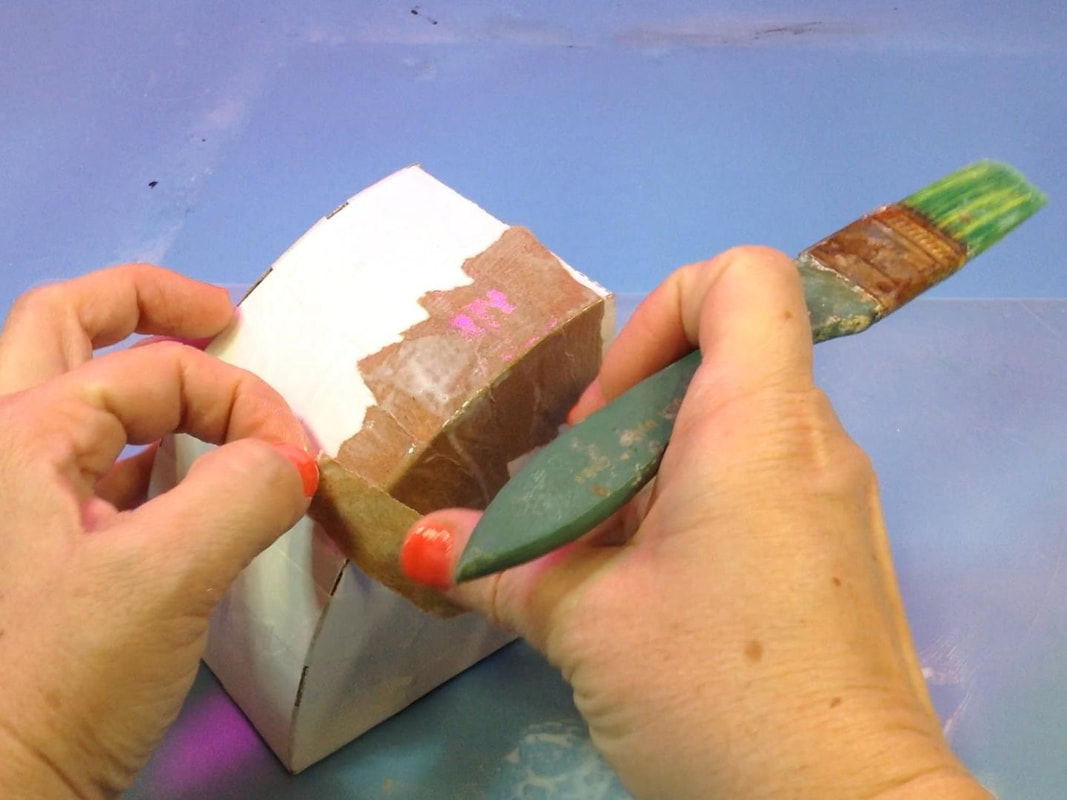
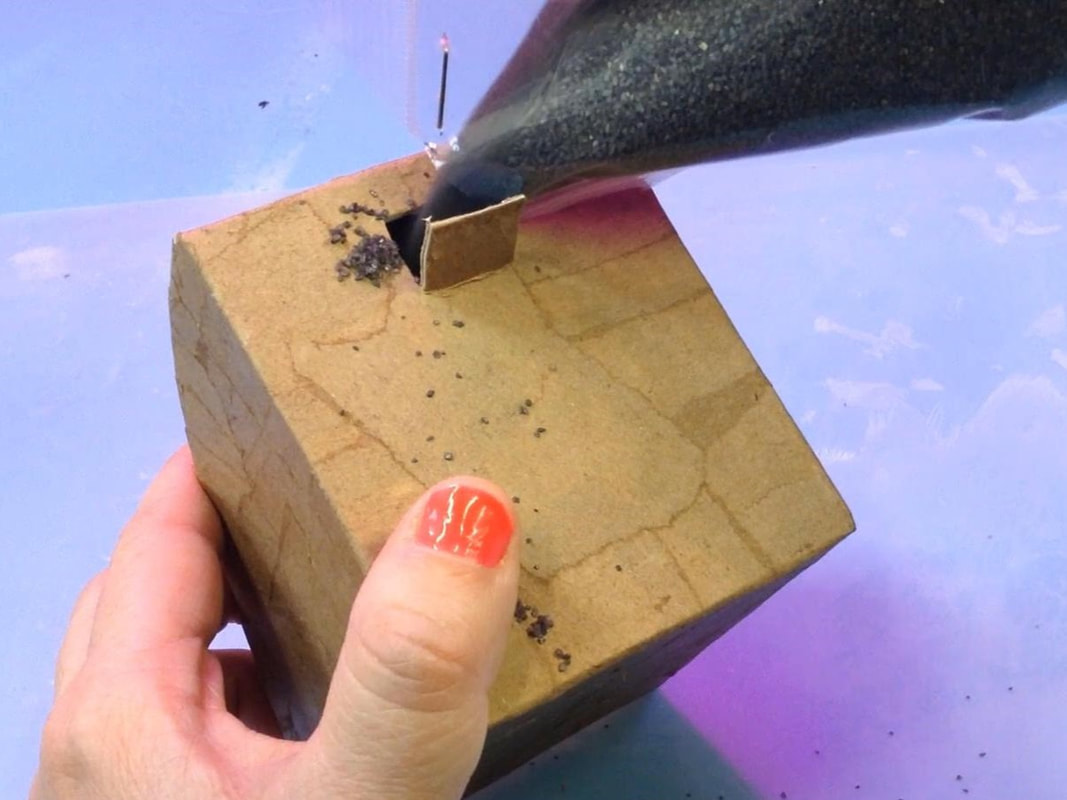
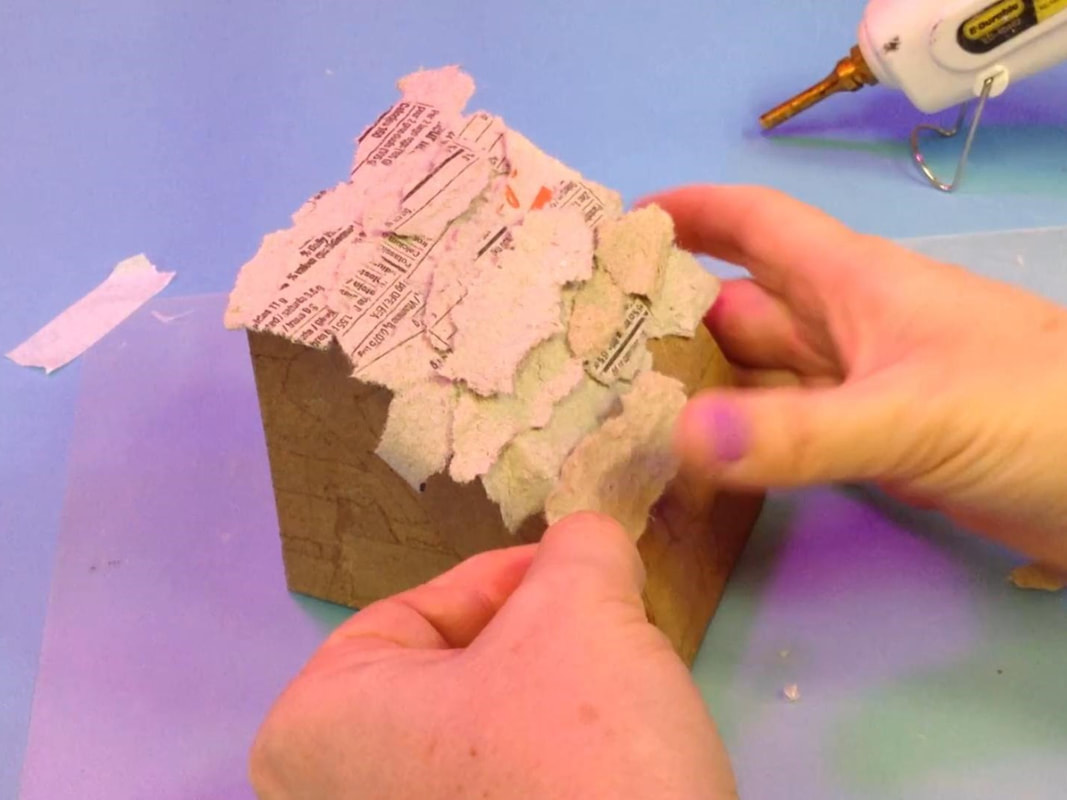
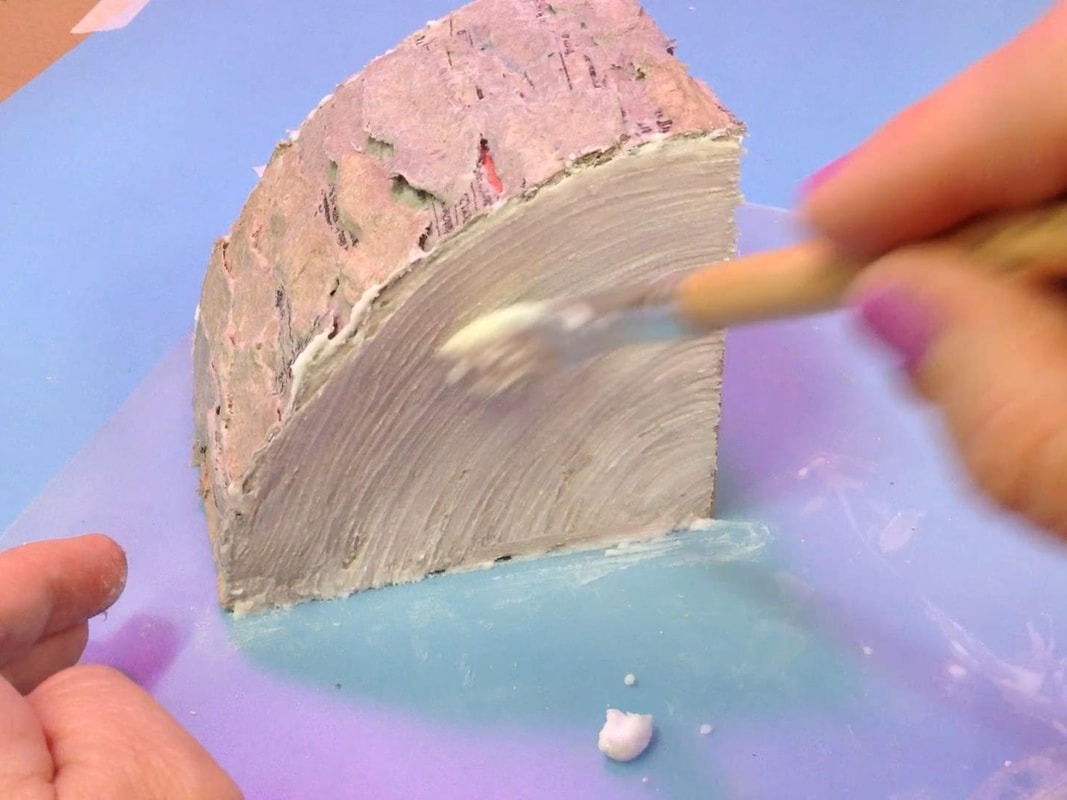
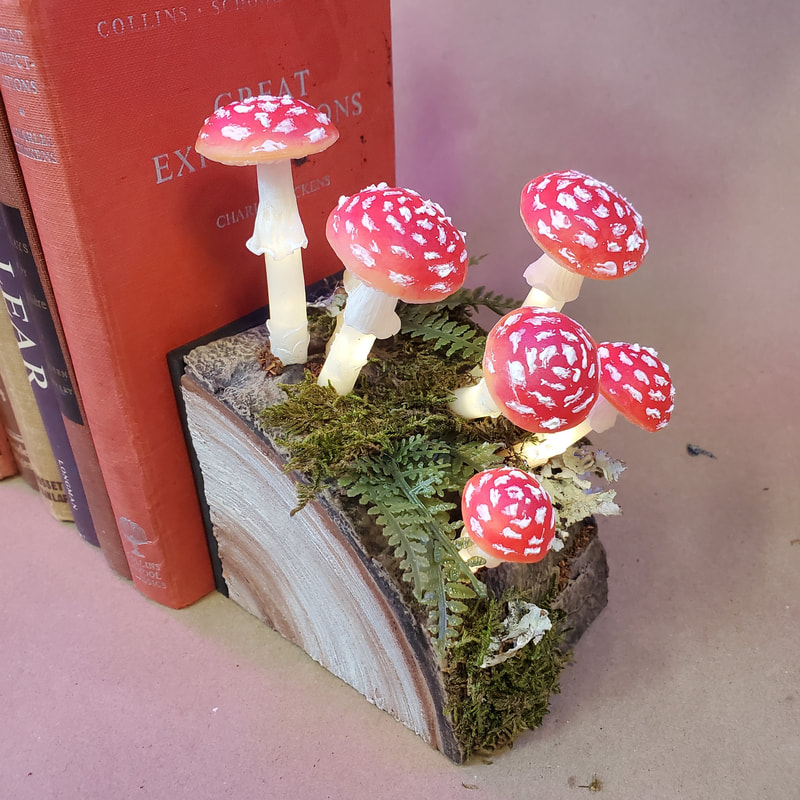
Option 1: How to Make Fake Bark with Egg Cartons
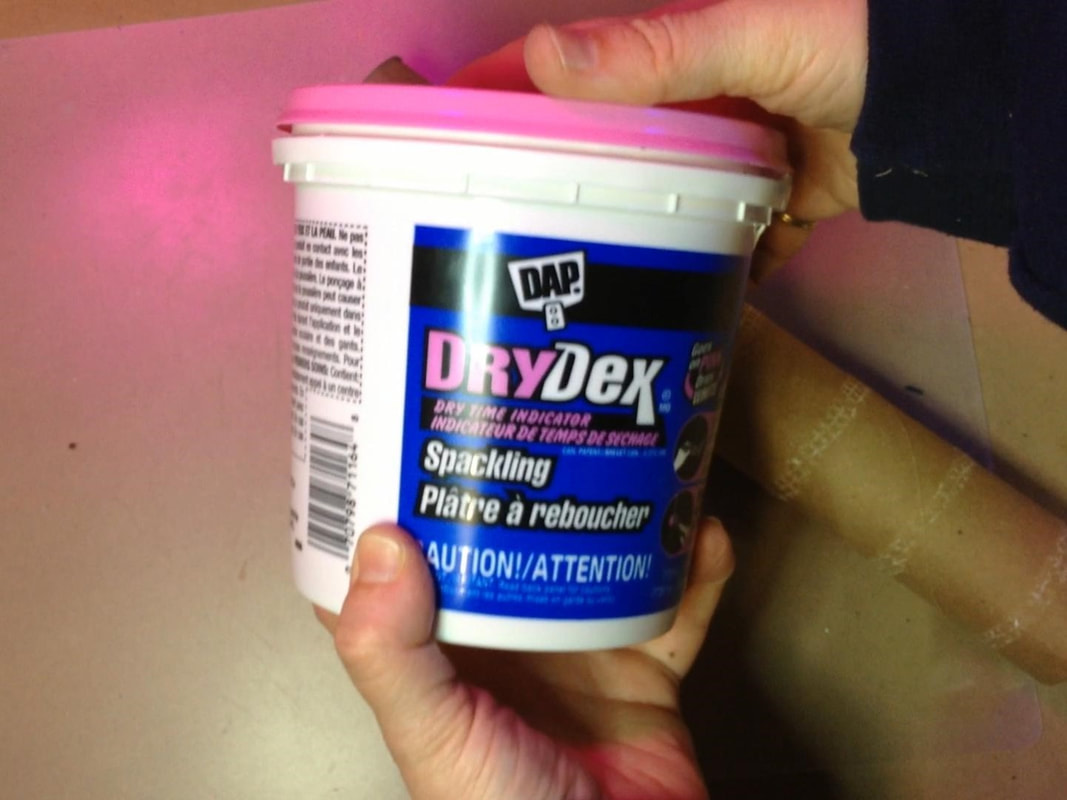
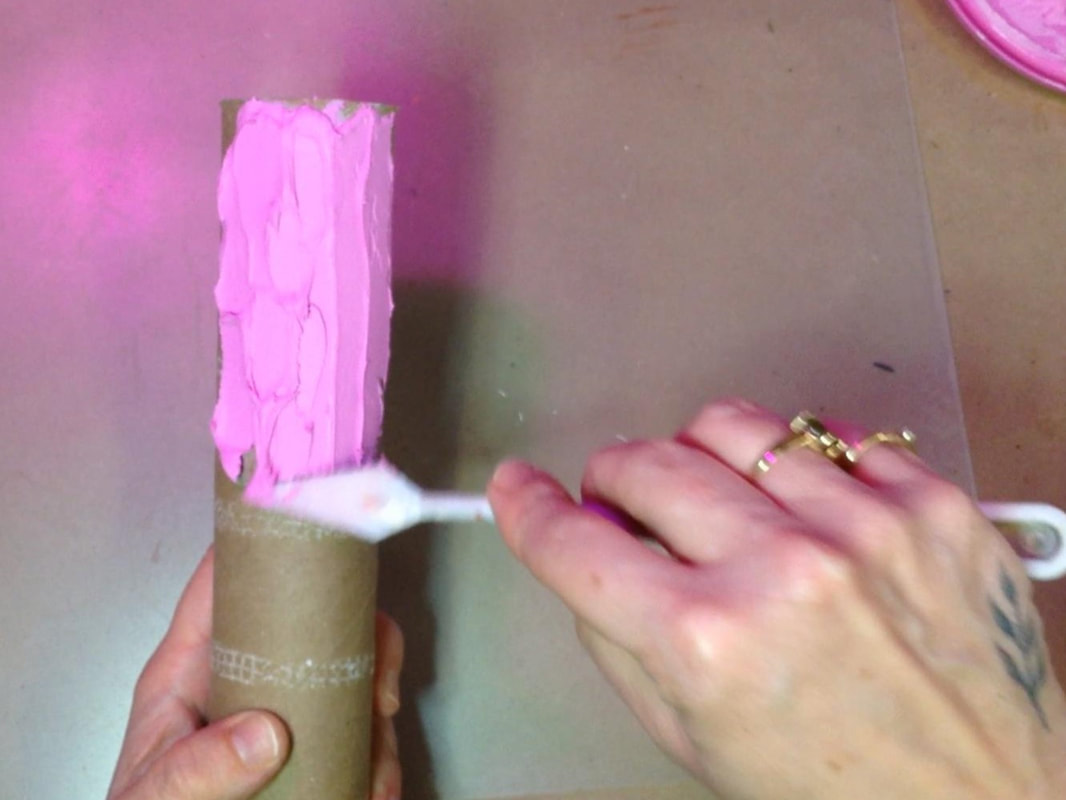
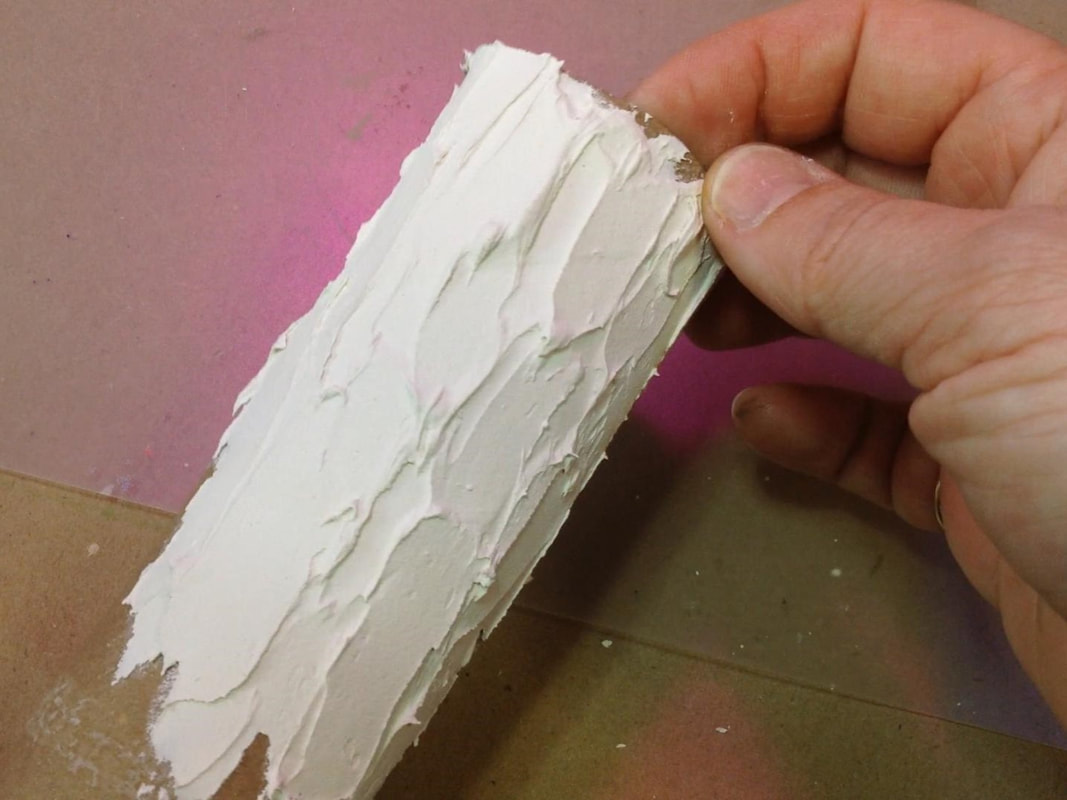
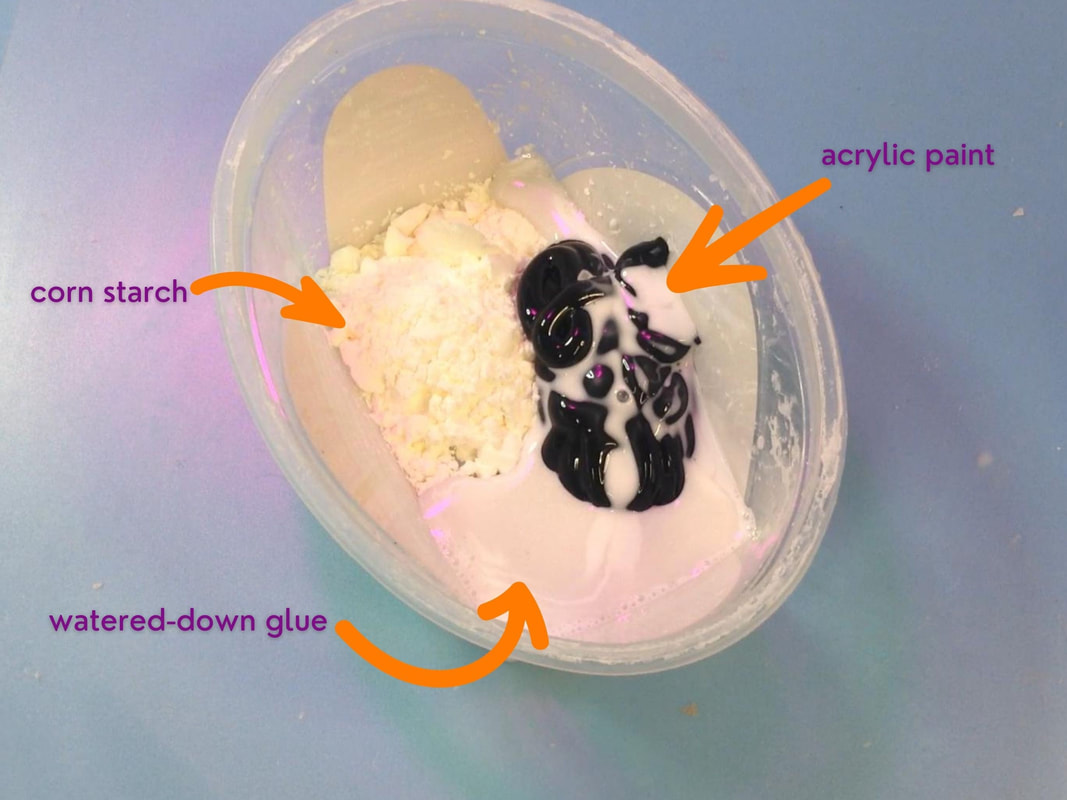
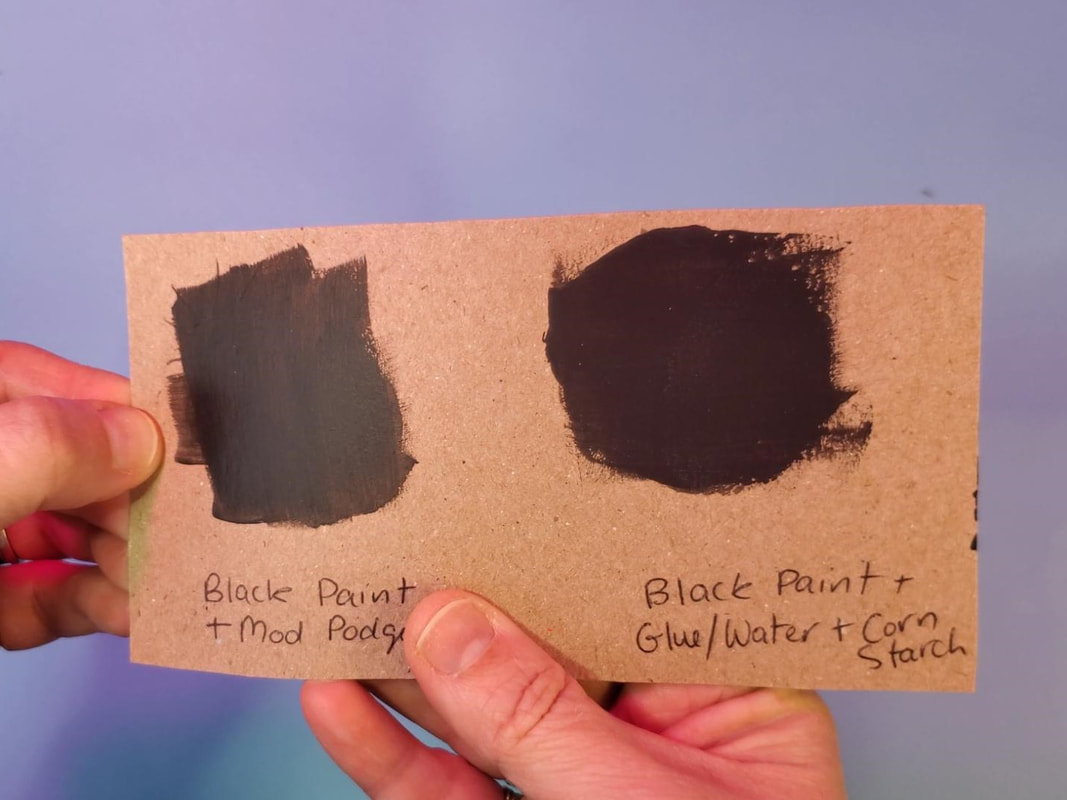
Option 2: How To Make Fake Bark with Spackle
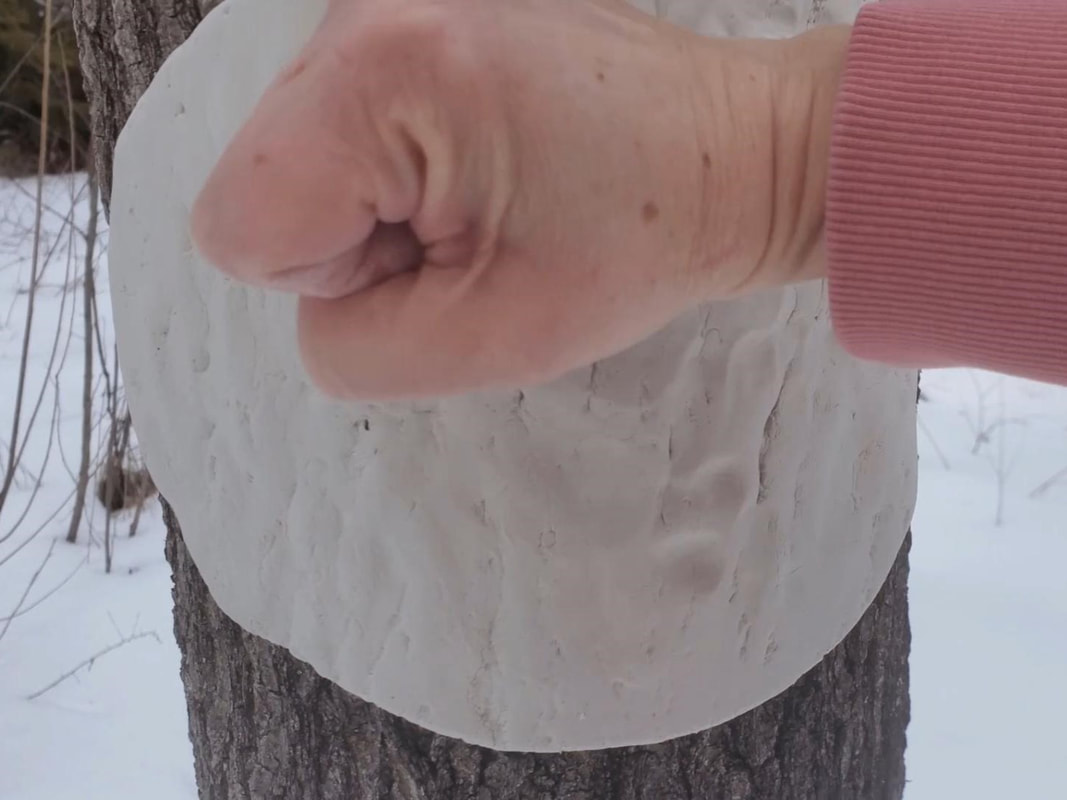
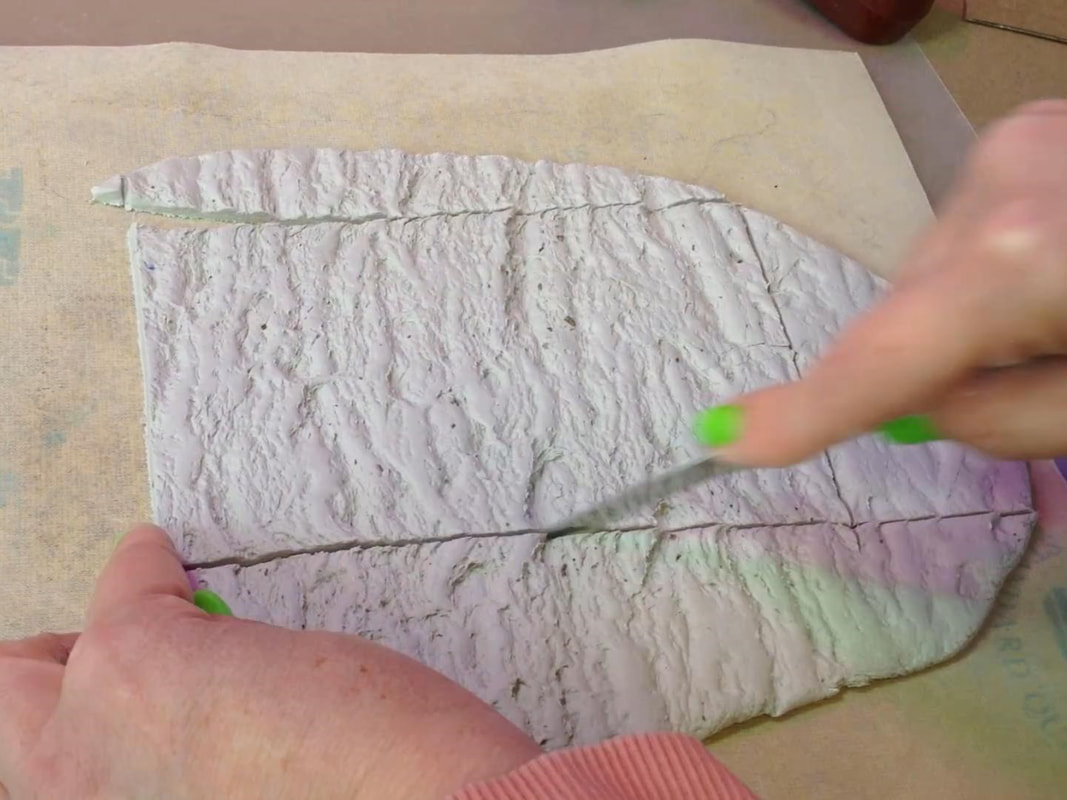
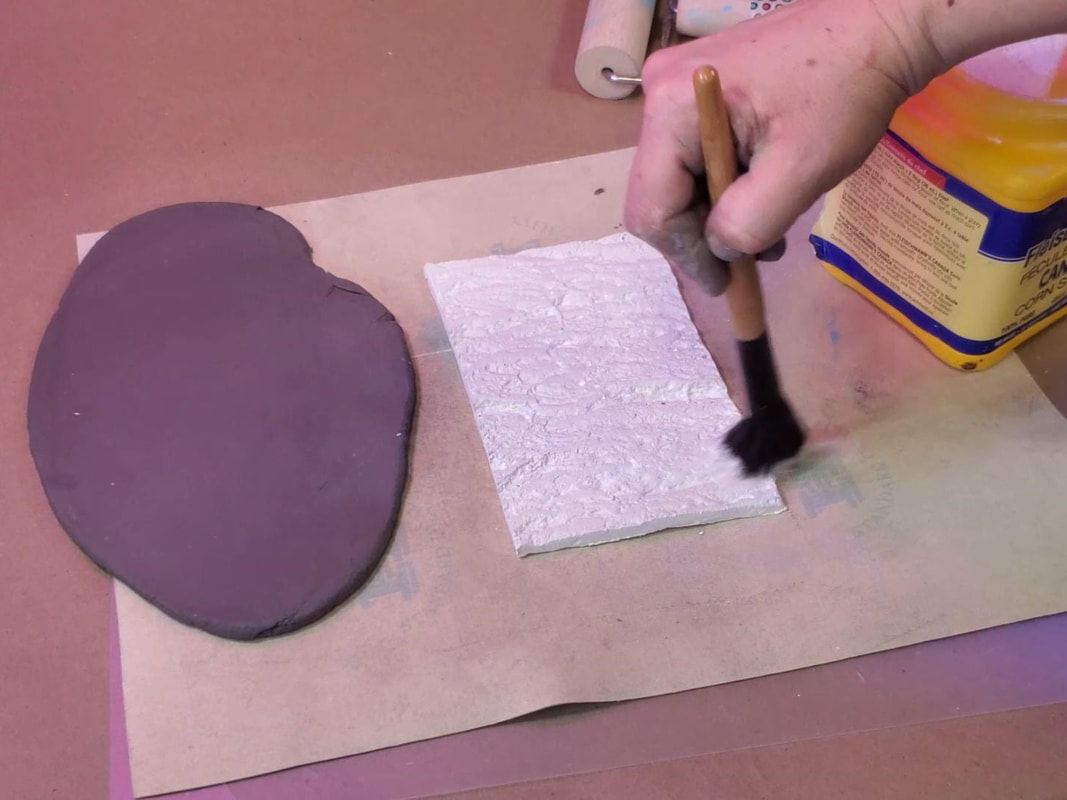
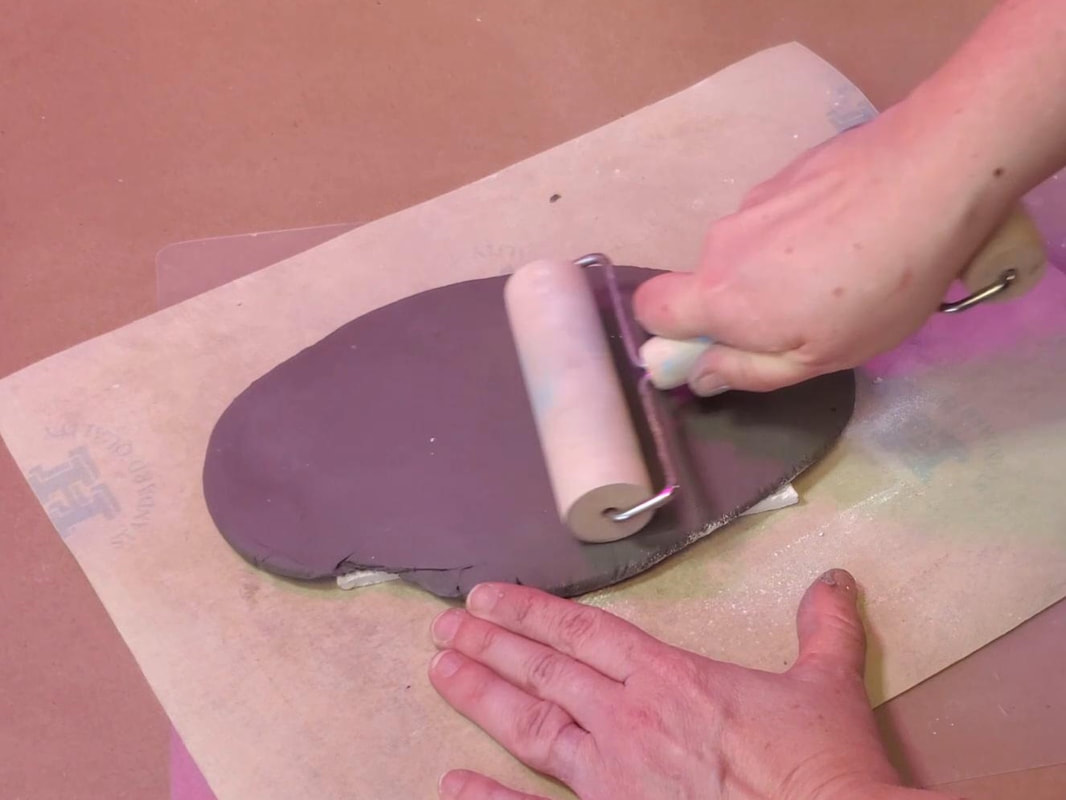
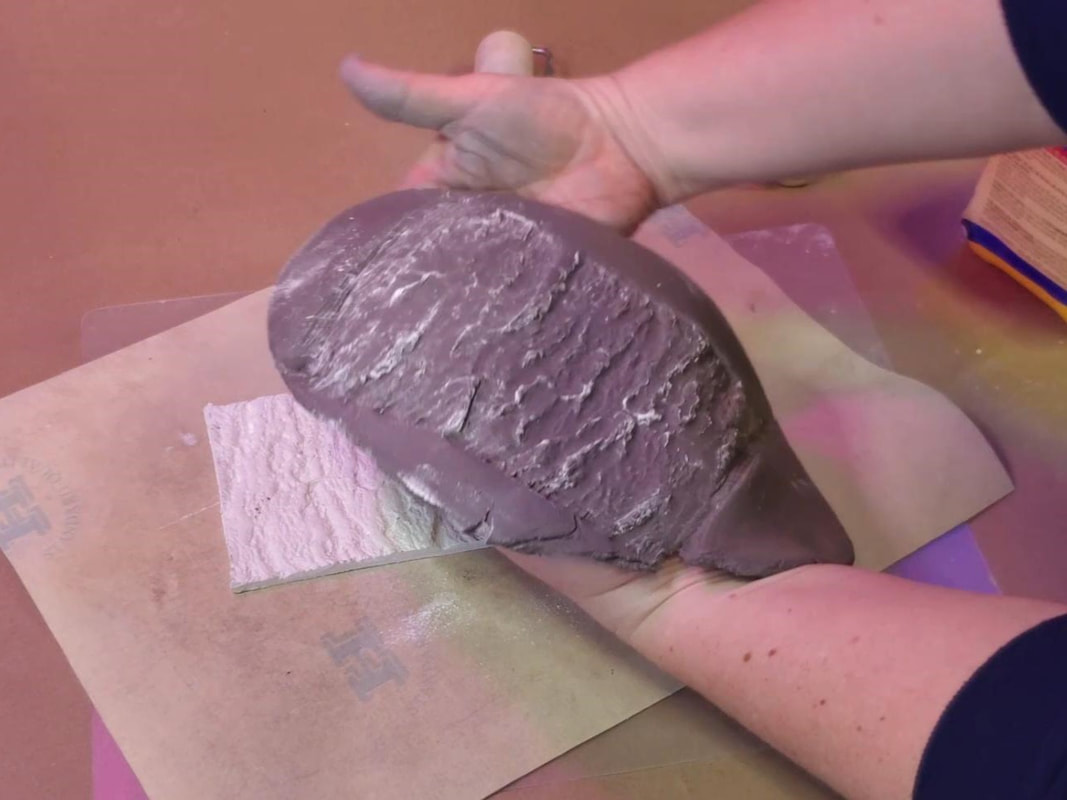
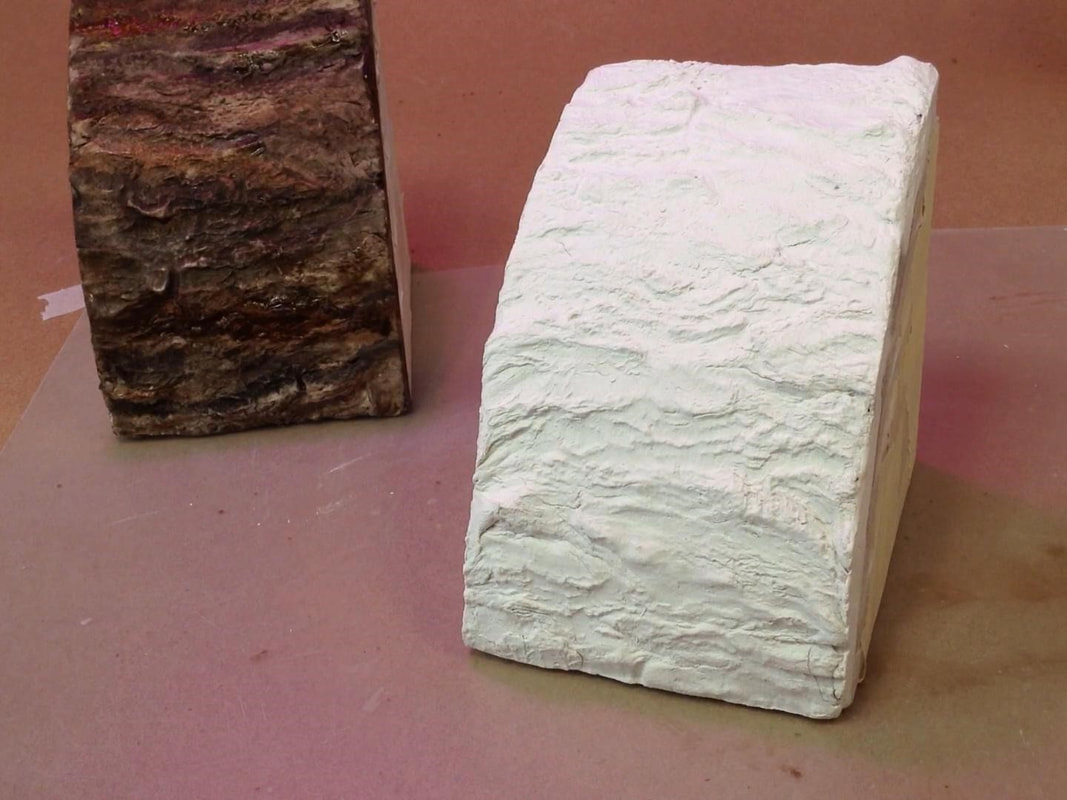
Option 3: How to Make Fake Tree Bark with Air Dry Clay
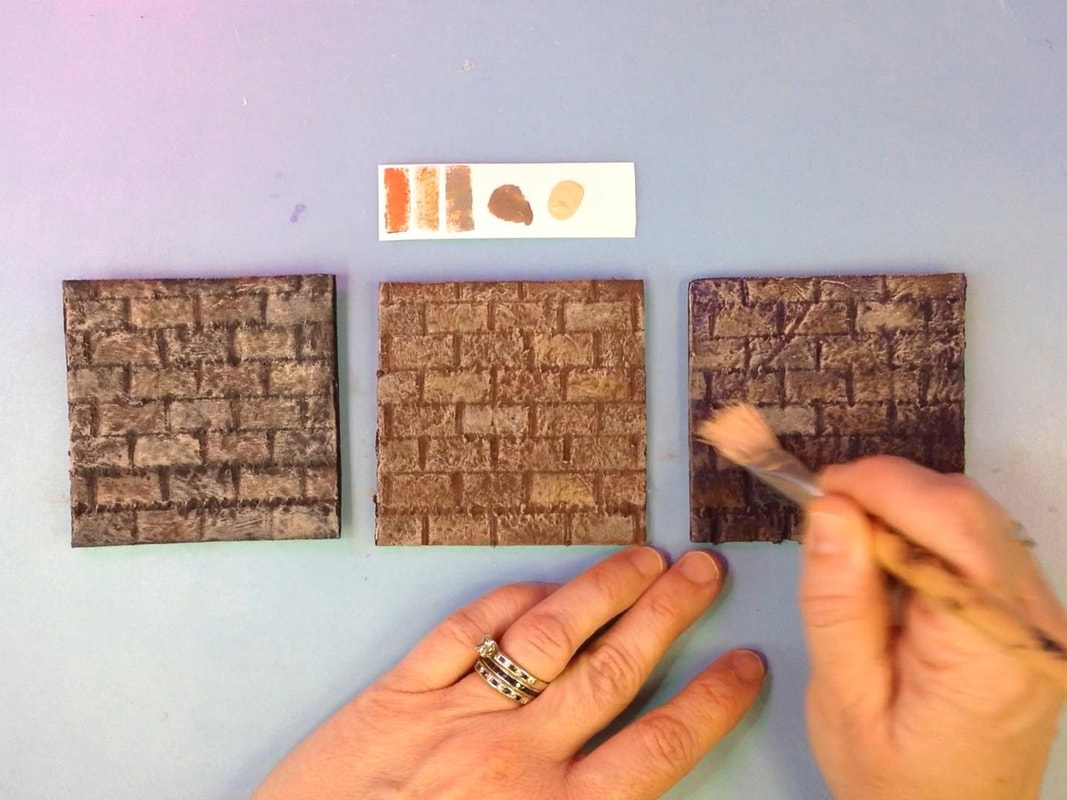
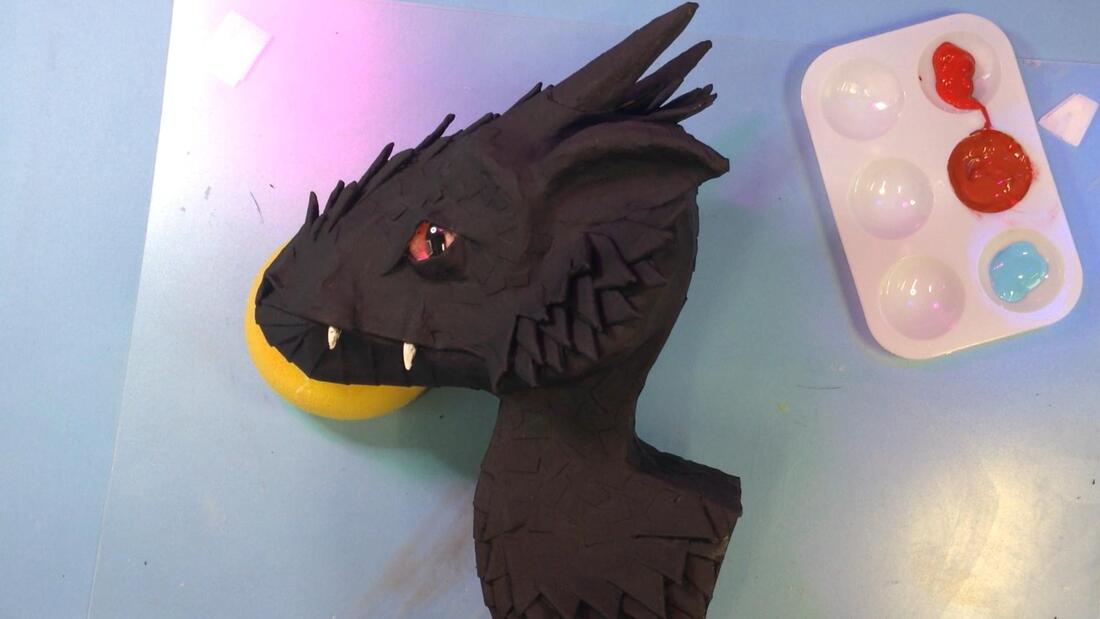
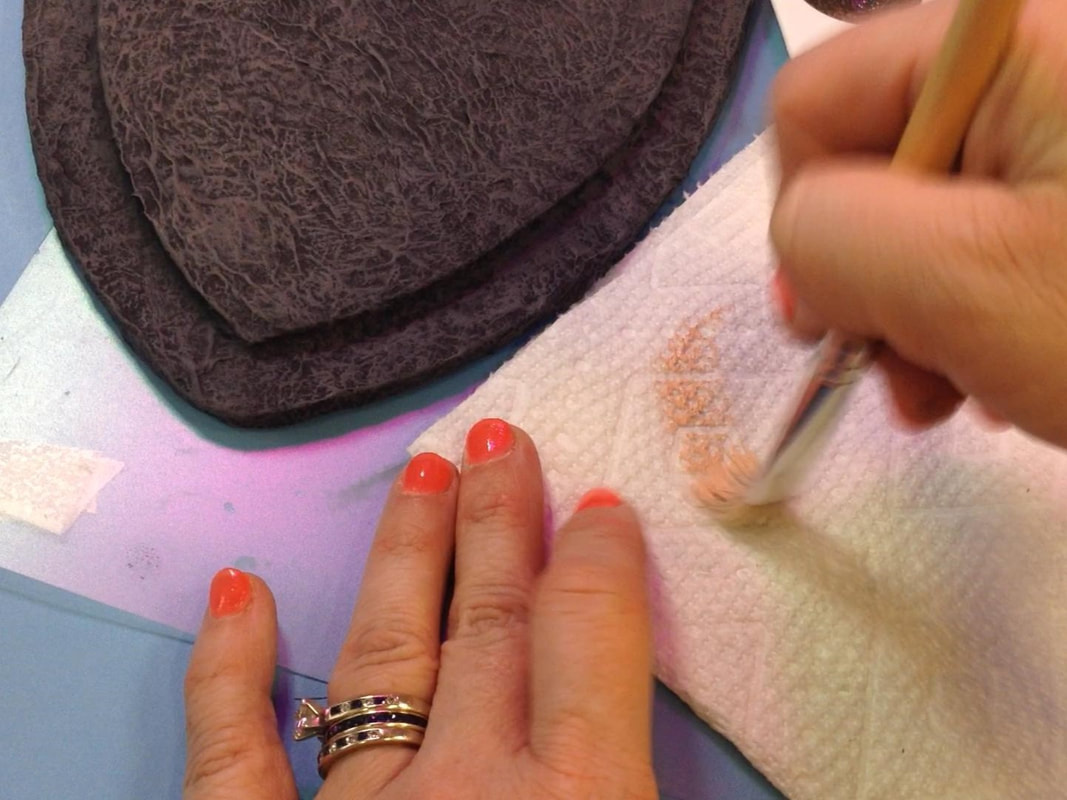
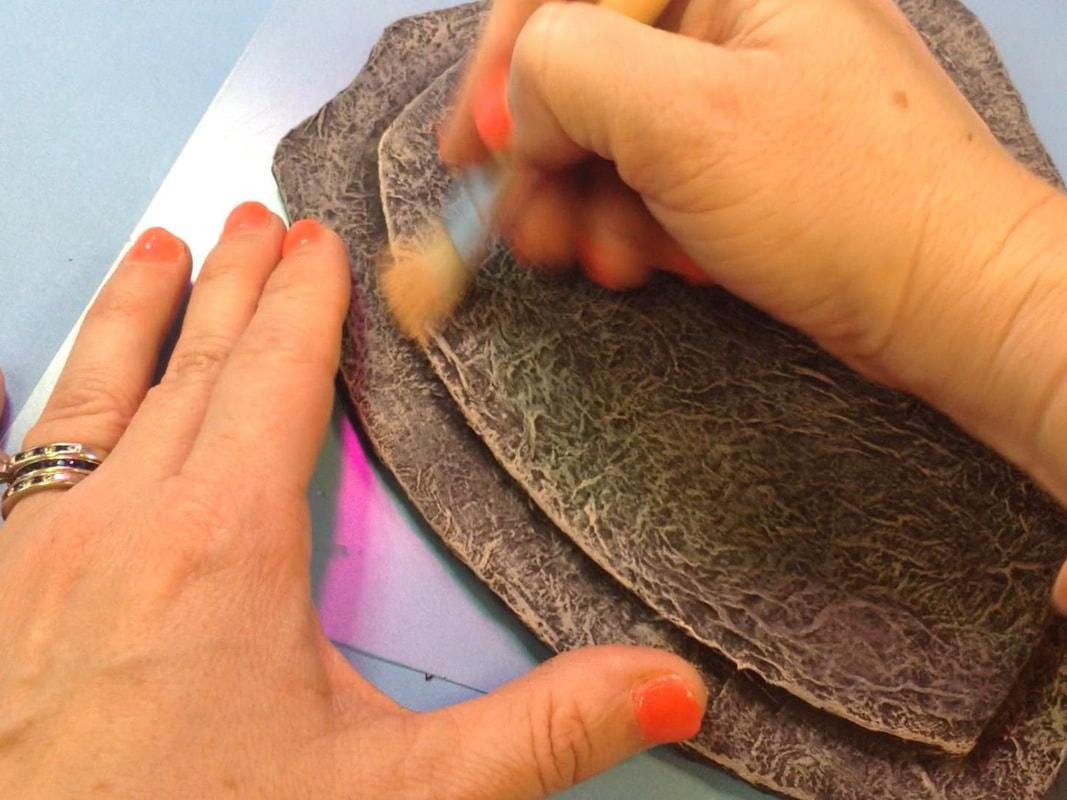
Check out the videos below for examples on how I used two of these faux bark making technique. I'd also recommend checking out my deep-dive into dry brush painting; it has some great tips for painting your DIY tree bark!
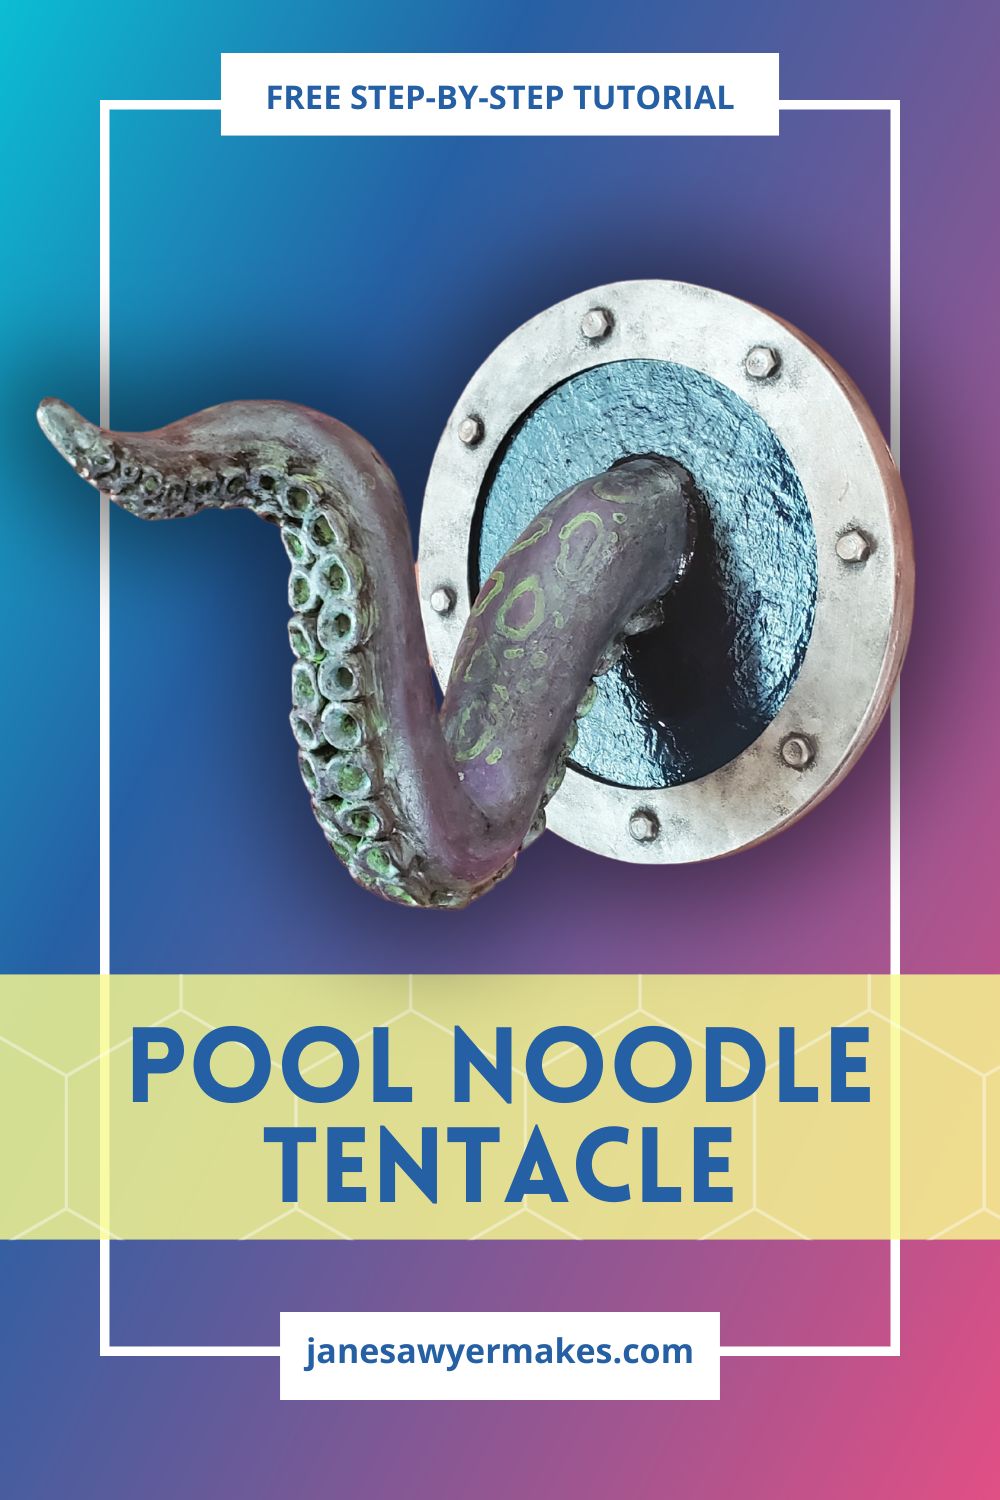
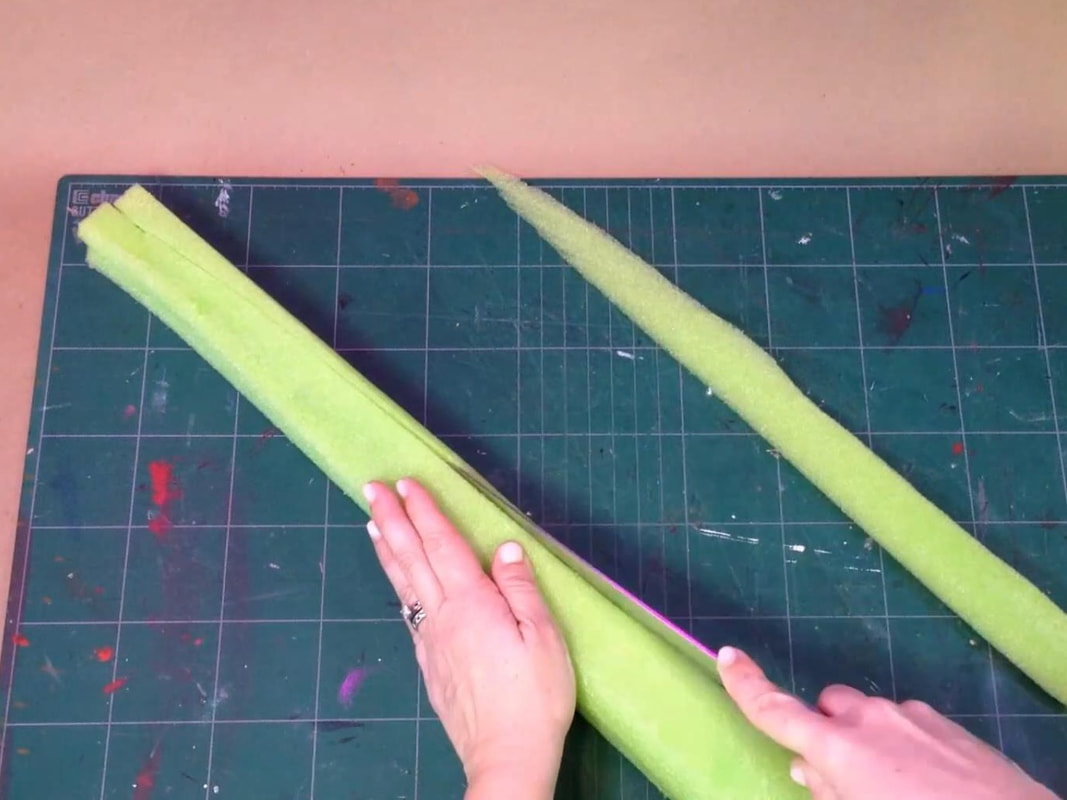
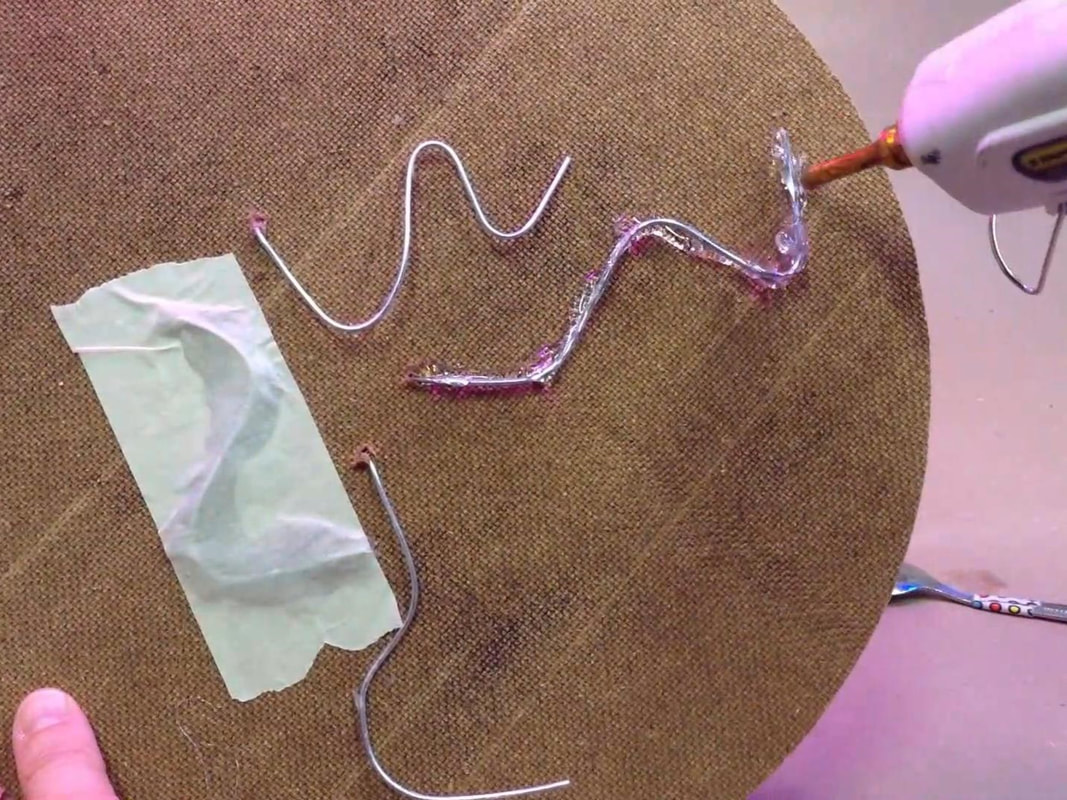
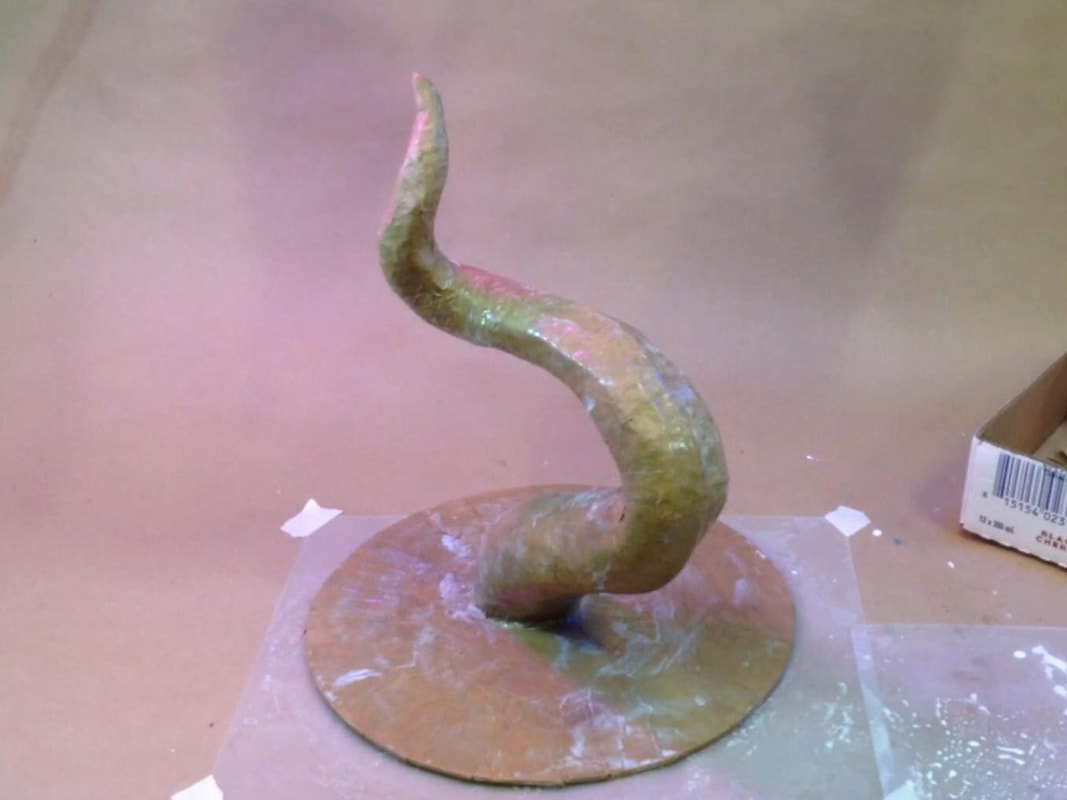
Watch the build video here!
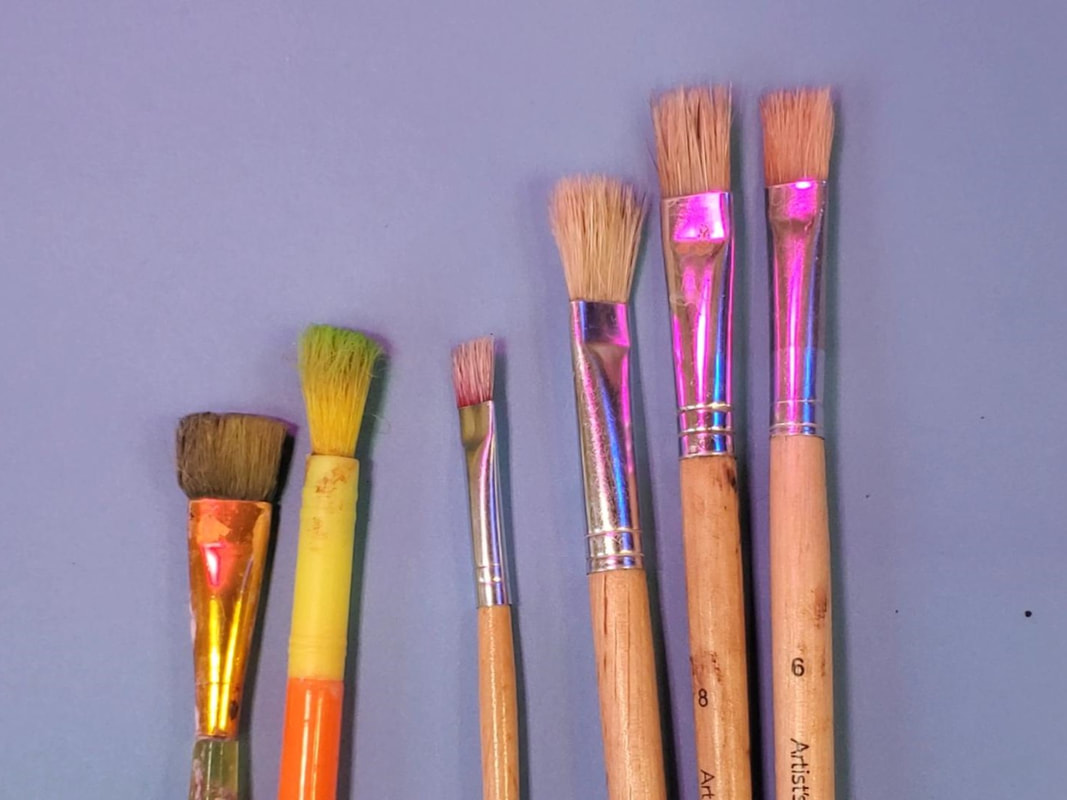
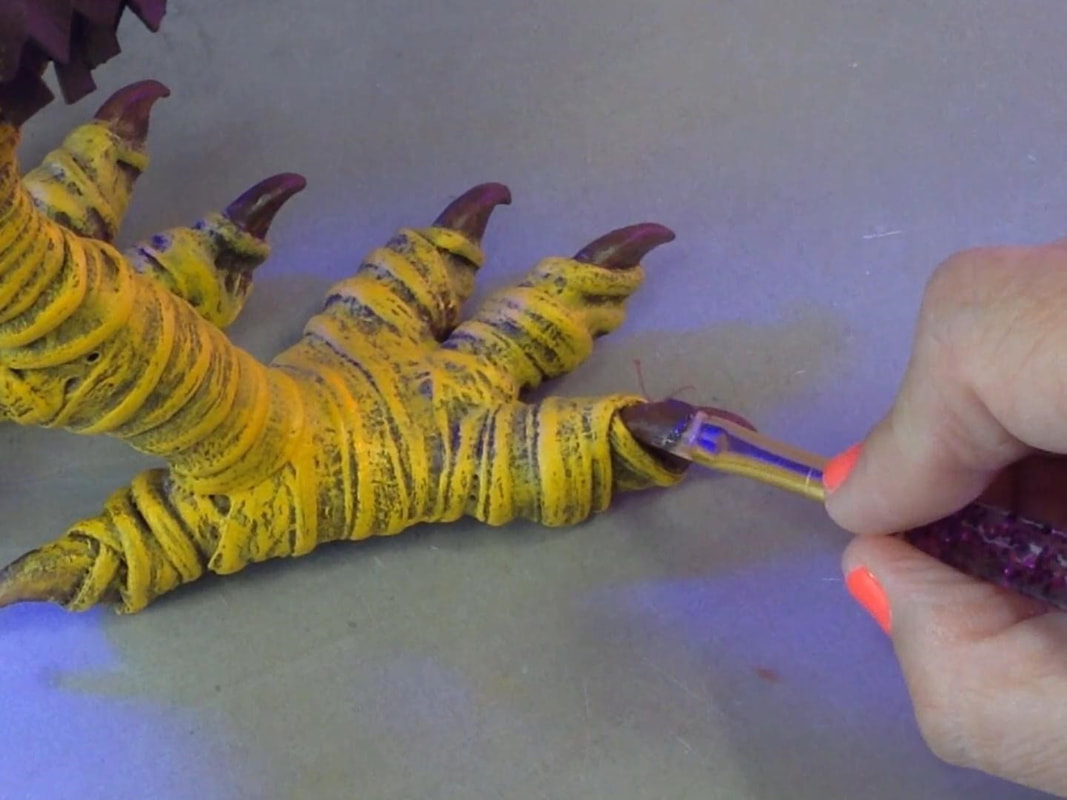
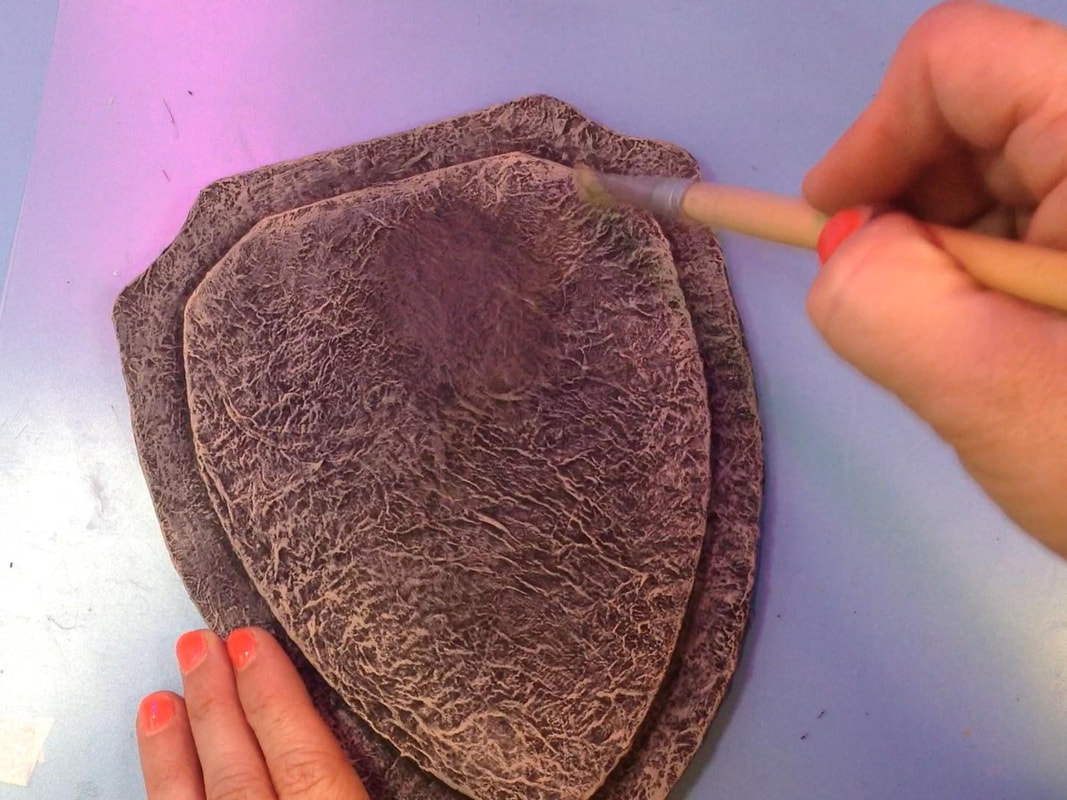
And now you have all the info to be a dry-brush painting expert! You can check out the technique in action in the video below or on other projects on my YouTube Channel. If you give this technique a try, it would make my day if you’d share it with me. I’m @JaneSawyerMakes on TikTok, Instagram, Pinterest, Reddit, Threads, and Twitter (X). Please share and pin this article! |
|||||||||||||||||||||||||||||||||||||||||||||||||||||||||||||||||||||||||||||||||||||||||||||||||||||||||||||||||||||||||||||||||||||||||||||||||||||||||||||||||||||||||||||||||||||||||||||||||||||||||||||||||||||||||||||||||||||||||||