JANESAWYERMAKES.COM
  • Home
  • Templates
  • Articles
  • Merch
  • Videos
  • About
  • Landing
  • Home
  • Templates
  • Articles
  • Merch
  • Videos
  • About
  • Landing
Search

How to Age and Patina a New Terracotta pot FAST

11/4/2023

0 Comments

 
Picture
Watch the VIDEO TUTORIAL here!
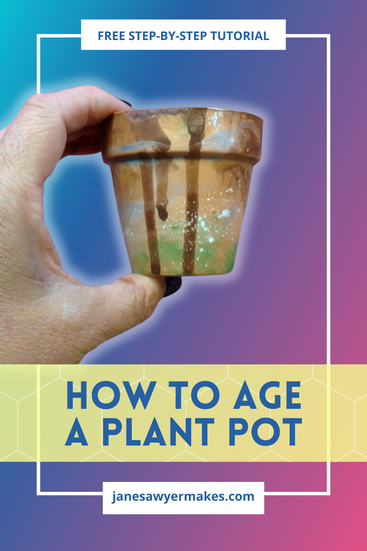
Whether you want to add a vintage charm to your plant collection,  coordinate a new pot with older ones in your collection, or (like me!) create a theme garden that needs an aged look, this tutorial will help you add an instant patina to your new terracotta plant pots.

I really went for it with the aged and muddy look, but it's easy to tone it down a bit for a more subtle aging effect. I used these pots for a series of three spooky plants I made for Halloween decor. If you're interested, you can check out that build video on my YouTube channel. 

Materials
  • terracotta pot (the cheaper the better)!
  • grey, white, brown, and green acrylic paint (poster paint or watercolour would work too. Use what you've got!)
  • old paintbrush
  • paper towel
  • pipette (optional)
  • hammer (optional)

Picture
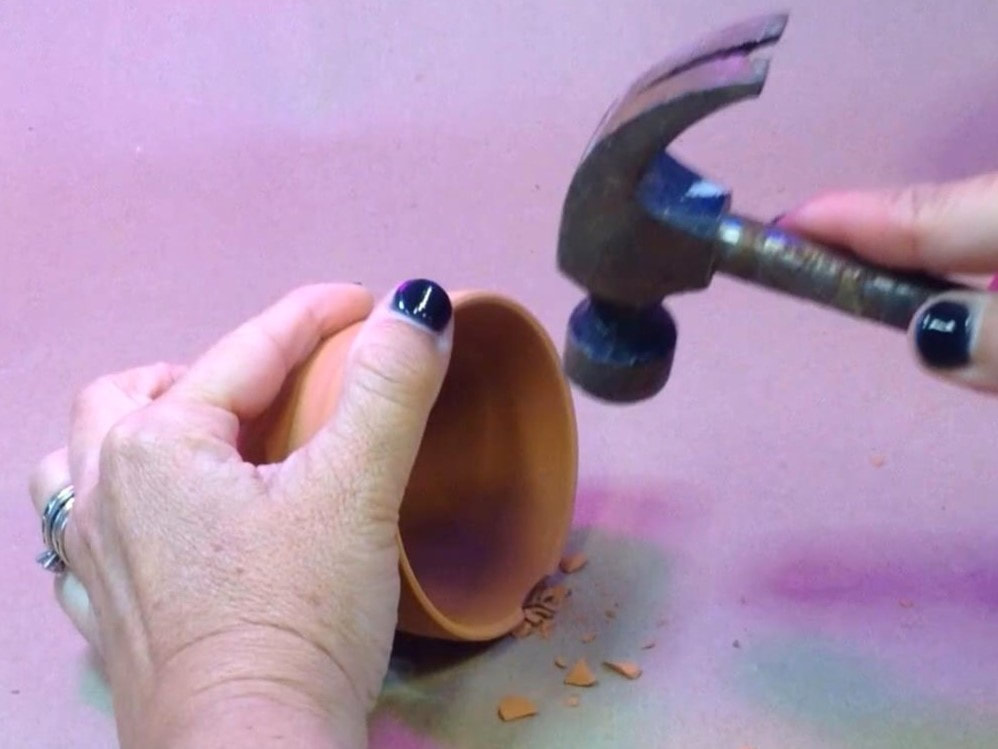
Step 1: Chip the rim of the pot
Step 1 (Optional): Chip the Rim of the Pot

This step is optional and risky! I used a small hammer to take a few chips out of the rim of my pot.

If you do this, wear eye protection and know that you risk cracking your pot outright.  Another option would be to grind down the rim with a file or coarse sandpaper. Please protect your lungs with a dust mask if you go this route!
Picture
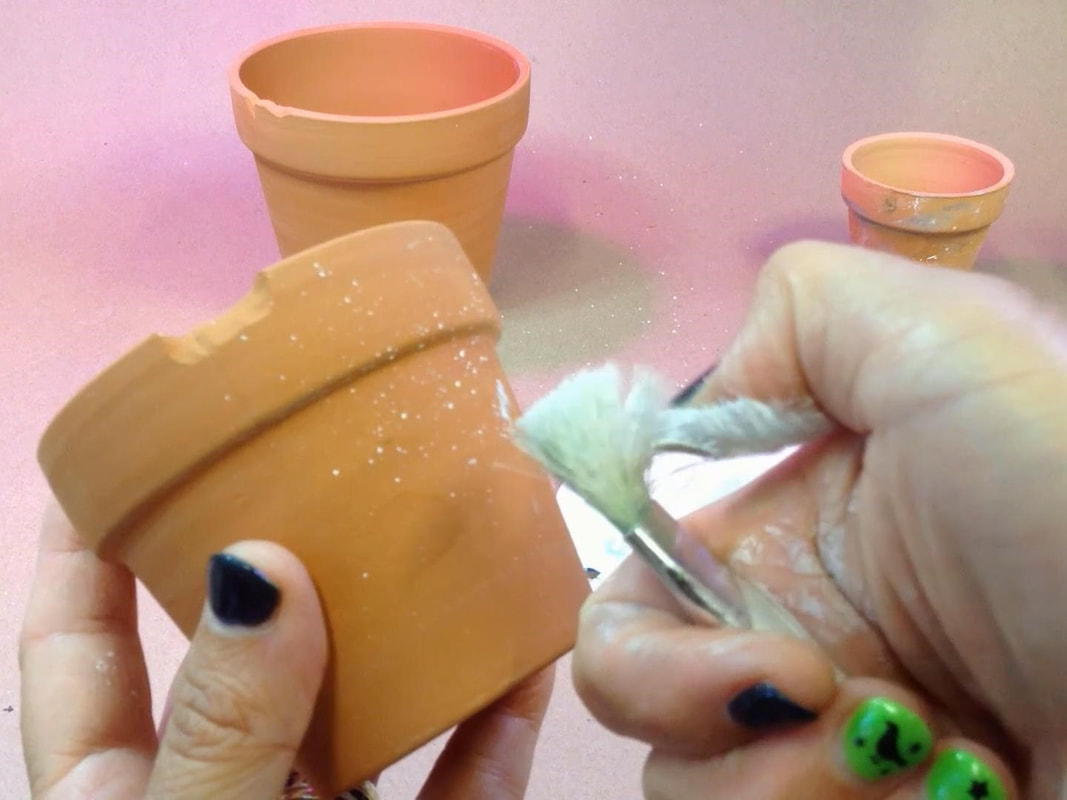
Step 2: Add White Mineral Deposits

Add the look of some mineral deposits  by flicking some watered-down white paint onto the side of your pot. Use a cheap coarse brush or an old toothbrush
Picture
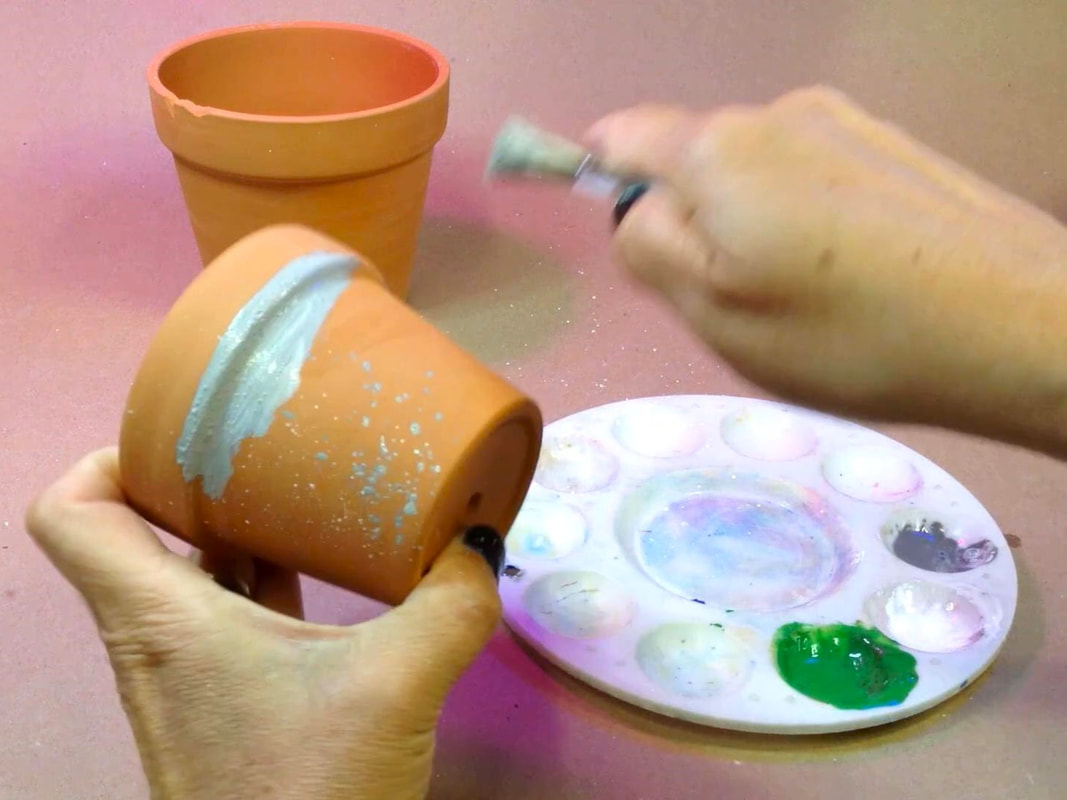
Step 3: Slap on a Bit of Grunge

Add some grunge around the rim of the pot by slapping on some watered-down grey paint.
Picture
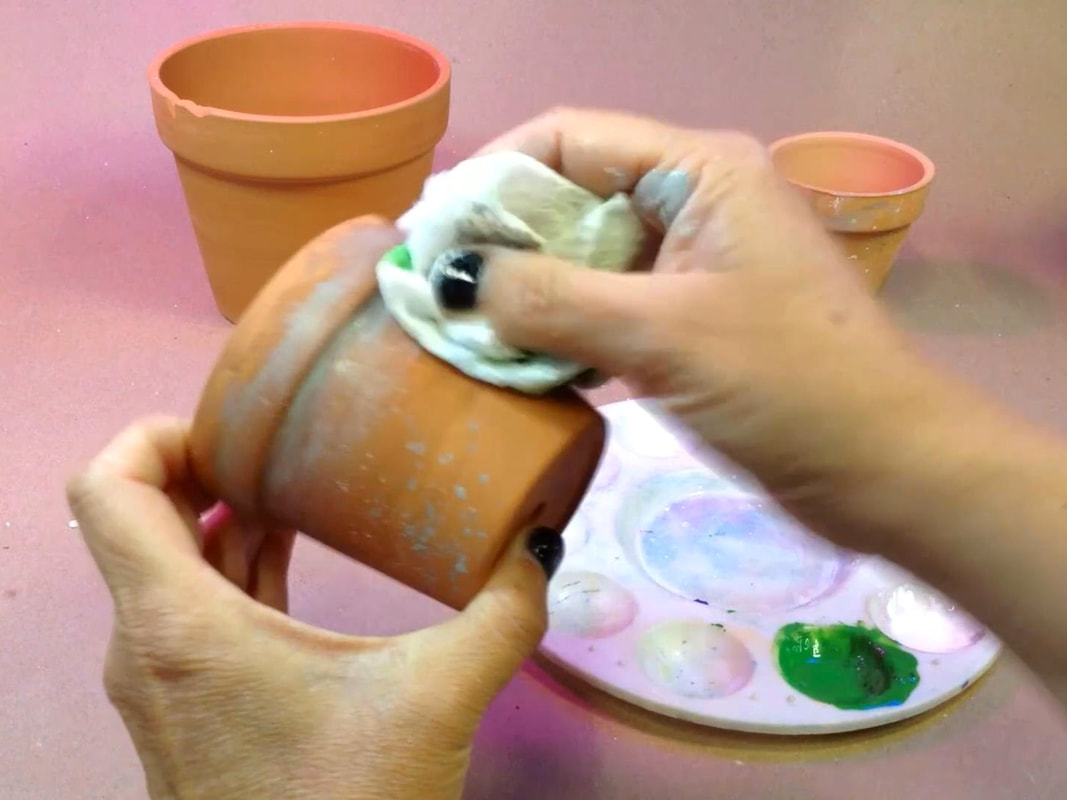
Step 4: Blend out the wet paint with a damp paper towel
Step 4: Tone it Down and Blend

Blend out the paint by tapping with a crumpled-up, damp paper towel.  Here's where you can decide how much or how little you want to age your pots. You can really go for it, or take most of it off.

Picture
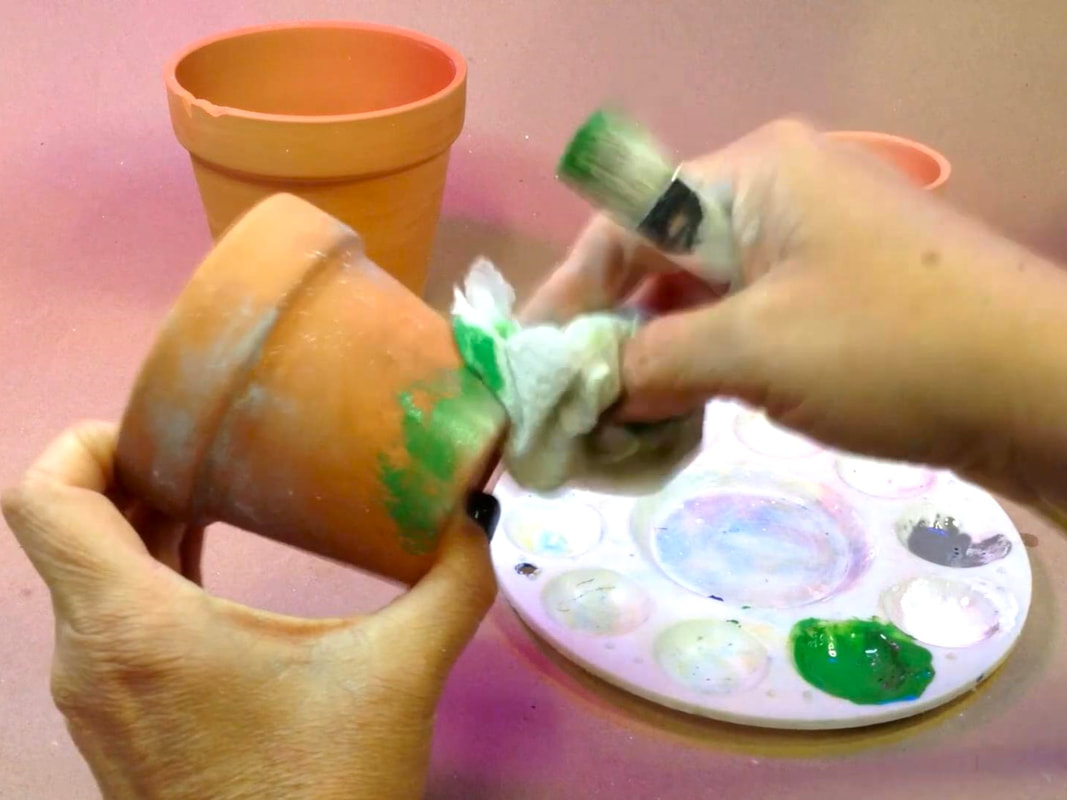
Step 5: Blend some green paint around the base for algae
Step 5: Add a Bit of Moss or Algae

Add some algae to the base of the pot by stippling on a bit of green paint. Blend that with the damp paper towel. 

Note that I don't wash my brush or change out the paper towel between paint colours. It adds to the aged effect!
Picture
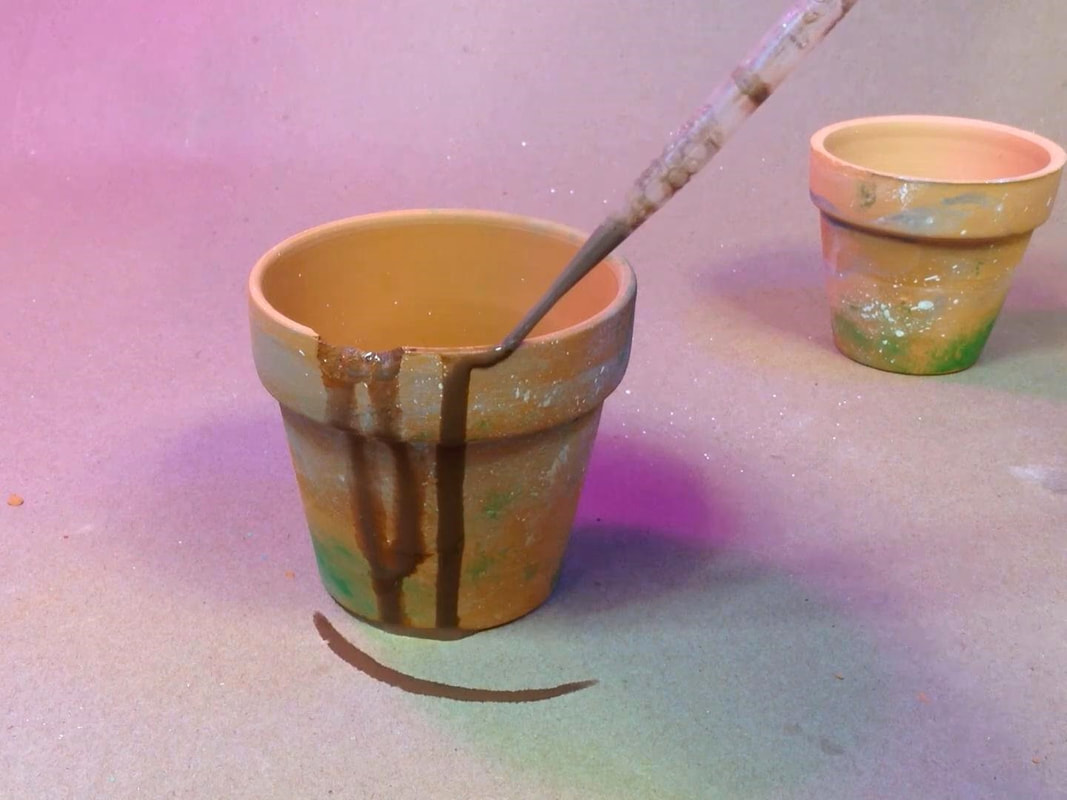
Step 6: Drip some watery "mud" down the side of the pot
Step 6 (Optional): Muddy Drips

Use a pipette to drip some very watered-down brown paint down the sides of your pot. You might want to skip this step if you're looking for a more subtle look - but for me, the grungier the better!

If you don't have a pipette, try creating the drips with a paintbrush.
Picture
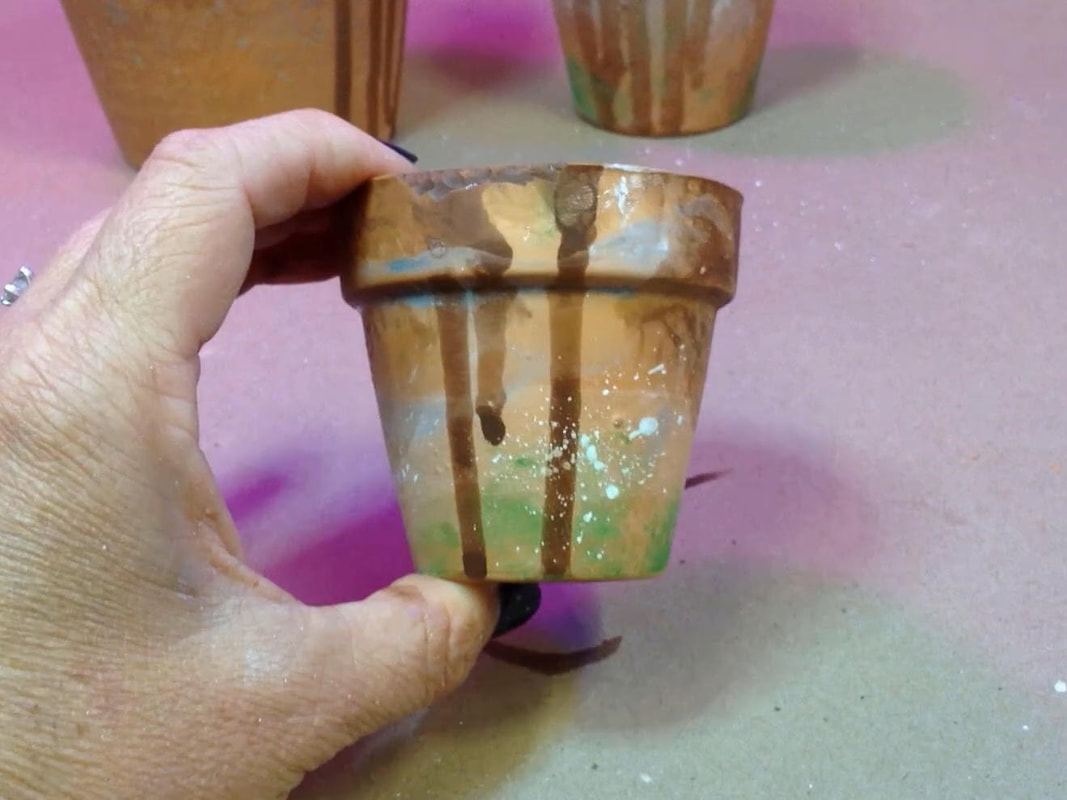
Step 7: Repeat layer of weathering for a more aged look
Step 7: Repeat as Desired

If you're going for a really aged look,  repeat any of the above steps to create layers of weathering.

You can see here that I added additional white splatters on top of the brown drips. This makes it look like this pot had been aging for years and years. For this project, I wanted to almost comically over-do it, but you can add weathering to your taste level.
If you want to watch each step of this project in detail, please check out the build video on my YouTube channel below. If you give this project a try, it would make my day if you’d share it with me. I’m @JaneSawyerMakes on TikTok, Instagram, Pinterest, Reddit, Threads,  and Twitter (X). Please share and pin this article!
0 Comments


Leave a Reply.

    More Articles

    Earth Dragon Egg
    ​Water Dragon Egg
    Fire Dragon Egg
    Large Paper Mache Snake
    Paper Mache Jackalope
    Paper Mache Blob
    Polymer Clay Toad
    Pumpkin Cottage
    ​Pumpkin Basket
    Cardboard Jack o' Lantern
    Paper Mache Pumpkin
    Splatter & Bloom Review
    Pringles Can Bird Automata
    Pringles Can Spooky Tree
    Pringles Can Fake Cake

    Pool Noodle Tentacle
    DIY Tree Bark
    Walking Bigfoot Papercraft
    Log Bookends
    Polymer Clay Mushrooms
    Dry Brush Painting
    ​Less Mess Paper Mache
    Sock Abominable
    Elf in e.l.f
    Soapstone Fox​
    Realistic Leaf Hack

    ​Audrey II Plant
    String of Hearts
    Foam Roller Plant
    Age a Terracotta Pot
    Polymer Clay Pumpkin
    Crystal Ball​
    Air-Dry Clay Bat
    5-Step Mushroom Jar
    3 Reasons to do Game of Shrooms
    5 Reasons You're a Fake Artist
    Alice in WALNUTland
    Walnut Shell Ring Box
    Apothecary Walnut
    Bigfoot Forest Walnut
    Baby Dragon in Walnut
    Tiny Hinge DIY
    How to Split a Walnut
    DIY Crystal Geode
    Propagation Station 
    Tiny, Tiny Chairs
    Abominable Snowman
    Krampus
    ​Sock Mothman
    ​Mini Top Hat
    Baba Yaga's Hut
    Less Mess Paper Maché
    Head Mount Dragon
    Building Moonwatcher
    Testing 5 Fill Media
    Thumbs-Up Machine
Powered by Create your own unique website with customizable templates.
  • Home
  • Templates
  • Articles
  • Merch
  • Videos
  • About
  • Landing