JANESAWYERMAKES.COM
  • Home
  • Templates
  • Articles
  • Merch
  • Videos
  • About
  • Landing
  • Home
  • Templates
  • Articles
  • Merch
  • Videos
  • About
  • Landing
Search

Mini Apothecary in a Walnut Shell

4/21/2023

0 Comments

 
Picture

Watch the build video here!

Nestled within the hollowed confines of a tiny walnut shell, a miniature world unfurls—an enchanting microcosm of an apothecary's realm. Within this compact sanctuary, every millimeter teems with an abundance of ancient knowledge and forgotten curiosities.

This is an easy beginner-friendly mini diorama that you can make for yourself or as a handmade gift for the witchy person in your life. You can make this cute miniature witch's kitchen using a DIY wire hinge and a perfectly split walnut (I show you how to do both here!)  You can make this beginner-friendly craft in a few short sittings.

I used some common craft supplies, an old book, and polymer clay to make this project. Air-dry paper clay would also work if you don't have access to polymer clay. You can paint paper clay when it's dry, or tint it with watercolours before you sculpt! 

The steps are summarized in the following photo tutorial, but you'll also find a full breakdown on my YouTube channel with 4 other walnut miniature projects you'll love! Click here for that!

Picture
I prepped my walnut box off-camera. To start some shelves, I cut the rounded end off of a large craft stick...
Picture
I carve down a piece of a jumbo craft stick to make a desk for the lower level.
Picture
I wanted to cover the dried epoxy around the edges of the desk and shelves. I used some white glue and tea leaves from a tea bag I snagged from my pantry.
Picture
I made a mini cauldron by shoving a ball of black polymer clay onto the end of a pen.
Picture
I make a tiny spoon by starting with a mini carrot shape. I separate the bowl from the handle by rolling the carrot with a tool.
Picture
I make some tiny books by ripping a chunk of pages out of an old novel I keep for crafting. The pages are still glued together, so I can just cut out a tiny book.
Picture
I used the margins from that old novel to make some scrolls. It was easiest to roll them around a pin tool.
Picture
I make a tiny potion bottle by starting with a lightbulb shaped bit of clay. I make the neck of the bottle by pressing and rolling with a toothpick.
Picture
Finally I start placing my tiny collection of witchy items into the walnut. I glue everything down with white glue, which means I can no longer close my walnut - but I'm ok with that!
Picture
...and it happens to be the perfect fit for a shelf in the walnut. I glue this in with some 5-min epoxy I get from the discount store.
Picture
I stain everything with a wash of watered-down burnt sienna paint.
Picture
It was apparent that my apothecary miniature would need a stand at this point, so I made one by pushing the nut into a blob of clay, which I later painted.
Picture
I rolled a long worm of clay to make the cauldron's rim. I blended the rim into the pot.
Picture
I use the ball end of this tool to make the bowl of the spoon. If you don't have this tool you can use the head of a pin.
Picture
I make some book covers with coloured construction paper. These books ended up being WAY too big for my walnut, so later I cut some width off the pages and cut the remainder in half to make two books.
Picture
I tied the scroll with some red sewing thread. I should have just glued the scrolls closed. This was so fiddly!
Picture
I make some tiny bottle stoppers in brown clay and shove them into the top of the bottle. I think this really sells the look!
Picture
I added a tiny chair that I made off camera. I have a YouTube video about making tiny chairs coming up, so you should sub to me over there if you want to see that!
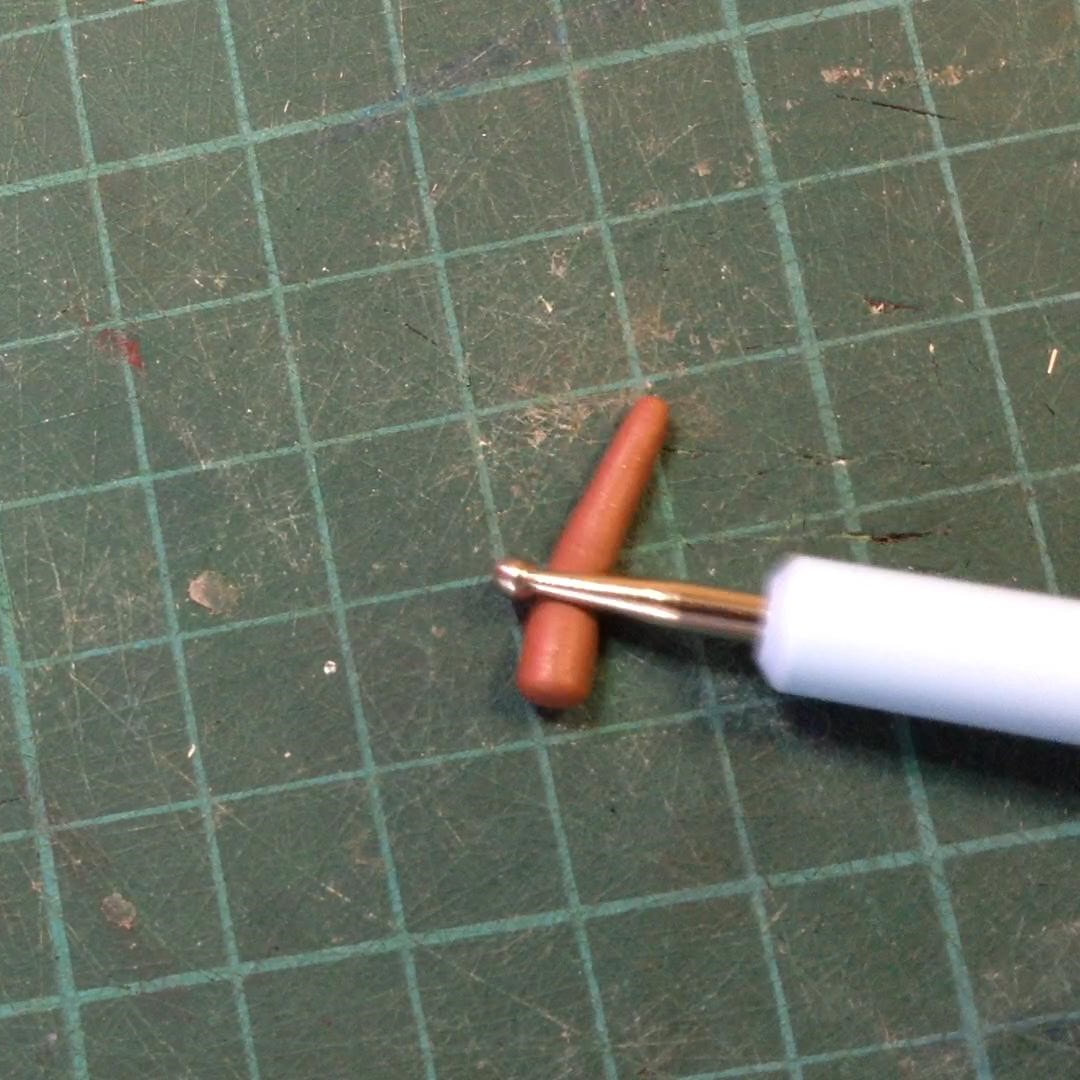
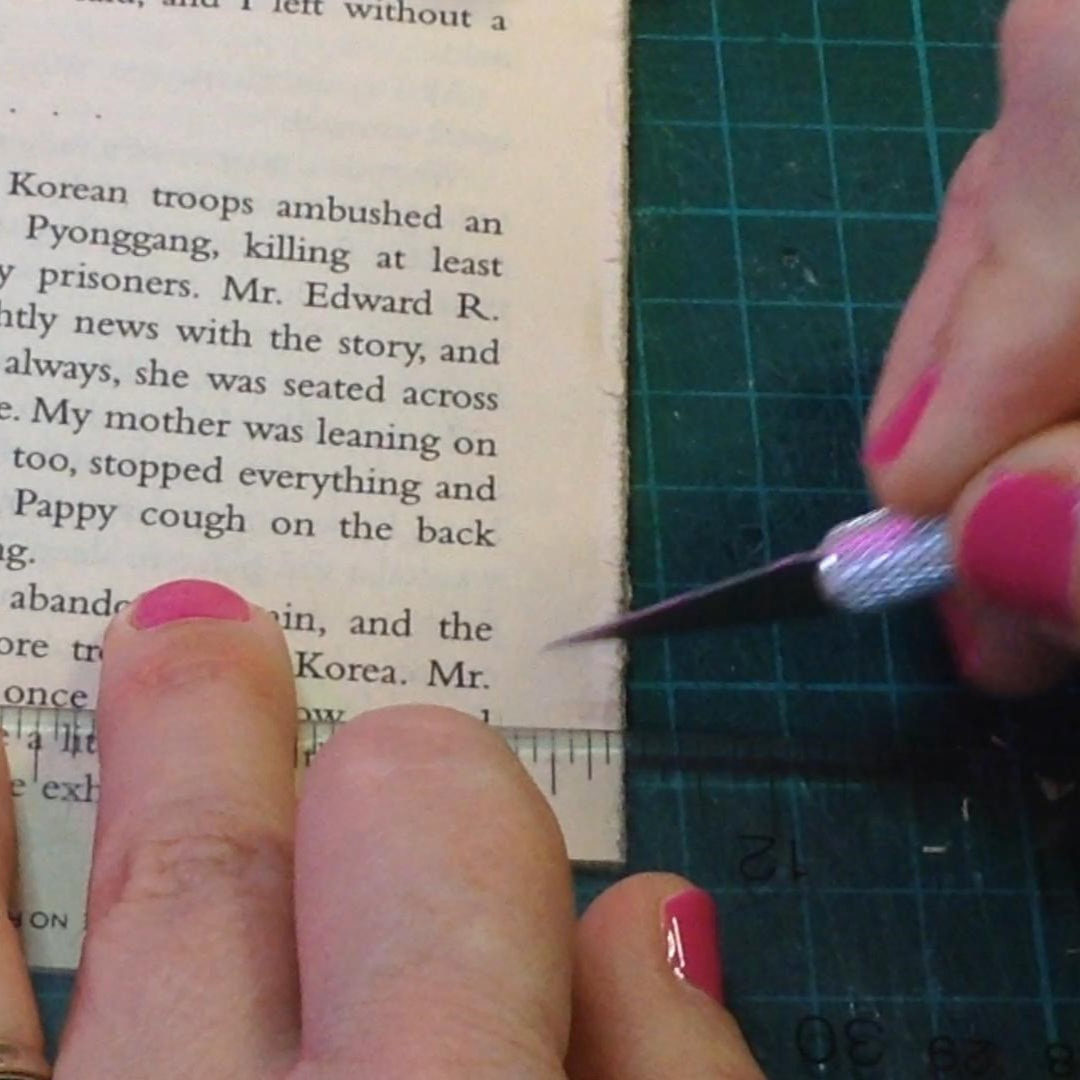
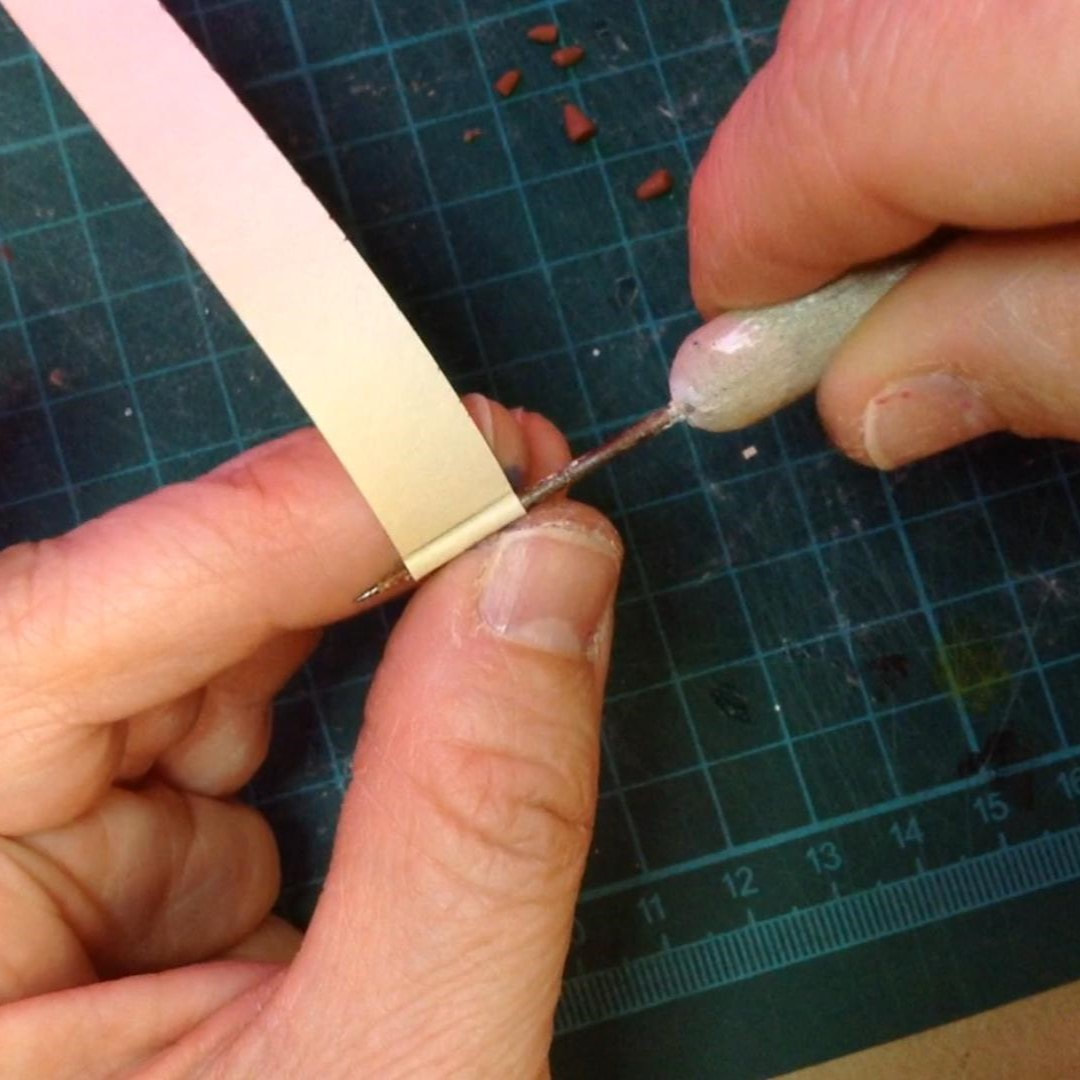
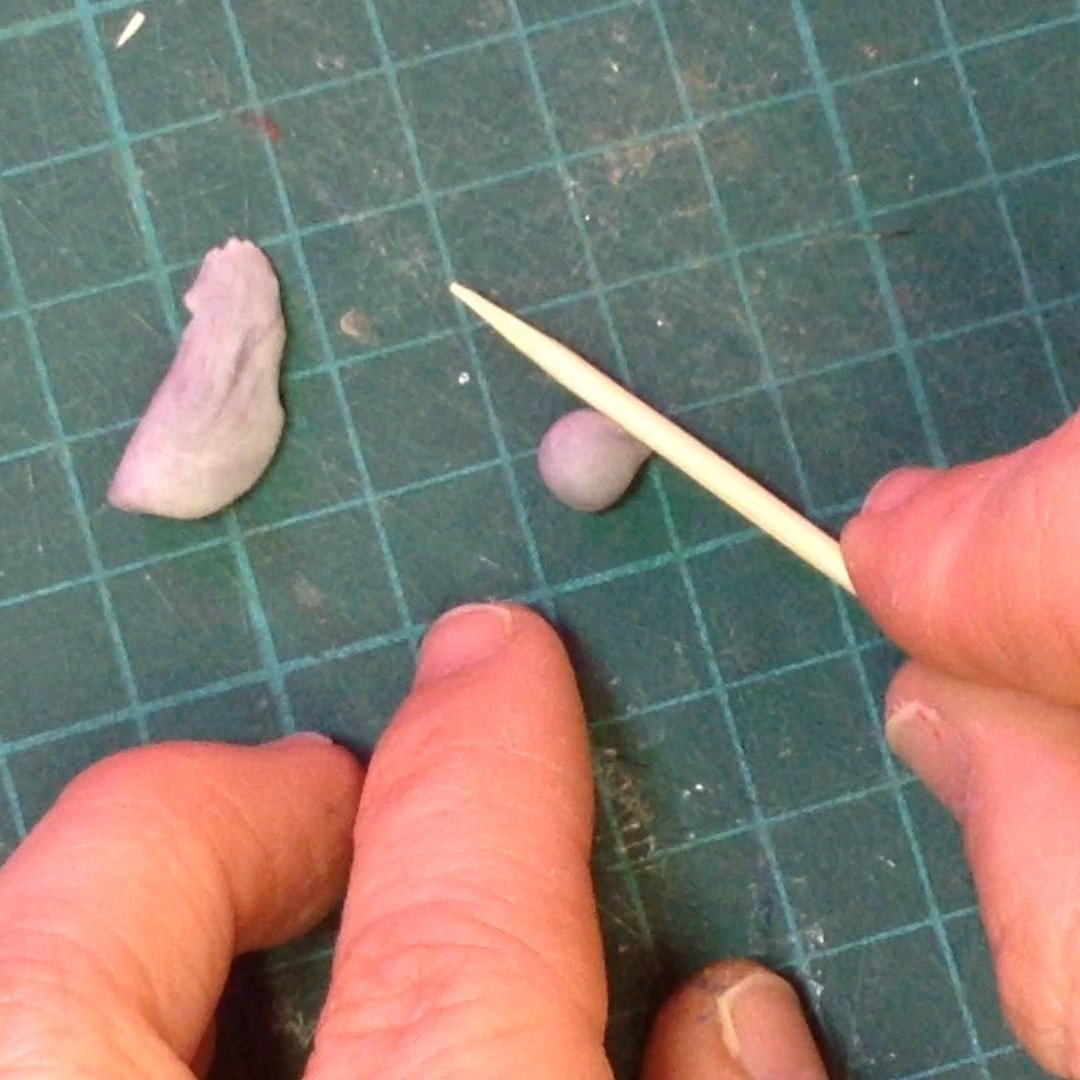
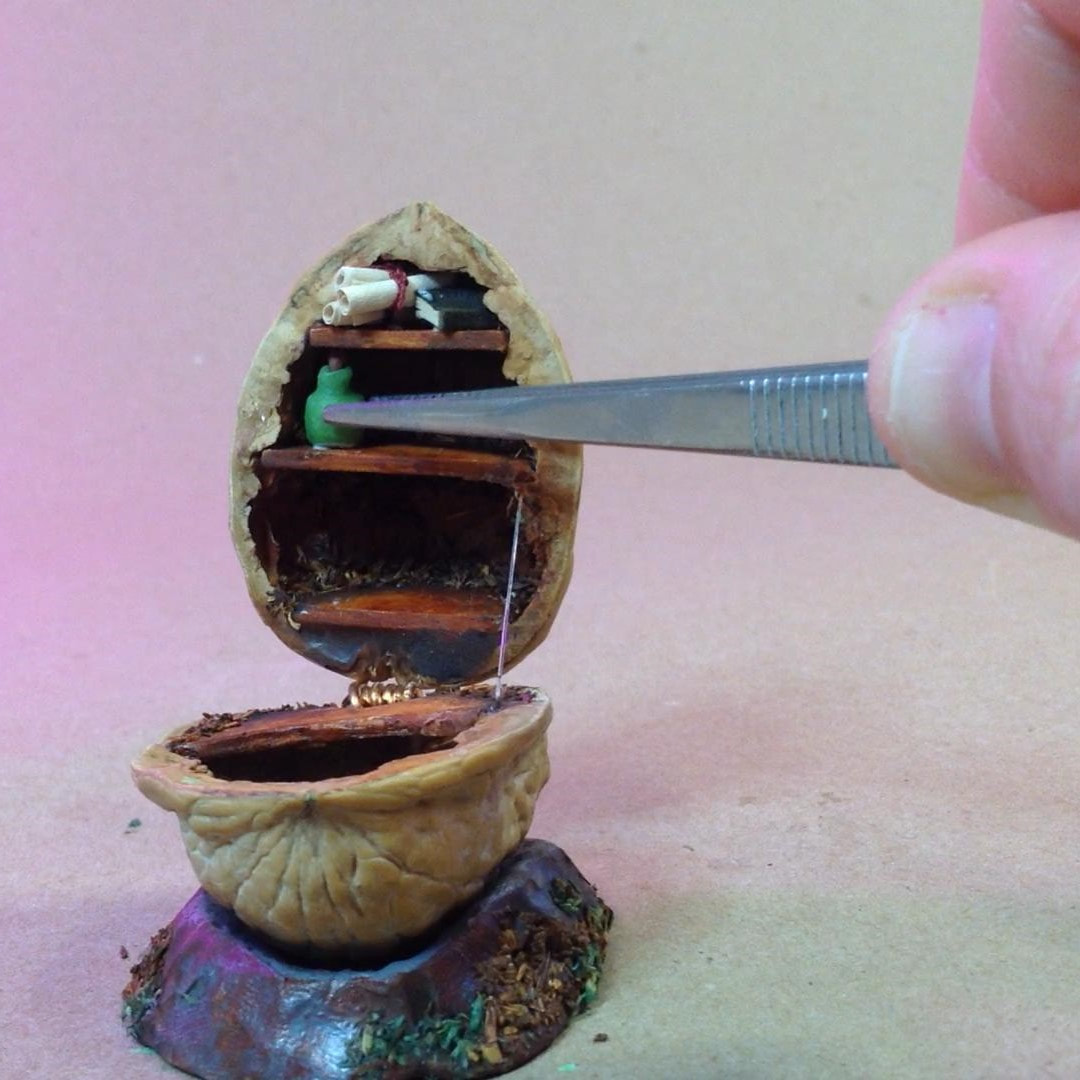
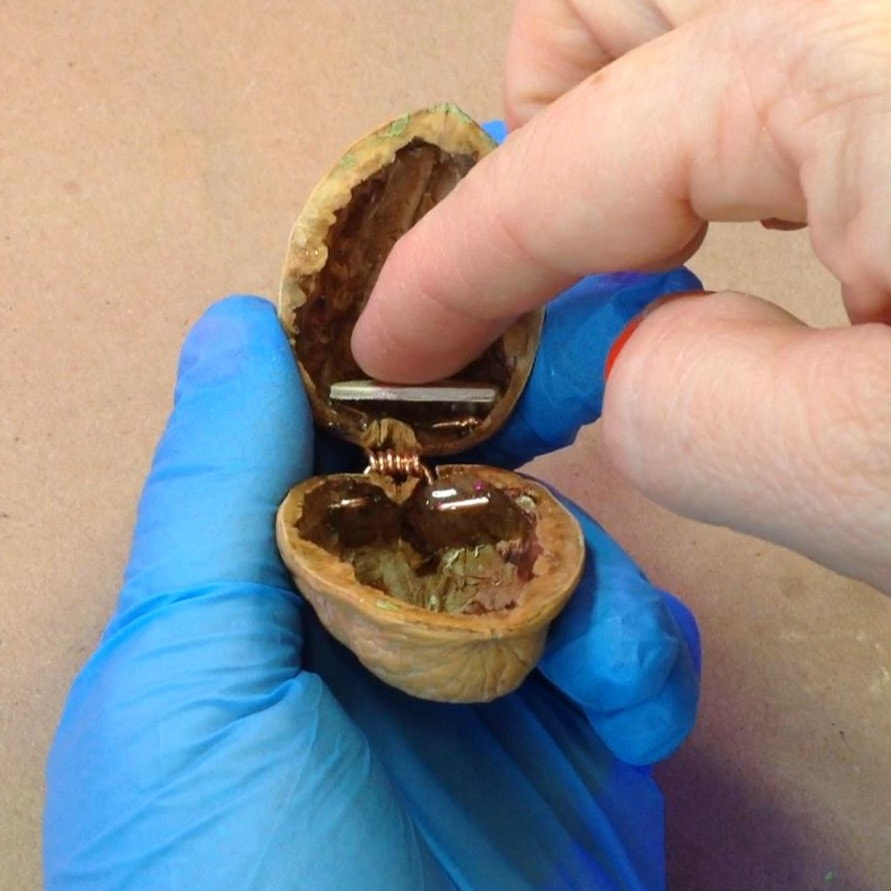
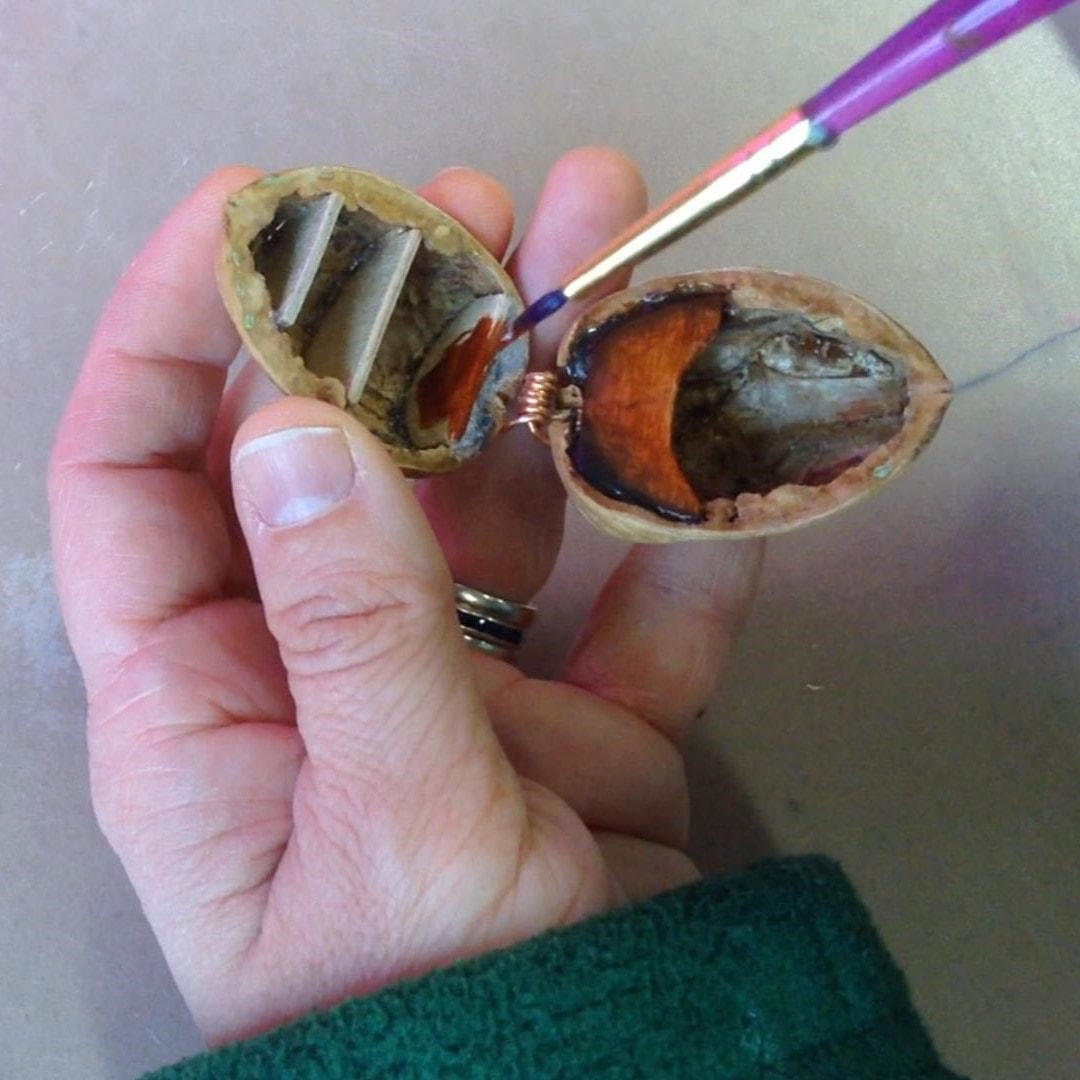
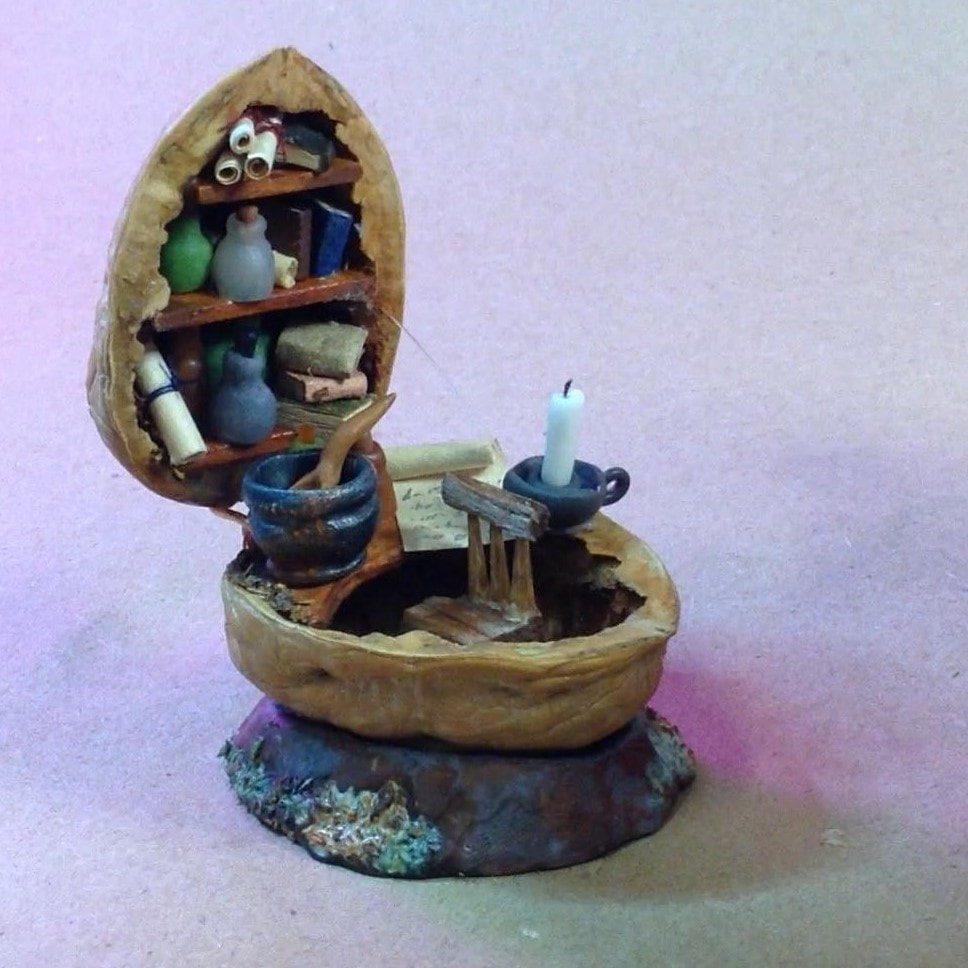
If you're interested in seeing this tutorial in video format along with 4 more walnut projects you'll love, you can check it out here! There's a mini dragon, a tiny bigfoot forest, a walnut engagement ring box, and a whimsical Alice in Walnutland wonderland diorama! If you need to learn how to split a walnut perfectly in half and DIY a mini hinge to get yourself started with a walnut box, I have a video on that too!
0 Comments


Leave a Reply.

    More Articles

    Earth Dragon Egg
    ​Water Dragon Egg
    Fire Dragon Egg
    Large Paper Mache Snake
    Paper Mache Jackalope
    Paper Mache Blob
    Polymer Clay Toad
    Pumpkin Cottage
    ​Pumpkin Basket
    Cardboard Jack o' Lantern
    Paper Mache Pumpkin
    Splatter & Bloom Review
    Pringles Can Bird Automata
    Pringles Can Spooky Tree
    Pringles Can Fake Cake

    Pool Noodle Tentacle
    DIY Tree Bark
    Walking Bigfoot Papercraft
    Log Bookends
    Polymer Clay Mushrooms
    Dry Brush Painting
    ​Less Mess Paper Mache
    Sock Abominable
    Elf in e.l.f
    Soapstone Fox​
    Realistic Leaf Hack

    ​Audrey II Plant
    String of Hearts
    Foam Roller Plant
    Age a Terracotta Pot
    Polymer Clay Pumpkin
    Crystal Ball​
    Air-Dry Clay Bat
    5-Step Mushroom Jar
    3 Reasons to do Game of Shrooms
    5 Reasons You're a Fake Artist
    Alice in WALNUTland
    Walnut Shell Ring Box
    Apothecary Walnut
    Bigfoot Forest Walnut
    Baby Dragon in Walnut
    Tiny Hinge DIY
    How to Split a Walnut
    DIY Crystal Geode
    Propagation Station 
    Tiny, Tiny Chairs
    Abominable Snowman
    Krampus
    ​Sock Mothman
    ​Mini Top Hat
    Baba Yaga's Hut
    Less Mess Paper Maché
    Head Mount Dragon
    Building Moonwatcher
    Testing 5 Fill Media
    Thumbs-Up Machine
Powered by Create your own unique website with customizable templates.
  • Home
  • Templates
  • Articles
  • Merch
  • Videos
  • About
  • Landing