How To Make A Bigfoot Automata That REALLY WALKS! - Free Template
- Jane Sawyer Makes
- Mar 2, 2024
- 4 min read

Now you can FINALLY catch bigfoot walking! Making your own strolling cryptid creature is deceptively easy and really freakin' delightful.
This papercraft makes use of a simple crankshaft mechanism to animate Bigfoot's big feet. It's not complicated, but animating Biggie's limbs with a simple wire crank is almost as rewarding as an actual sighting of the celebrity skunk-ape himself!
Print out the template for free below, or, for an ad-free experience, you can purchase the template and instructions for a small fee here.
You'll need the following tools and supplies
Toilet paper roll
Cardstock
A scrap of foam board or corrugated cardboard
Split back fasteners
Craft knife
Pushpin, toothpick
Glue, Hot glue gun
20 gauge wire, small pliers, wire cutters
Step 1: Print and Cut
Print out an un-scaled copy of the template on cardstock. You may need to adjust your printer settings. Check the scale with a ruler. If the 1 cm line on the template measures 1 cm in real life, you're good to go!
Cut out the pieces carefully with a sharp craft knife.

Step 2: Preparing the Base
The template comes with a guide for cutting two uprights into the toilet paper roll. If printed correctly, it will wrap around perfectly.
You can trace the cut-line directly onto the TP roll, or you can trace the shape onto coloured paper and glue it onto the roll as shown. Cut out the exposed card when the glue has dried.

Step 3: Adding Thickness to Bigfoot's body
Cut a rough eggplant shape out of foam board or cardboard. Glue it to the back of Biggie's torso, ensuring alignment with the base.

Step 4: Poking Holes for Fasteners
Pre-poke holes into the black dots indicated on the paper pieces using a pushpin. Don't forget the hole on each of the TP roll uprights.
Use a toothpick to enlarge the holes as needed.

Step 5: Assembling the Legs
Place a shin piece on top of a foot, aligning the holes. Insert a small split-back fastener.
Place a thigh piece on top of the shin, aligning the holes. Insert a small split-back fastener.
Repeat for the second leg.

Step 6: Attaching the Legs and Torso
Sandwich bigfoot's torso between the thighs of each leg, aligning the holes.
Insert a large split-back fastener through all three pieces, as shown.

Step 7: Creating the Crankshaft
Bend a length of wire to create the crankshaft. The template includes a bending guide.
Bend the wire with a small pair of pliers. Be as accurate to the template as possible.

Step 8: Creating the Suspension Wire
Bend a length of wire to create the suspension wire. The template includes a bending guide.
It's not critical to be accurate with this piece, it will likely need some adjustment and bending later.

Step 9: Attaching The Suspension Wire to Biggie
Glue the top of the suspension wire to the back of Bigfoot's torso.
The top of the loop should sit 4cm up from the base of the torso.

Step 10: Attaching Bigfoot to the Crankshaft
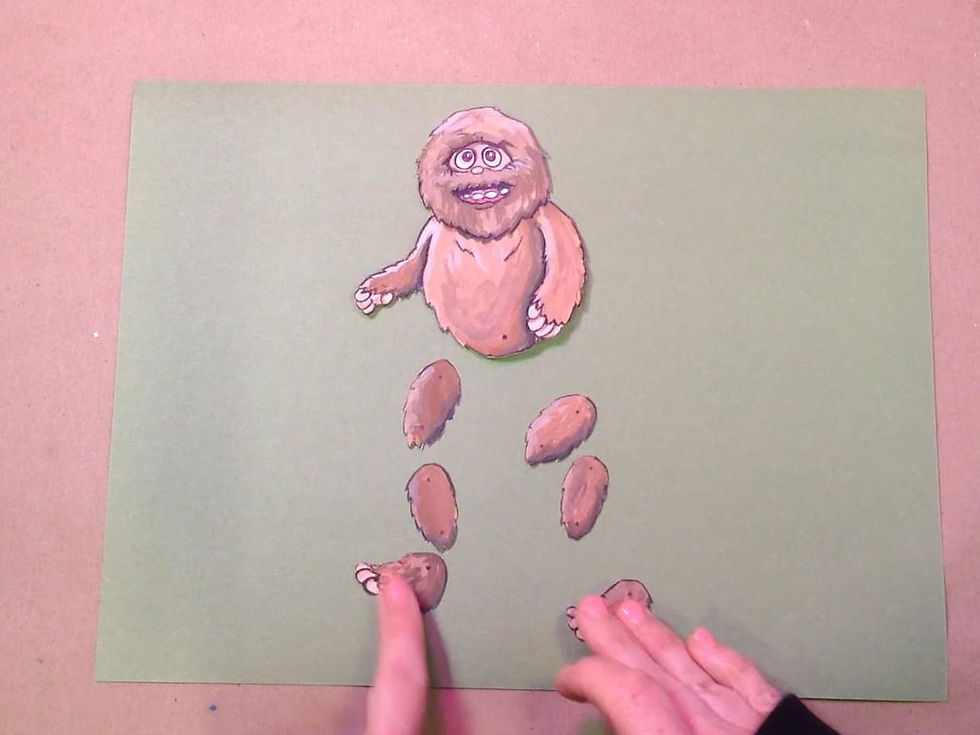
Gently thread the holes in Biggie's toes onto the steps in the crankshaft.
One of Biggie's feet should sit on each of the two steps in the crankshaft. Refer to the labelled crankshaft in Step 7 to locate the steps.

Step 11: Threading the Crankshaft into the Base
Gently thread the crankshaft into the uprights on the base. I find it easiest to start with the handle of the crank first.
Insert the opposite end into the hole on the opposite upright. Do this carefully, without bending the wire.

Step 12: Attaching the Suspension Wire to the Base
Hot glue the free end of the suspension wire inside the toilet paper roll.
I bend a small loop in the wire and use a scrap of paper to help with the gluing.

Step 13: Making Adjustments
When the hot glue has cooled, adjust the paper pieces and suspension wire to get a smooth movement.
You might need to tighten or loosen the split-back fasteners.

Step 14: Making Bigfoot Walk
Congrats, you've completed your cryptid craft!
Turn that crank and enjoy the sight of bigfoot walking!
If you give this project a try, it would make my day if you’d share it with me. I’m @JaneSawyerMakes on TikTok, Instagram, Pinterest, Reddit, Threads, and Twitter (X).
Please share and pin this article!


Comments