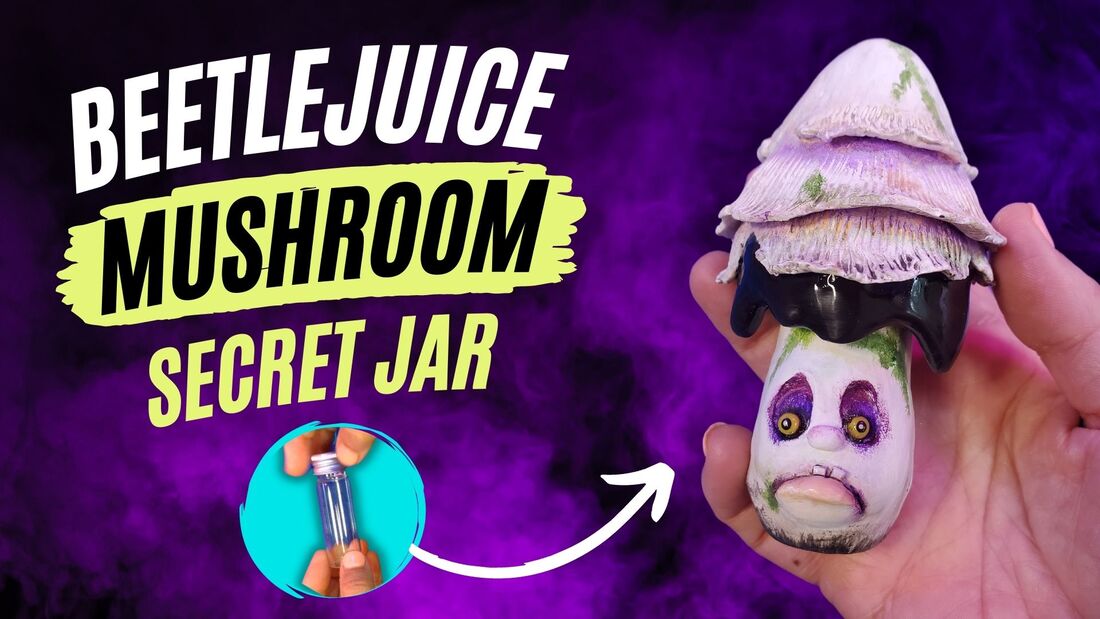
Watch the build video here!
If you'd like to see a more detailed break-down of this process, I presented it in a detailed video on my YouTube channel.
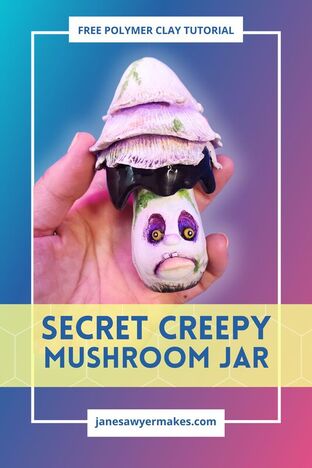
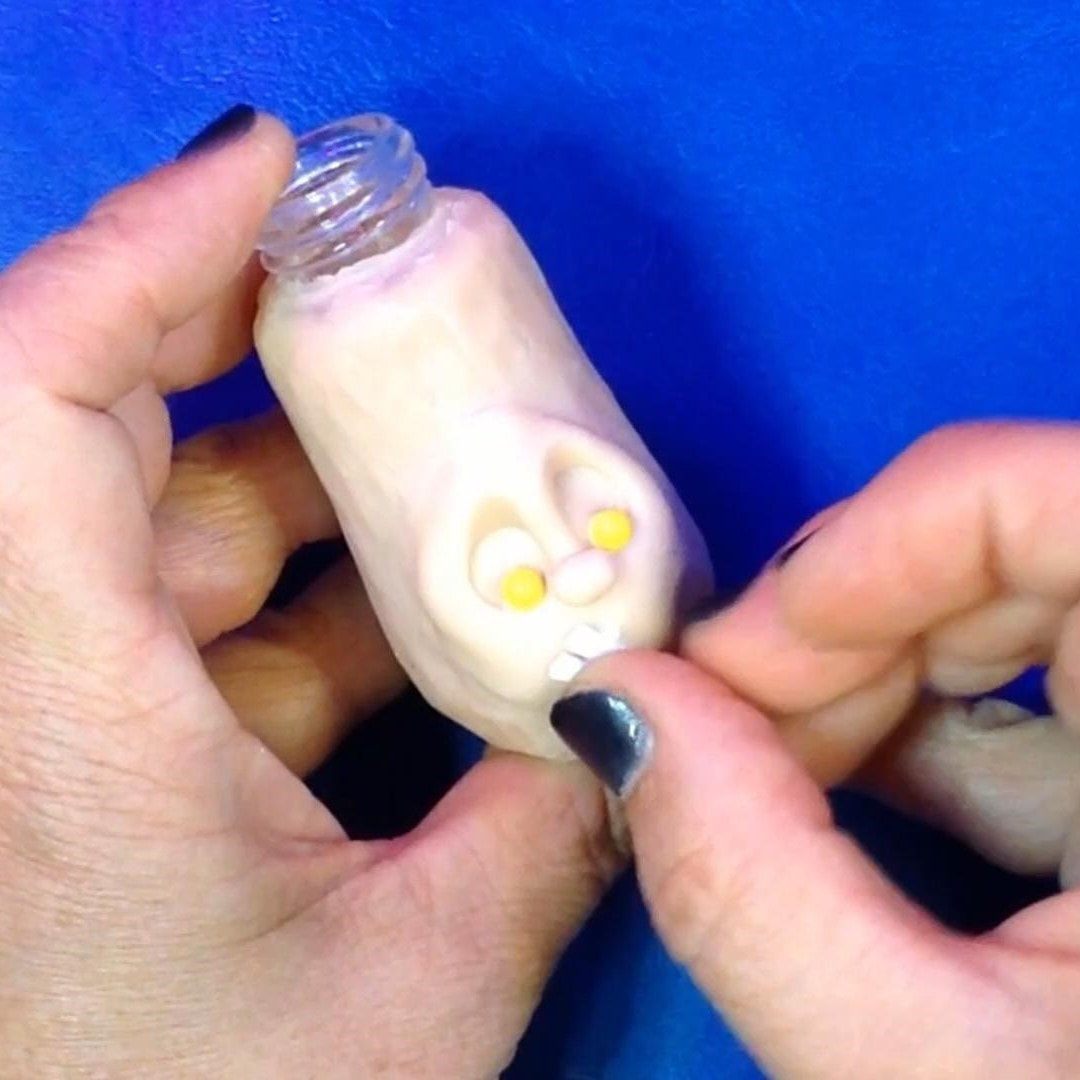
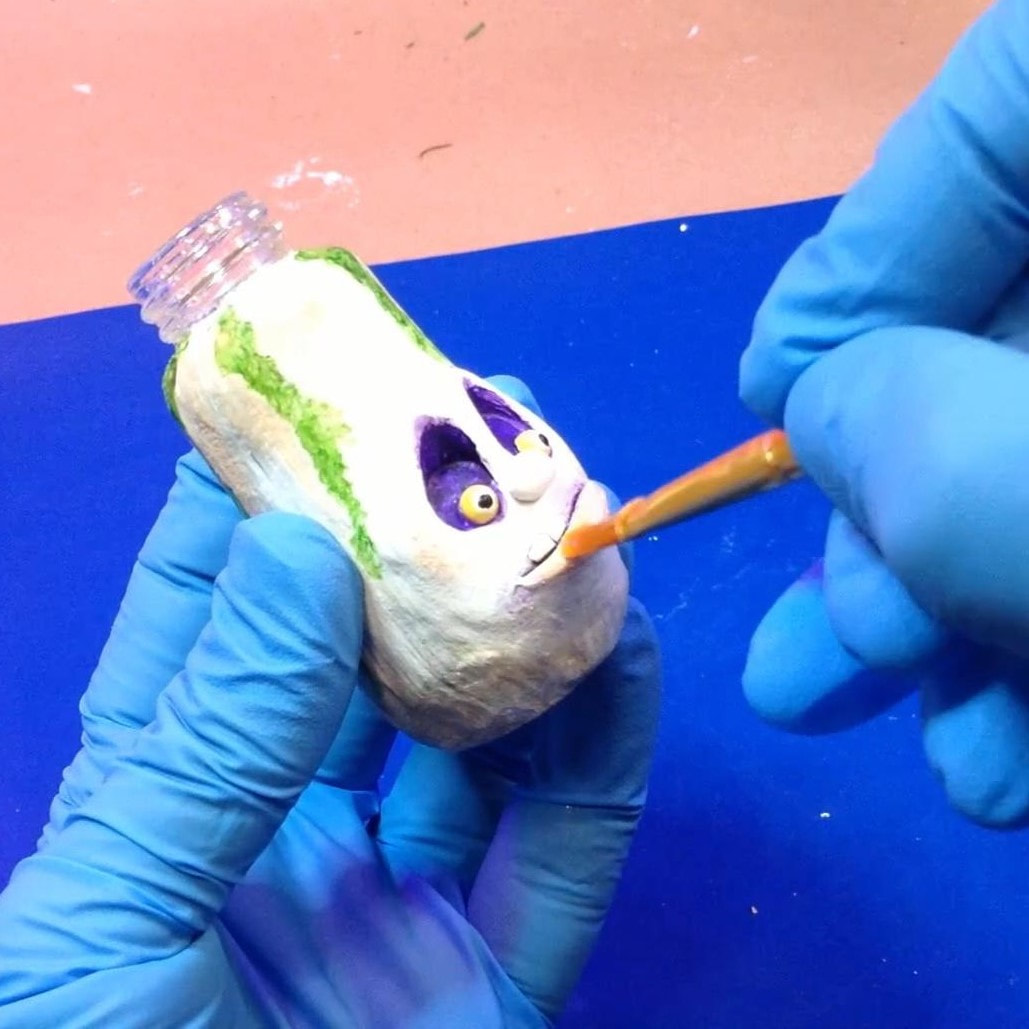
And that’s how you can transform a small glass jar into a charming little mushroom dude that’s both creepy and cute. I'd highly recommend checking out the tutorial video on my YouTube channel. It will outline each step in a more detail. This polymer clay tutorial allows you to exercise your creativity and create a unique piece of mushroom art that would make a great gift for someone who appreciates whimsical décor. Enjoy your DIY adventure into the world of mushroom art!
0 Comments
Leave a Reply. |